We integrated Nextend Social Login plugin with Listeo
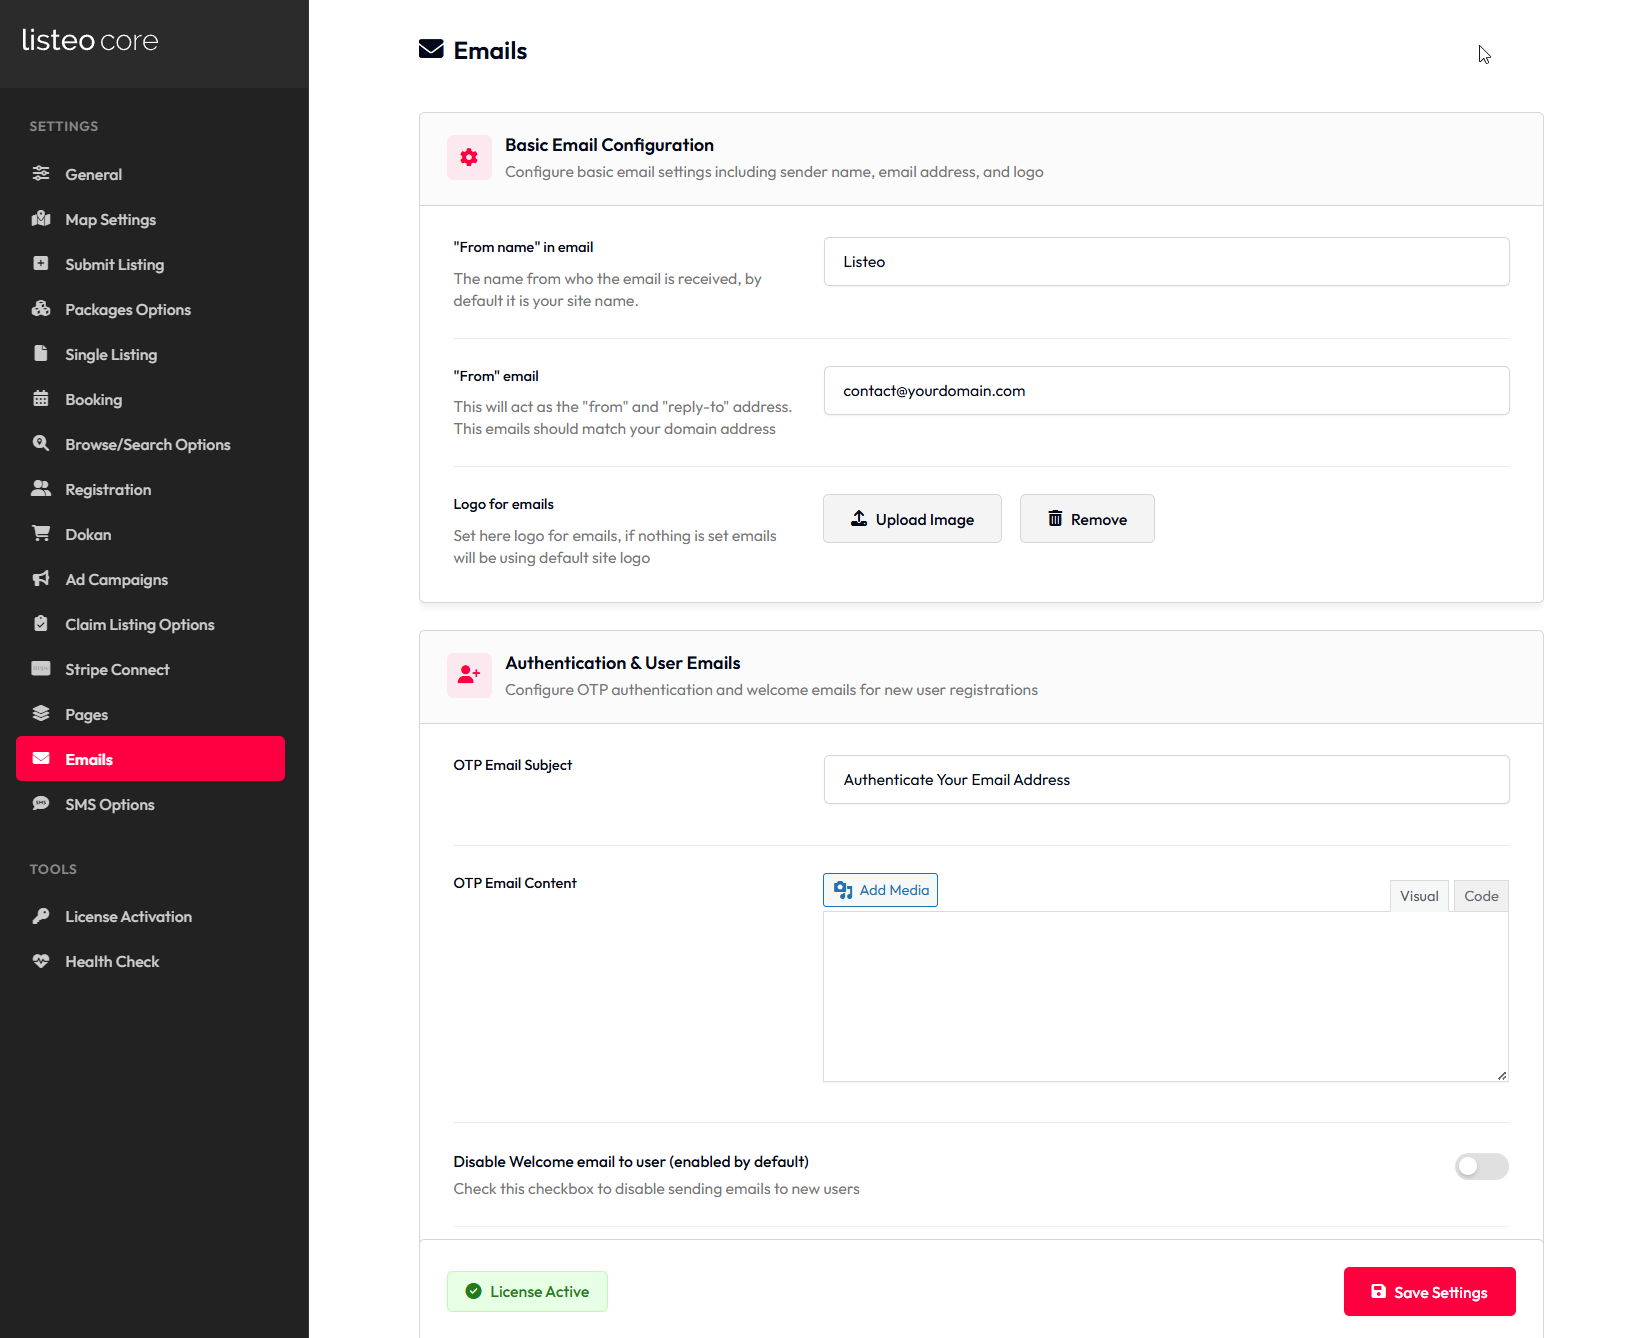
After installing it you can configure it in Settings → Nextend Social Login
Step 1: Configure Global Settings
Create page with shortcode and assign it to “page for register flow”. Then create another page without any content and assign it to “Oauth redirect URL proxy page”.
You can also configure default redirect page.

Step 2: Configure Provider