Author Archive

Geocoding with Google’s Maps API

Geocoding with Google’s Maps API

In Job Listings > Settings, you’ll find a field to enter your Google Maps API Key.

When you enter your Google Maps API Key there, WP Job Manager will retrieve location information from Google Maps based on what’s entered into the location field when a job is submitted.

This is used to provide structured data for better integration with Google Job Search, and some third party themes/plugins use it to show listings on a map etc.

Getting an API key

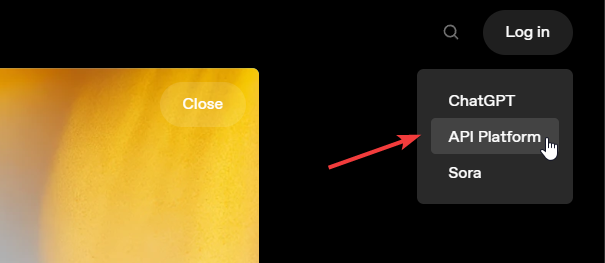
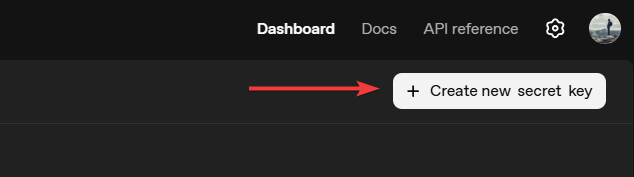
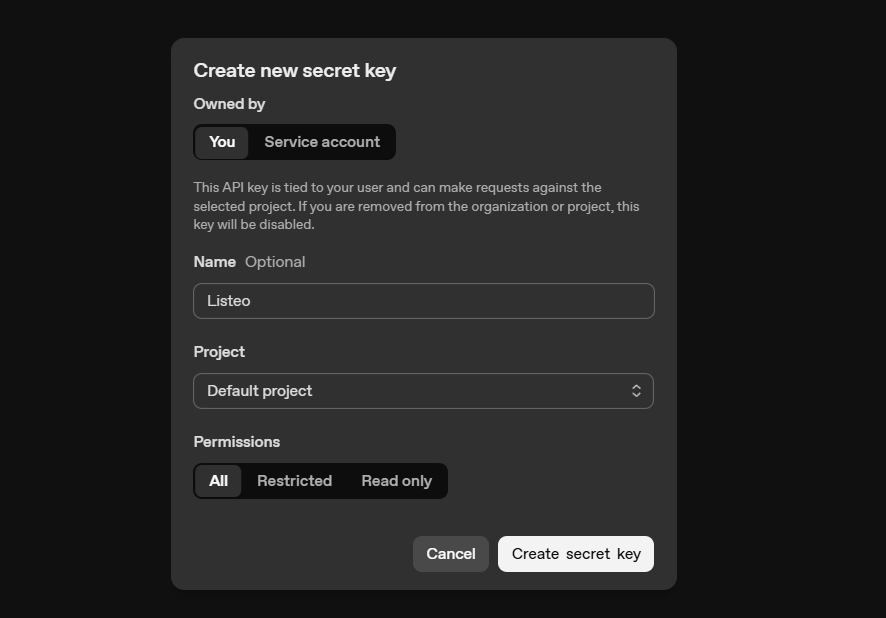
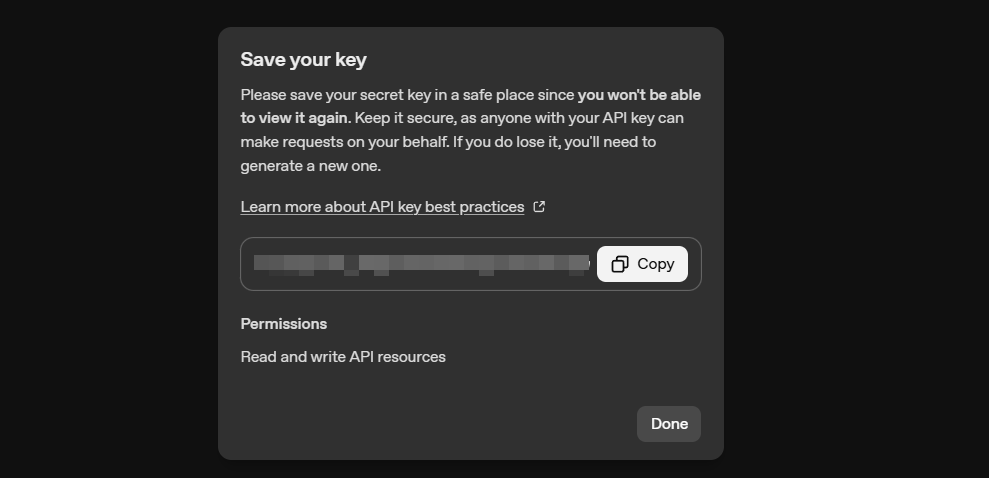
You can get a Google Maps API by following Google’s instructions here.

Make sure your API key has the ‘Geocoding API’ enabled.

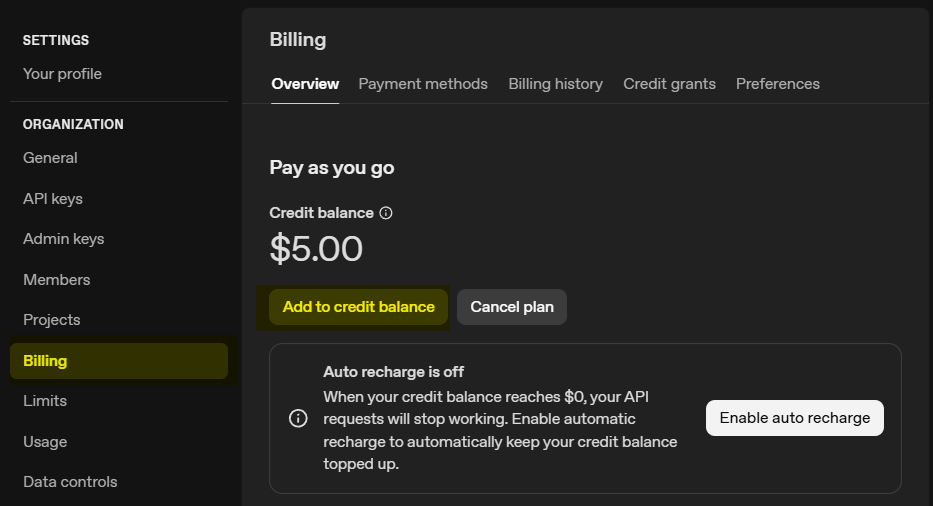
To use the API key, you must enable billing on your Google project. The Geocoding API uses pay-as-you-go pricing with “$200 USD free credit each month,” and you can set usage caps to control costs.

How to verify if Geocoding is working?

Create a new job listing with a location name, view the job listing in wp-admin. It should contain the location details in custom fields.

When are API calls made?

  • A job is submitted.
  • The location of a job is changed.
  • Jobs are imported (using WP All Import) that have location data.

Geolocation data for a particular location is cached for 1 week, so an API call is not necessarily made every time in the above instances.

Is this optional?

The API key is required if you want your job listings to contain geolocation data. Without the key, location entries are stored as plain text in the _job_location custom field.

What Data Does WP Job Manager Track?

Overview

For users who opt-in to usage tracking in WP Job Manager, certain information about your site’s content and settings will be tracked and stored. This enables better feature development decisions and targeted messaging.

WP Job Manager Info and System Info tracking data is sent automatically once opted in, then once every 2 weeks. Event tracking is sent as events occur. Data handling follows Automattic’s Privacy Policy.

WP Job Manager Info

Tracked metrics include:

  • Total number of users with WP Job Manager-specific roles (e.g., employers)
  • Custom post type counts by status (e.g., job listings, company video fields)
  • Taxonomy counts (e.g., job types, descriptions)
  • Jobs by default type
  • Shortcode attribute usage
  • All WP Job Manager settings values
  • User interactions within the WordPress admin for WP Job Manager content

System Info

Tracked system data includes:

  • Site URL and admin email
  • Activated plugins and versions
  • Active theme and version
  • WordPress and PHP versions
  • Locale/language and multisite status

Events

  • Job listing submissions (source only: admin or frontend form)
  • Extension license activation/deactivation and errors

Resume Manager: Changing the permalink base

Resumes default to the permalink ‘resume’. So, for example, a resume may have the following URL: http://yoursite.com/resume/john-xyz

To change that to something else, e.g. ‘cv’, you can add the following code using the Code Snippets plugin.

function change_resume_slug( $args ) {
  $args['rewrite']['slug'] = _x( 'cv', 'Resume permalink - resave permalinks after changing this', 'wp_job_manager_resumes' );
  return $args;
}

add_filter( 'register_post_type_resume', 'change_resume_slug' );

AI Chatbot 🤖

WorkScout’s AI Assistant brings ChatGPT-powered search to your site.

The AI combines semantic understanding with real-time database search allowing AI answer questions about your website based on custom instructions or all pages.


⚙️Installation

  1. Go to https://purethemes.net/license/ and download  AI Chat & Search plugin
    You’ll need purchase key: How to find my license key?
  2. Install and activate ai-chat-search.zip in WP Dashboard → Plugin → Add New 

Configuration

  1. Navigate to AI Chat & Search in your WordPress sidebar.
    Add your Open AI api key in Settings tab and configure plugin to your needs.
    How to create Open AI API key? →

  2. Then go to Data Training tab and click “🚀 Start Training“.
    If you don’t want the chatbot to search your site content, skip data training and uncheck “Posts” and “Pages”. It will then respond only using your Custom System Prompt (see FAQ).
    ⚠️ We suggest using “Manual Selection” before training pages and posts to avoid indexing outdated or junk pages.
    [/lore_alert_message]

Features

Feature Free Pro
Search analytics
Website-specific answers
(based on system prompt)
Chat history ✅ Access to chat stats & conversation history
Posts & pages search ✅ AI can search through content from posts and pages ✅ AI can search through content from posts and pages
WooCommerce products ✅ Search products
✅ Filter by price, stock, sale, rating
Custom post types ✅ Search through custom post types

Pricing: https://purethemes.net/ai-chat-search-pro/


FAQ

  • 🤖 Improving chatbot replies with a Custom System Prompt

    You can add specific instructions about your website’s focus, target audience, or special features to help the AI provide more relevant and personalized answers to your visitors.

    Example:

    IMPORTANT:
    – This website provides information about our business services, products, and updates. We help visitors understand what we offer and how to contact us.
    – If users ask how to contact us, explain that they can use the “Contact” page to send a message, call us, or email.
    – Paid services or products can be highlighted when relevant.

    CONTACT INFO:
    – If someone asks how to reach us, provide mail@sample.com and phone +1 123 345 789. – Our business hours are 9am–5pm Monday to Friday.

    Another example:
    If your website is multilingual, instruct the AI to translate user queries before searching your content.

    CRITICAL: If the user query is in another language, translate it to English before searching. For example: French: ‘comment puis-je acheter un produit?’ → translate to ‘how can I buy a product?’

    To improve the AI chatbot’s replies to generic questions like “recommend a service” or “what can I buy”, give it context about your website.

    IMPORTANT: This website provides information about our business services and products. When asked generic questions like “what do you recommend” or “what can I buy,” search for relevant services, products, or resources available on our site.

    In general, prompting is an art — the quality of an AI’s answer depends on the instructions. Too many examples can confuse the model, but too few can give poor results.

    If a user asks for “good” product or “best service”, the AI may automatically apply a quality or rating filter. If items have no ratings, it might return no results. That’s why you should add instructions like:
    “Don’t apply a rating filter unless the user explicitly asks for it.”

  • 🔍 How AI searches through site content?

  • 💰 How much does it cost in OpenAI API fees?

  • ⏱️ Why answer isn't instant like at chatgpt.com?

  • 📄 Can I add PDF files to training data?

  • ✅ What are the plugin's pros and limitations?

How to create Open AI API key?

  1. Create an OpenAI Account

    Go to https://openai.com
    – Click the “Log In” button (top right corner) and select API Platform.
    – Register using your email, Google, or Microsoft account.

    After signing up, navigate to API Keys https://platform.openai.com/api-keys
    – Click the “Create new secret key” button.
    – This begins the setup process for your API key.

  2. Generate Your API Key
    In the “Create new secret key” dialog:
    – Enter a name for your key (e.g., demo API key) to identify it later.
    – Choose the project (default is fine unless you have multiple projects).
    – Click “Create secret key”
    Your new key will be shown only once — copy it immediately.
    This key is what you’ll use in our data scraper and other tools that are coming soon

  3. Top up balance

    Minimal amount is $5 – rest assured it $5 will lasts forver in case  AI features for WorkScout 😉

    Go to Billing and click Add credits to balance

AI Review Highlights

AI Review Highlights plugin reads reviews for resumes (freelancer profiles) and companies and uses AI to generate clear summaries of the most common pros and cons.

Visitors get a quick overview instead of scrolling through reviews.

How to use?

  1. Go to https://purethemes.net/license/ and download AI Review Highlights for WorkScout plugin
    You’ll need purchase key: How to find my license key?
  2. Upload ai-review-highlights-for-workscout.zip in WP Dashboard → Plugin → Add New and install & activate.
  3. You will see AI Review Highlights in two places:
    1. Companies → AI Reviews Highlights
    2. Resumes → AI Reviews Highlights

  4. Before use, you need to visit Settings where you can configure plugin to your needs and add your Open AI api key
    How to create Open AI API key? →

AI Hiring Assistant


AI Hiring Assistant analyzes job applications with AI to rate candidate fit. Works in tandem with WP Job Manager Applications.

Key features:
1. Analyses the job description and the candidate’s full application (name, email, message, resume, even PDF content)
2. Evaluates how well the candidate fits the job using Open AI API
3. Scores candidate based on: skill match, relevant experience, communication clarity, cultural fit signals
4. Returns a clear report with:
a.  1–5 rating
b. a short summary
c. strengths (pros)
d. weaknesses (cons)
e. a hiring recommendation


How to use?

  1. Go to https://purethemes.net/license/ and download AI Hiring Assistant plugin
    You’ll need purchase key: How to find my license key?

  2. Upload zip in WP Dashboard → Plugin → Add New and install & activate.
  3. Go to WP Job Manager → AI Hiring Assistant in your WordPress sidebar go directly to Settings.
    Add your Open AI api key
    How to create Open AI API key? →


  4. Now all employers will see “AI Summary” button in “Manage Candidates” page. Once clicked a report will be generated and displayed

  5. As an site admin you can check stats under “Statistics” tab

Theme Translation

If you would like to change some texts from english to english please check this article: How to change some texts/words?

Ready-made translations

WorkScout is pre-translated into 20+ languages and verified by native speakers, ready to use:

  • fr_FR Français (France)
  • fr_CA Français (Canada)
  • pl Polski
  • de_DE Deutsch (Deutschland)
  • de_AT Deutsch (Österreich)
  • nl_NL Nederlands (Nederland)
  • nl_BE Nederlands (België)
  • el Ελληνικά
  • tr Türkçe
  • es_ES Español (España)
  • es_MX Español (México)
  • pt_PT Português (Portugal)
  • pt_BR Português (Brasil)
  • it Italiano
  • ro Română
  • bn বাংলা
  • cs Čeština
  • sk Slovenčina
  • sv Svenska
  • da Dansk

Translation is 100% complete including WorkScout and all WP Job Manager add-ons.

If your language is not on the list simply send us a message and we will generate language files for you within few hours:
Request Missing Language →

Each translation is generated using the OpenAI API with the GPT-4o model. The translations are very accurate and natural. You’ll likely need to adjust only a few words or phrases – if any. 🙂


How to install ready to use translation?

  1. Make sure you set your language in Dashboard → Settings → General
  2. Go to https://purethemes.net/license/ and download Translation Importer plugin
    You’ll need purchase key: How to find my license key?

  3. Upload translation-importer.zip in WP Dashboard → Plugin → Add New 
  4. Once installed and activated, open Translation Importer plugin page then  select your language and click “Download and Install” and that’s it, done!
  5. Important! Add translated URL titles in Settings → Permalinks for Job  base – otherwise listing pages might lead to 404 error page.

    e.g for Spanish
    http://example.com/job/single-listing
    http://example.com/trabajo/single-listing

  6. How to edit translation? →

Dashboard page titles

Dashboard page titles has to be changed in WordPress page editor:


Homepages

Texts on homepages have to be translated in Elementor (click Edit with Elementor on WordPress toolbar).


Multi-Language Support

If you’d like to enable language switcher on your website we recommend TranslatePress. Free version offers 1 additional language, Pro version – unlimited.


How to edit translation?

  1. To do that, install Loco Translate, then go to Loco Translate → Languages and select either the WorkScout theme or plugins like WorkScout Core, WP Job Manager etc. (translations are split between them).
  2. Before editing strings in the Listeo theme, you need to relocate the translation files. To do this, go to the “Relocate” tab in Loco and select languages/loco/themes/ as the directory where the translation file will be stored and click Move files

    Why?
    Because the files need to be saved in a safe location where WordPress won’t delete them during updates.

Can’t install theme – missing the style.css stylesheet error