1.0.22
Updated
- Consistent tax-inclusive totals and tax information across booking forms, booking dashboards and QR tickets.
1.0.21
Fixes
- Listeo Core > Booking > Booking Rules > "Hide the 'Slot capacity counts' setting" (off by default). When on, the dropdown is hidden on the front-end and admin forms (listing and resource) and every slot counts separate bookings; stored values are kept. Filter `lbp_hide_slot_capacity_mode`. Also fixes a tooltip that never rendered on the front-end form.
- ### Fixes
- Events removed from the feed are pruned, unchanged feeds are skipped, one unreachable feed no longer stops the other resources.
Changes
- ### New Features
- Resource iCal feeds refresh automatically every 30 minutes (cron `lbp_refresh_resource_icals`, offset 15 min from Core's listing sync). Filters `lbp_resource_ical_cron_batch_size`, `lbp_resource_ical_cron_time_budget`.
- Resource iCal import never worked: it called Core's export method instead of reading the feed. Now uses `Listeo_Core_iCal_Reader`.
- Listing-level blocks (owner "Block dates", Core listing iCal import) now block every resource of the listing: slot list, "Any resource", "Next available" on resource cards and the server-side booking check. Filters `lbp_listing_level_blocks_apply_to_resources`, `lbp_listing_level_block_rows`.
- Removing or re-importing a resource calendar left resource metadata on bookings.
- An imported event counted as one booking, so multi-capacity slots stayed bookable; imported events and owner blocks now make the slot fully unavailable.
- Booking phone validated with Core's shared rule (local fallback if Core is older).
- reCAPTCHA v3 uses Core's shared verification.
1.0.20
Fixes
- Fixed issues with resource Availability Calendar.
1.0.19
Improved
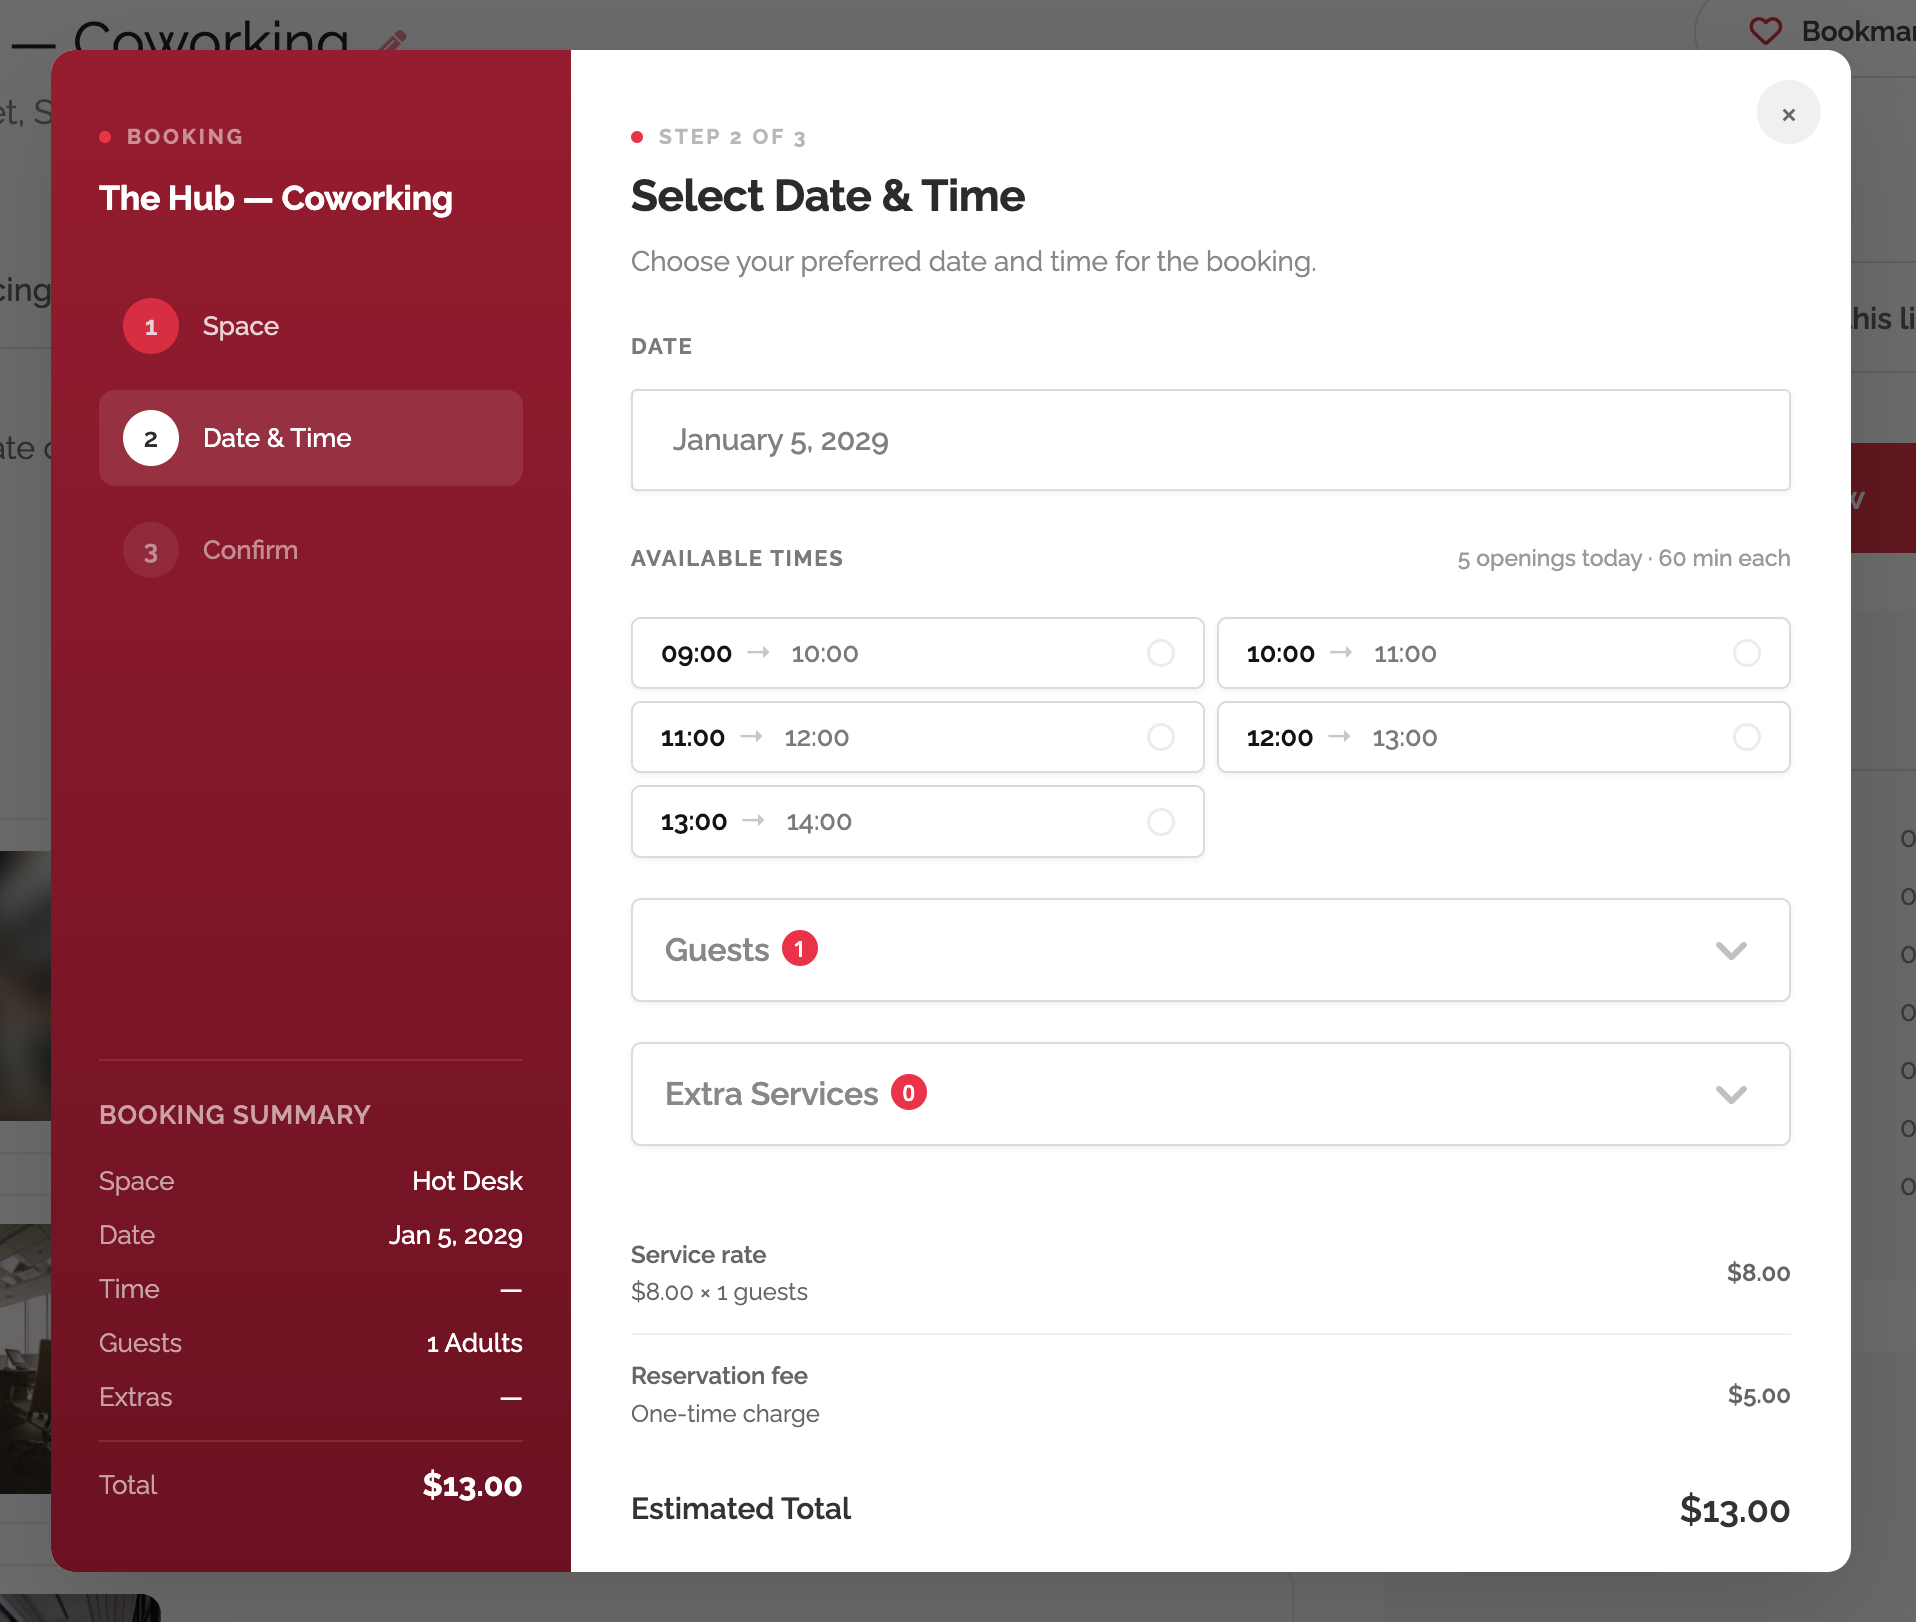
- Grouped multiple guest categories into a compact list with matching bordered quantity controls and subtle separators. Supports all category combinations, resource switching, long translations, mobile and RTL layouts, with neutral dark-mode styling. The single Guests row keeps its existing layout.
- Placed compact extra-service quantity controls inside each service card, before the price on wider popup columns and on a second row inside the card on narrow screens. Keeps prices aligned, supports dark mode and RTL, and preserves quantity selection and the classic dropdown layout.
- Extra services in the booking popup now appear as an always-visible, neutral checklist by default, with scrolling for longer lists and controls styled to match the popup. The new Extra services display setting restores the classic dropdown when preferred. Service selection, quantities and pricing rules are unchanged.
- Replaced hardcoded blue and violet-gray tints in the booking popup and event badges with neutral grays, including the calendar overlay, dark-mode surfaces, shadows, guest controls and price summary. Selection and button colors continue to respect the configured accent; legacy blue accent fallbacks now follow the theme.
- Centered the feature and activation sections on the Booking Plus License overview while retaining left-aligned content.
- Moved Booking Plus License into the Listeo Core menu directly below License. Updated activation links, page hooks and form redirects, and redirected old Settings-page bookmarks to the new location.
- Redesigned the Booking Plus License page for sites without a saved key: premium features and the tracked offer link appear first, with activation in an expandable section. Activation links open that section directly and failed submissions keep it open. Existing licensed, saved-key and Hosted screens remain unchanged.
- Added staggered automatic feature icon animations: recurring-event arrows rotate once per 12-second cycle, while other icons make small movements followed by a long pause. Reduced-motion preferences disable all feature icon animations.
- Added a subtle outline arrow to Explore premium features buttons in the settings overview and admin notice, with RTL direction support.
- Increased premium overview icons to 24px in Listeo red with a subtle hover motion that respects reduced-motion preferences. Added UTM campaign parameters to offer links, distinguishing the settings overview, admin notice, license page and feature cards.
- Added small, consistent outline SVG icons to the Booking Plus feature overview, with aligned descriptions and decorative icons hidden from screen readers.
- Restyled the Booking Plus premium overview to match Listeo settings: a flat, responsive feature list, simpler descriptions, standard typography and button, and a direct license activation link. Removed nested tiles, decorative gradients, hover movement and Pro branding.
- Redesigned the free-mode admin notice with a concise feature-focused headline, a responsive layout, an outlined Explore premium features button, and a separate license activation link. Preserves existing visibility and dismissal behavior.
- Refined the booking popup price summary with compact, consistently styled cost rows and lighter heading/total weights matching Listeo typography. Coupon entry now uses a compact field and an accent-colored Apply button with rounded styling matching the popup actions, with clearer focus, feedback and applied-code states in light, dark and RTL layouts.
- Refreshed the booking popup with clearer typography, consistent outline icons, a listing thumbnail, connected step indicators, larger time-slot cards with localized durations, always-visible guest controls, and a highlighted estimated total. Preserves configurable colors, resource-specific guest categories and multi-slot selection, with responsive and dark-mode styles, keyboard focus indicators and reduced-motion support.
- Time-slot capacity can now be counted as a shared guest pool instead of separate booking records. The new opt-in "Slot capacity counts" setting reuses each slot's existing number as the total adults and children allowed, shows the remaining places in the Booking Plus popup, supports per-resource overrides and multi-slot service spans, and stores each booking's party size for reliable future calculations. Existing listings remain in separate-bookings mode. The same setting and calculation also apply to Listeo Core's regular booking widget. Simultaneous final submissions are serialized so the shared pool cannot be oversold. Requires the companion Listeo Core update.
- The booking popup now respects Listeo Core's new "Prevent overlapping bookings" option for listings that use the hourly time picker (single day / service listings without time slots). When the option is enabled on the listing, the popup checks the chosen start and end time against existing bookings as soon as the time is picked (the Date & Time step shows "This time overlaps an existing booking" and Next stays disabled) and checks again on submit, so a stale or crafted request can't book over a taken hour. Only approved bookings block; pending, cancelled or expired ones don't. When the End Hour picker is off and the booked length comes from the selected services' durations, that end time is now stored on the booking so later checks see the full span. Resource bookings, time-slot listings and events keep their existing availability rules. Requires the companion Listeo Core update; on older Core versions the popup simply behaves as before.
Fixes
- Aligned extra-service checkboxes with their names when no duration is shown. On narrow screens, prices appear below the service text without shifting the checkbox.
- Fixed the extra-service counter refresh after loading resource-specific services. The classic services dropdown now stays open when Next highlights a missing required service.
- Overnight time slots (a slot whose end time is earlier than its start, such as 22:00 - 02:00) are now booked and checked against the following day. The popup previously stored such a booking with its end before its start, an interval no availability query can match, so the slot never counted as taken and could be booked over and over. Bookings already stored that way are not altered; only new bookings are affected. Slots that do not cross midnight are unchanged.
- Booking a listing with "Any" resource selected no longer creates a booking with no resource attached when every resource is actually taken. The booking was saved unassigned, so it blocked nobody's calendar, never appeared under a team member's bookings, and left the owner to work out who was supposed to take it. The customer is now told "No resource has enough availability for the selected time and group size." and can pick another time. Listings without resources are unaffected.
- A time slot that is shorter than the services booked into it is now refused, with "The selected service needs more time than this slot allows." Previously the booking went through and the overrun silently ate into the next slot.
- The classic widget now carries multi-slot metadata through confirmation when the browser associates the hidden booking payload with the form even though it sits outside the form's DOM container. The previous descendant-only lookup skipped that payload, so valid guest-capacity spans could still be rejected on final submission.
- Guest-capacity validation on the classic booking form now checks all selected slots on final submission. A valid multi-slot group booking could previously fail with "There are not enough places left for this group" because only the starting slot was passed to the final check, even though the availability preview checked the full span. Guest-capacity checks also preserve the listing's maximum selected-slot limit.
- The classic widget's multi-slot picker now shows the live remaining capacity returned by the server instead of the configured slot total, including when capacity counts guests. Remaining places stay visible alongside "Tap to add" and "Selected" labels. Initial loading preserves received counts, late responses cannot overwrite a different date, and updated picker assets invalidate the browser cache automatically.
- With no minimum advance notice configured (the default), a visitor who kept the booking popup open could still submit a time slot or hour that had already passed. Past times were only hidden from the popup, not rejected by the server, so a stale or crafted request went through. The popup now rejects start times in the past both when the time is picked (the Date & Time step shows "This time is no longer available" and Next stays disabled) and again on submit, for listing and resource bookings alike, and events whose start has passed are rejected the same way. The classic booking widget gets the same protection through the availability check. Owners adding manual bookings for past dates are unaffected. Developers who need the old behaviour can allow past start times with the lbp_allow_past_bookings filter.
1.0.18
New
- Minimum advance notice can now be entered in minutes, hours or days on the global Booking Rules setting, per-listing Booking Options metabox, and frontend submit form.
- A new Minimum advance notice unit option pairs with the existing value.
- The per-listing Minimum advance notice field is now a predefined field you can add in Listeo Editor wherever needed.
Improved
- The per-listing Minimum advance notice field placeholder now shows the resolved site default instead of a blank box.
Updated
- Minimum advance notice is now enforced for events and ticket-type listings, including booking popups, classic widgets, and date pickers.
- When no bookable date remains because of minimum advance notice, the booking widget and popup now show a bookings closed message.
- The booking popup now respects Core's Prevent overlapping bookings option for hourly time-picker listings.
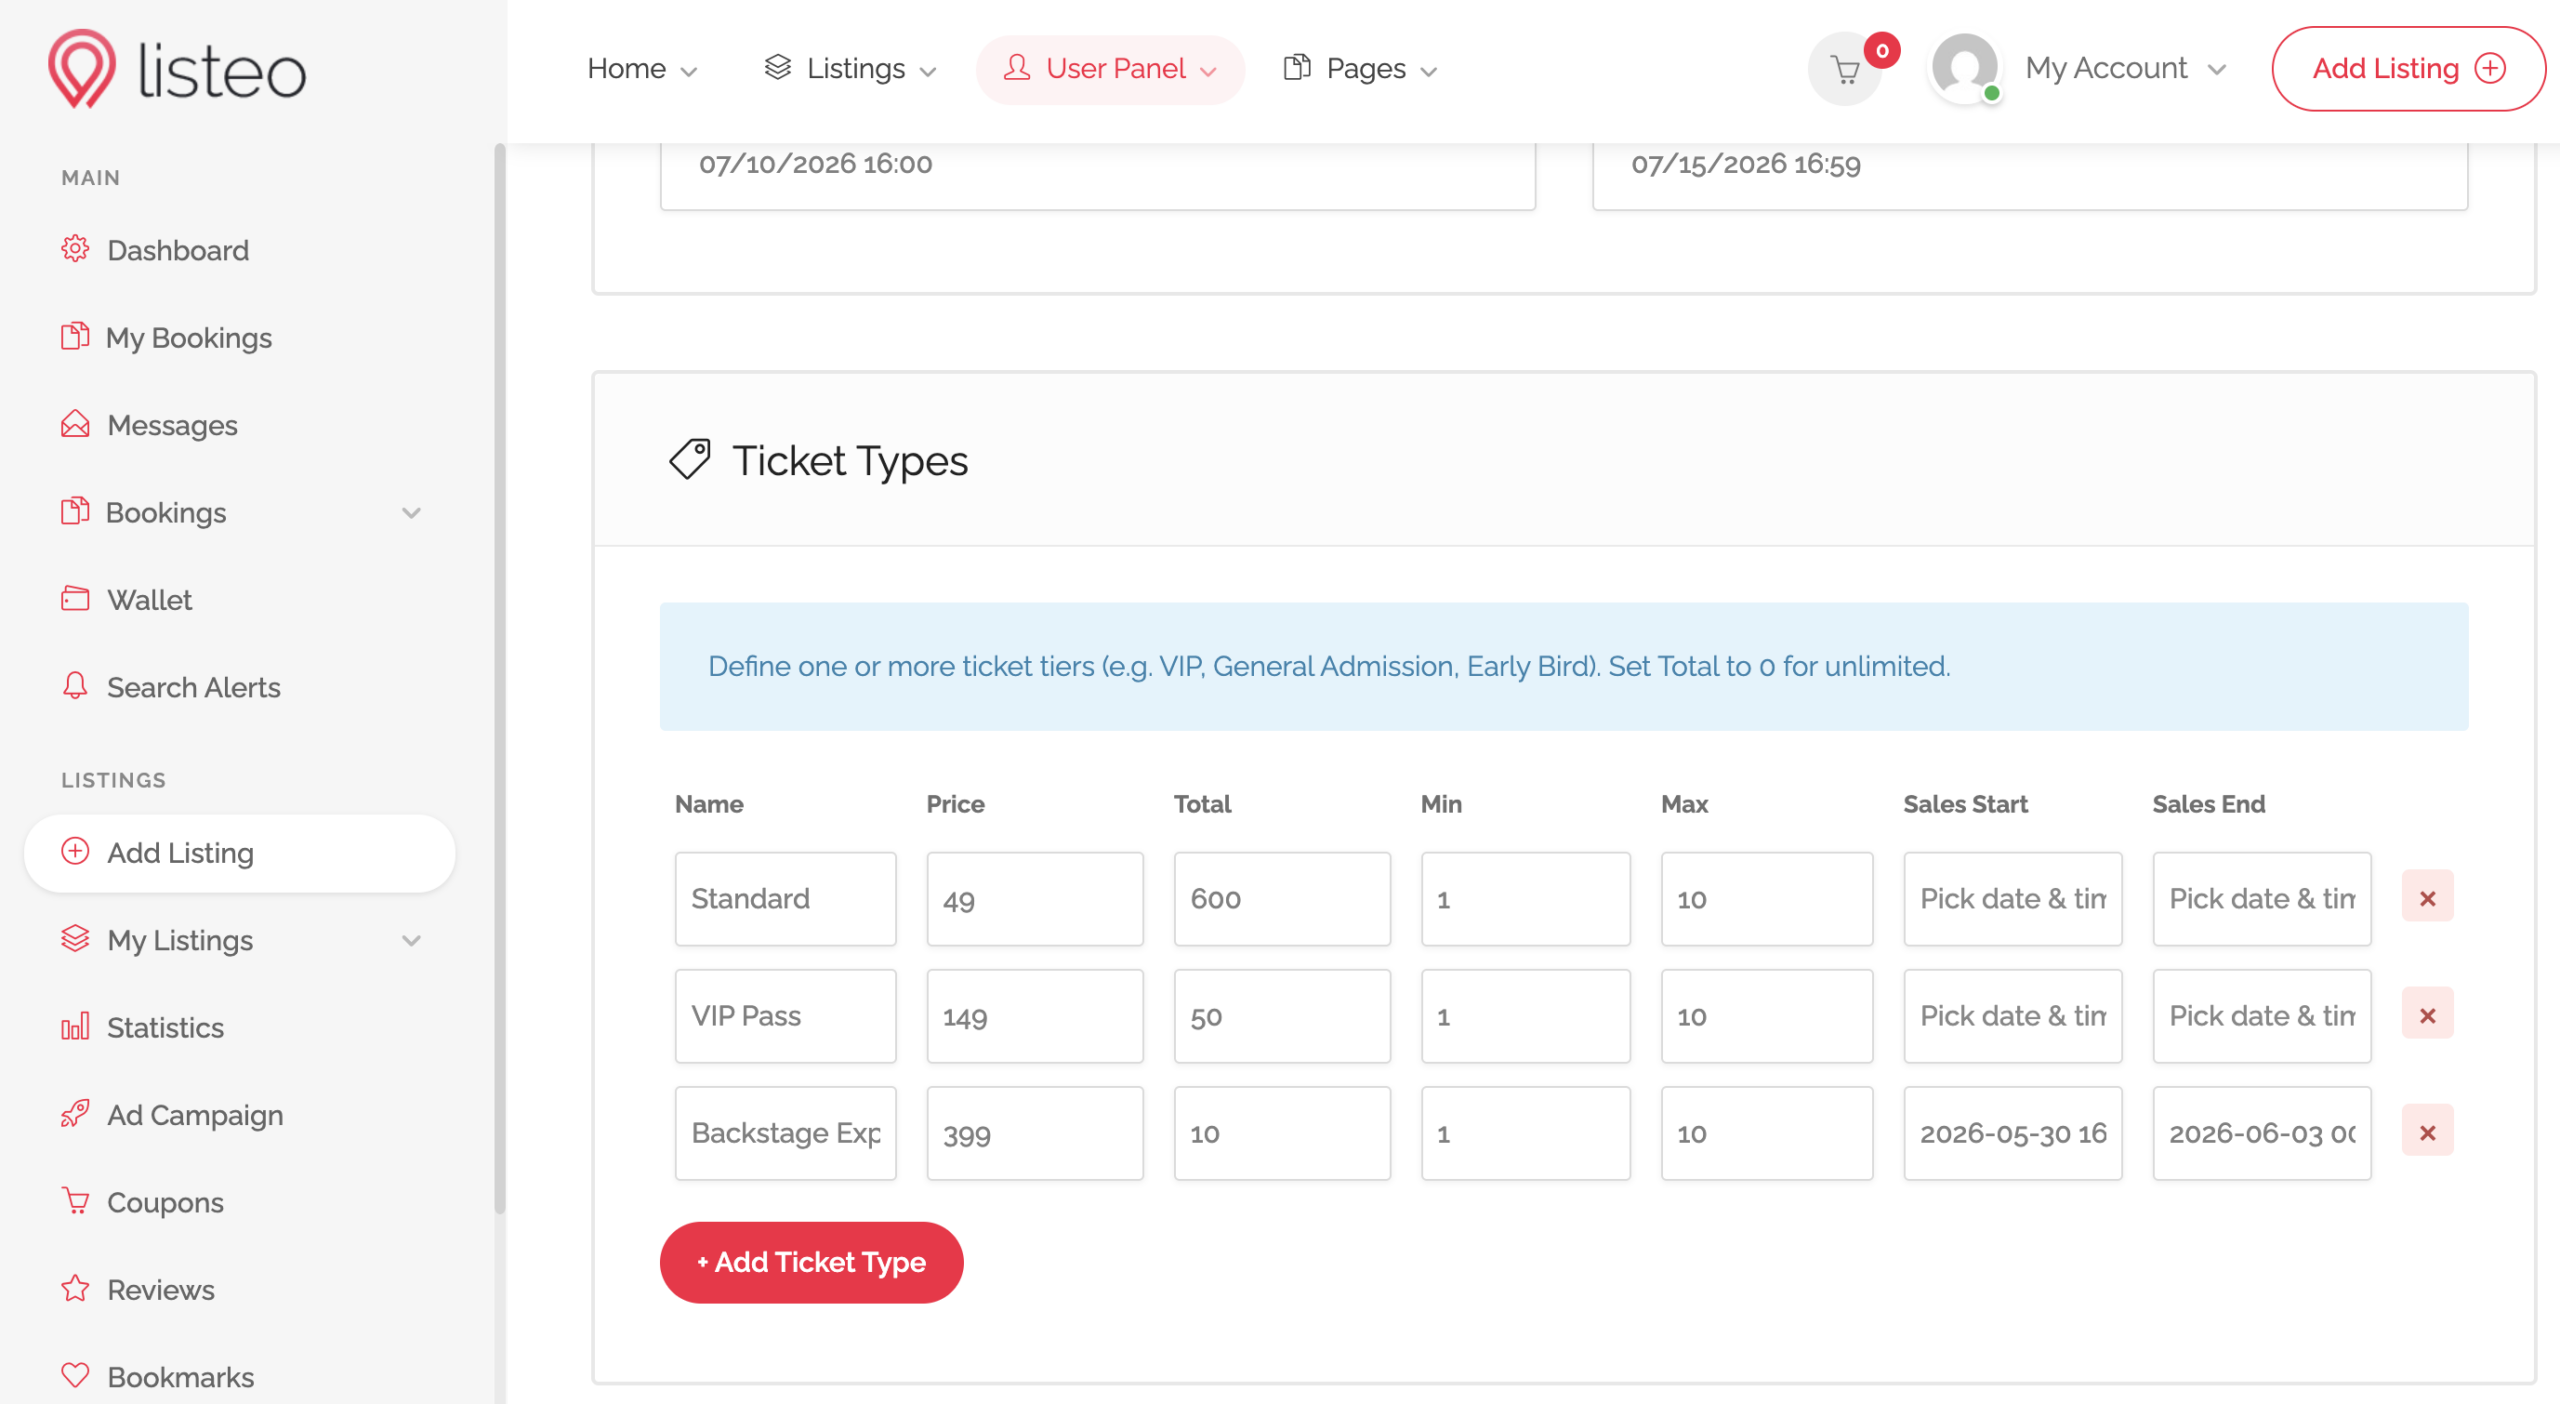
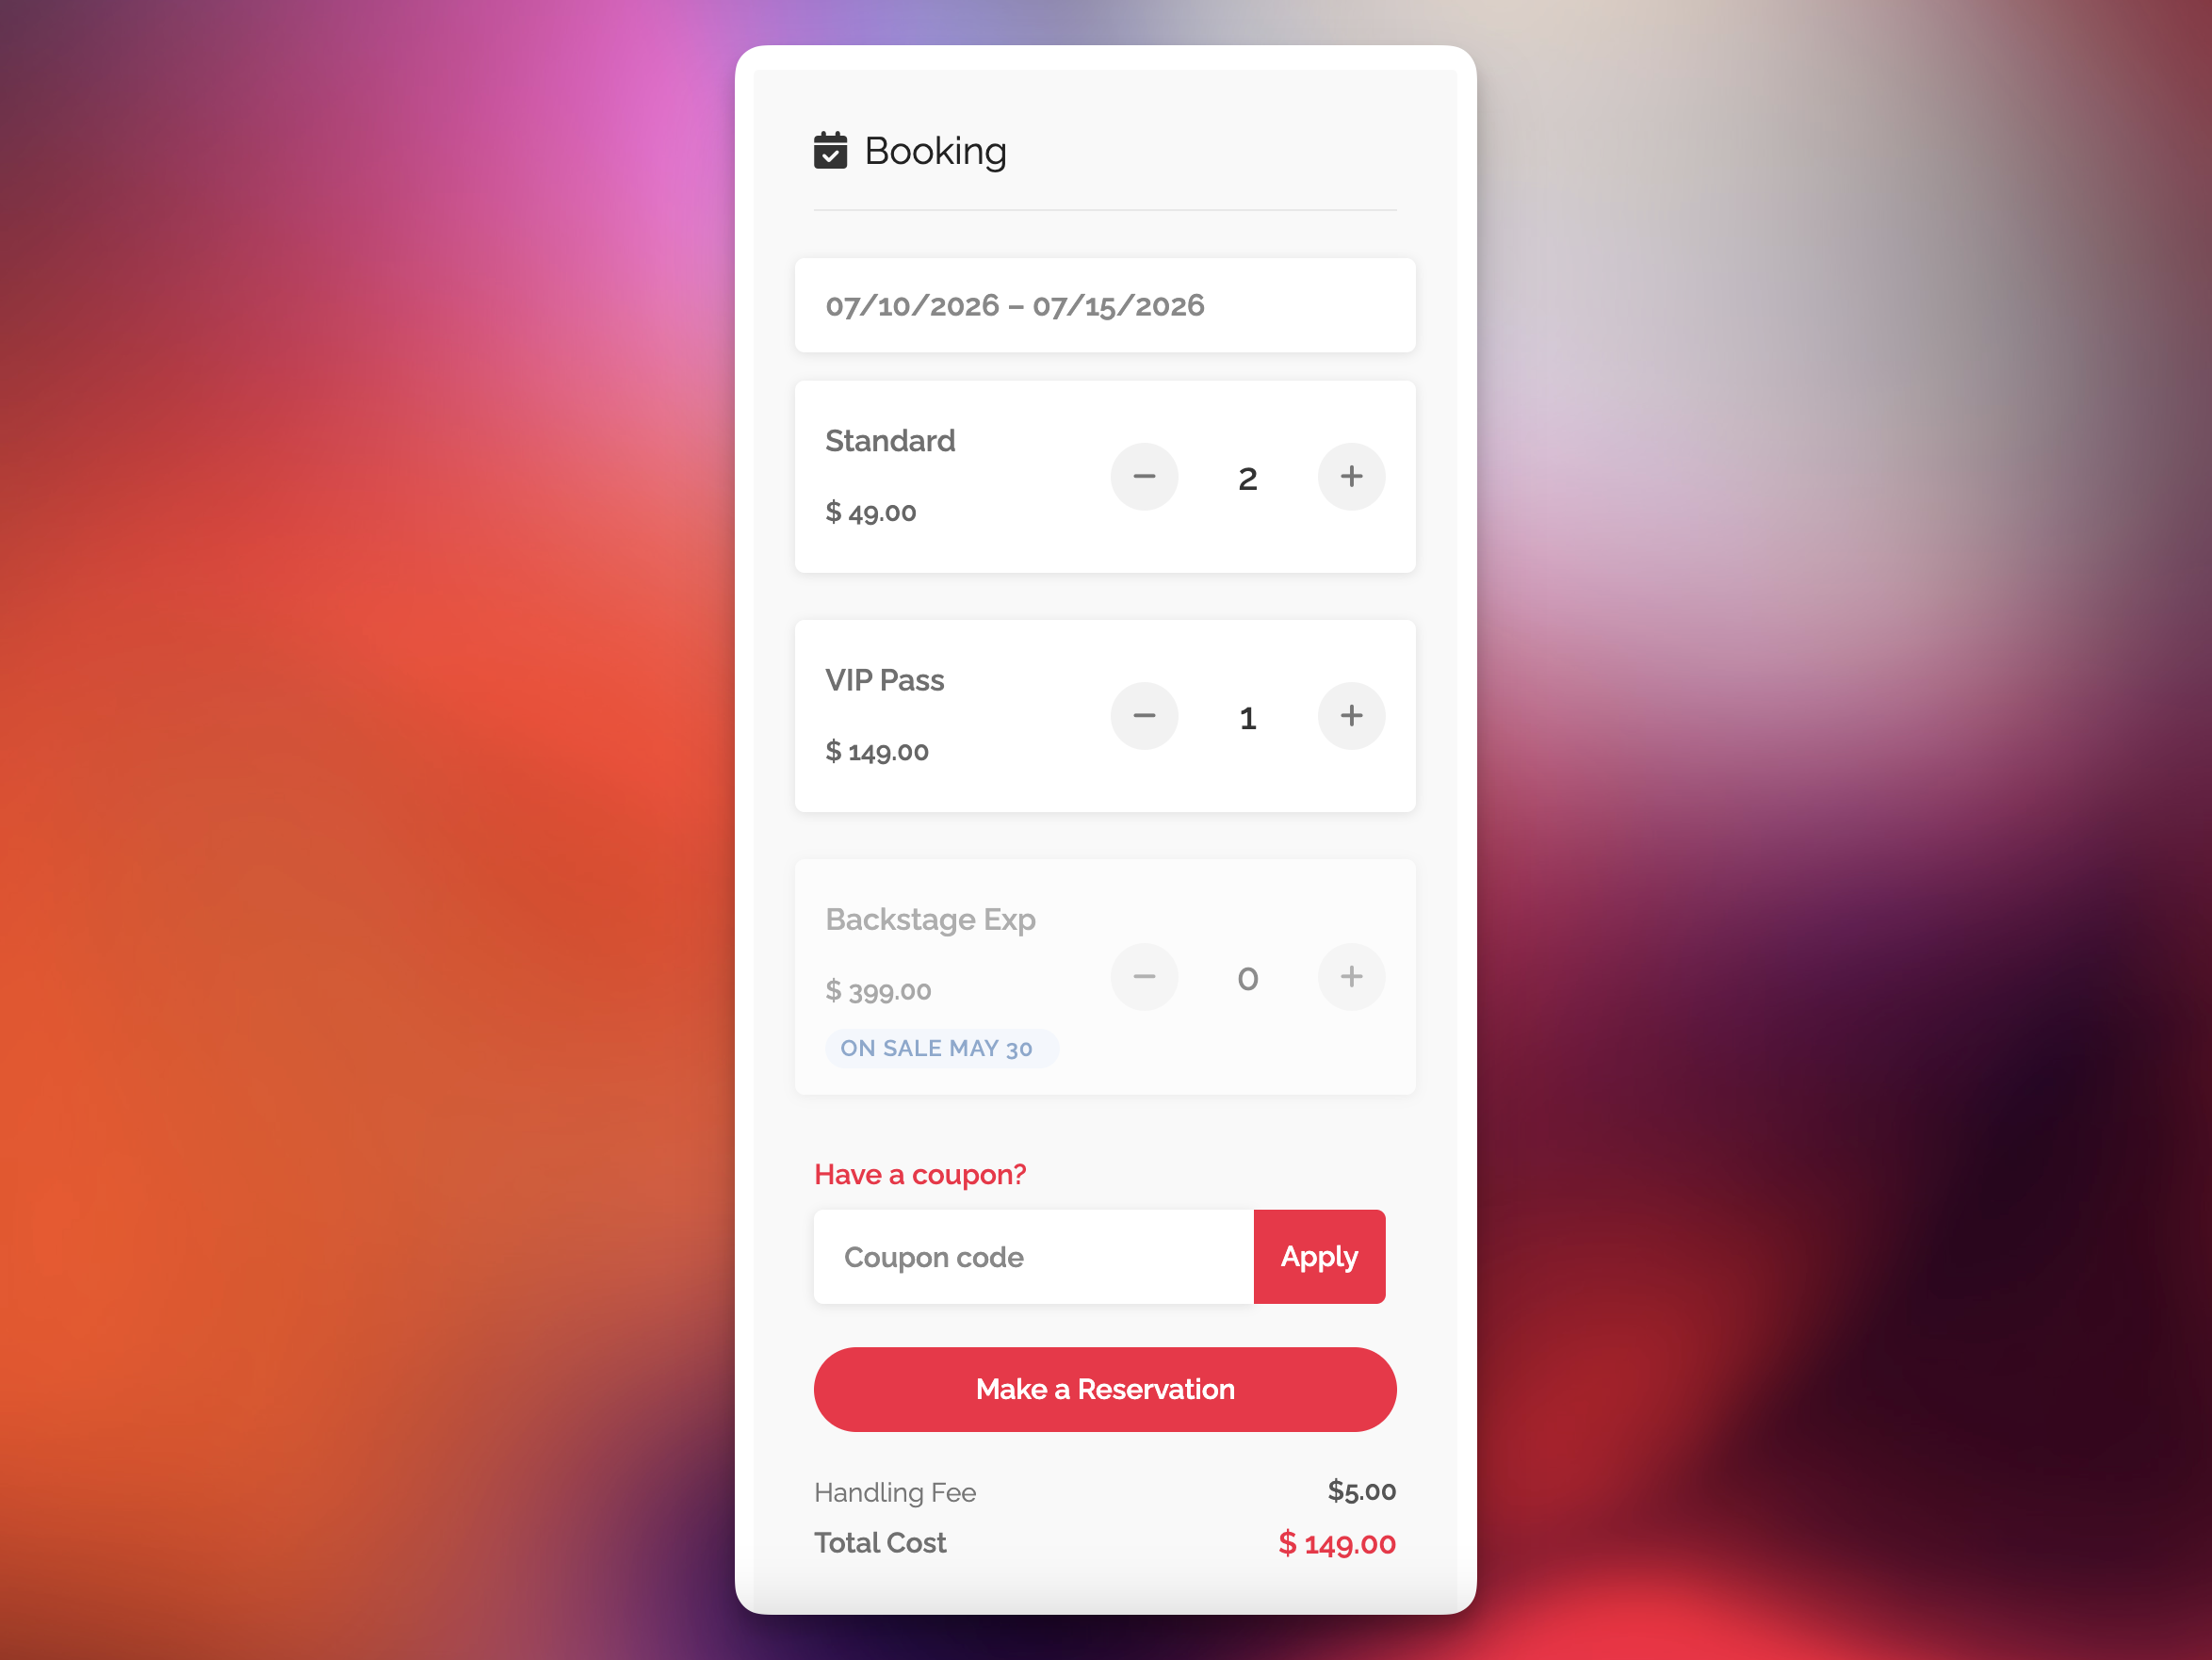
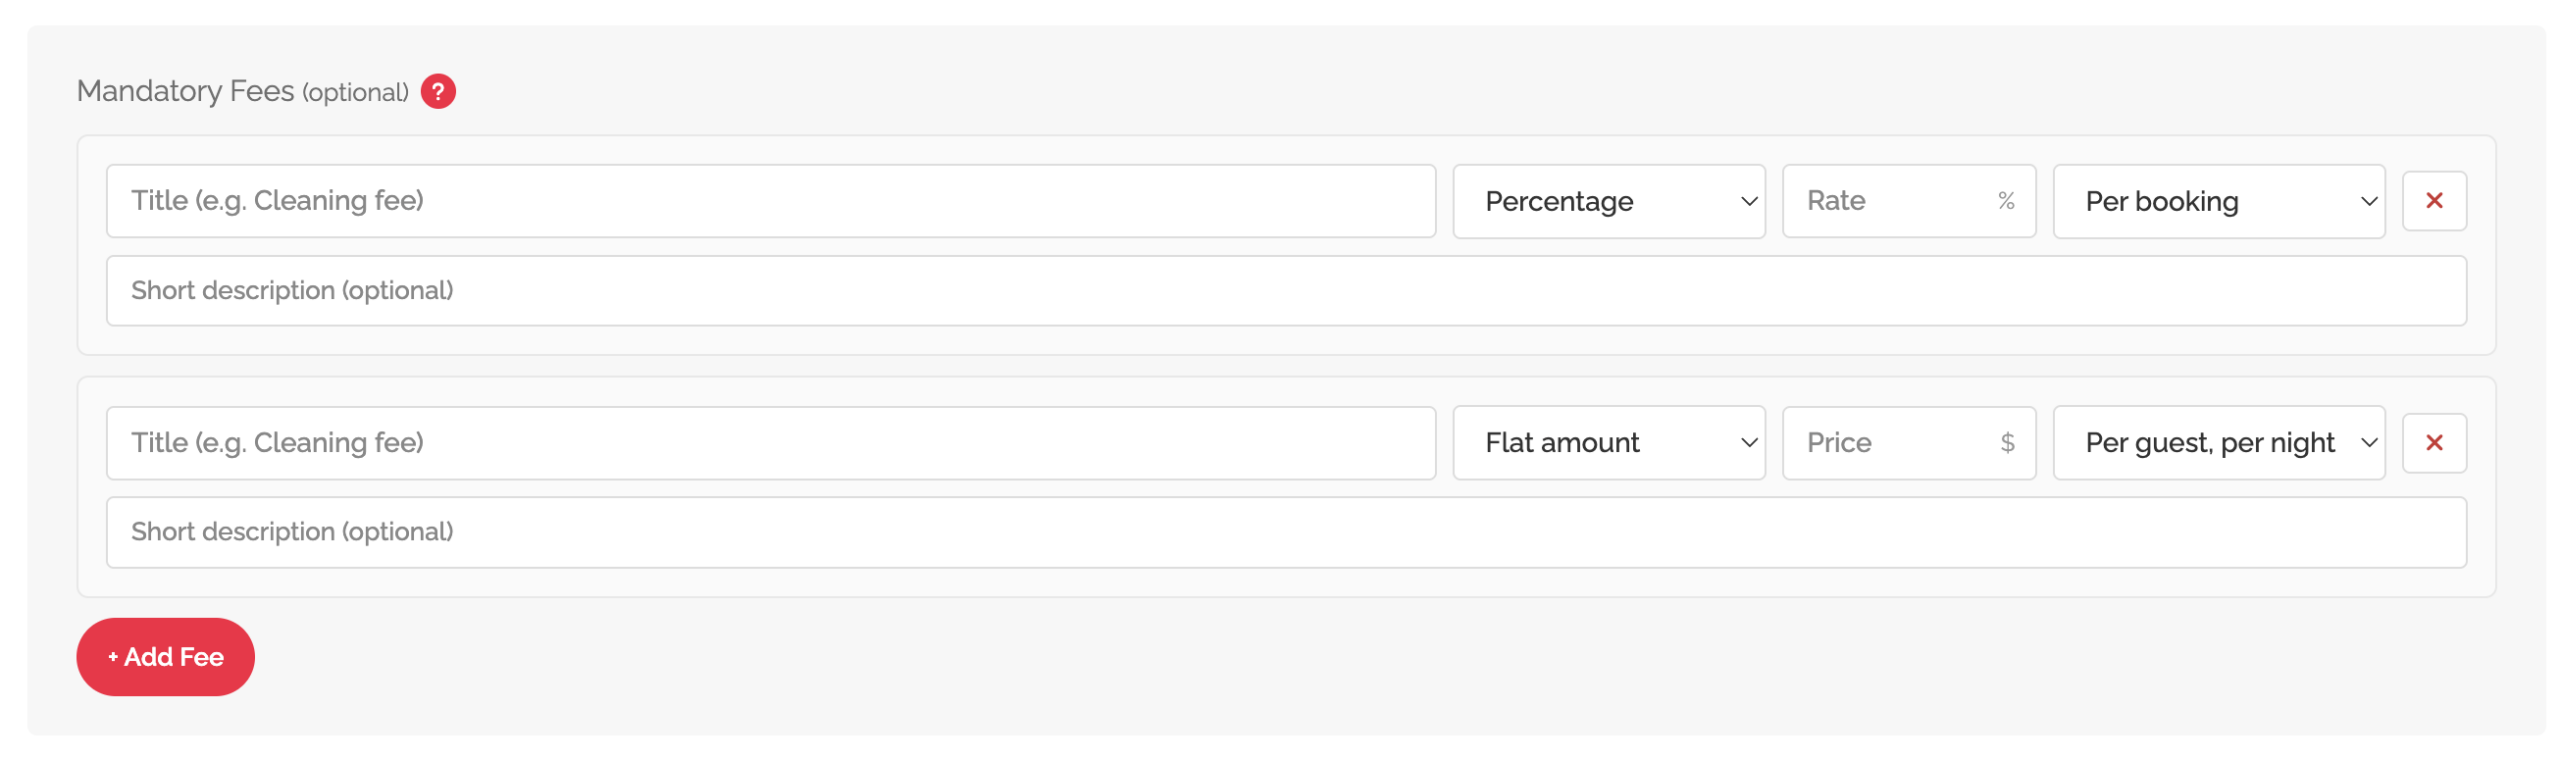
- Multi-tier ticket events now include the listing's Mandatory Fees in the booked price.
- With no minimum advance notice configured, the popup now refuses past start times.
Fixes
- Percent-based fees are now computed on the ticket subtotal, and the popup price breakdown now itemizes each fee alongside the ticket lines.
1.0.17
New
- Booking popup and team member profile popup now open with a zoom/fade animation
Updated
- Booking popup price preview now includes the "add" commission, shown as a "Site fee" breakdown line, so guests see the same total the checkout charges (standard, event/ticket and resource bookings). The breakdown stored on the booking matches too.
Fixes
- The popup open-during-close race fix ("Cannot read properties of null (reading 'inline')"), which also guards the theme's and Core's popups since they share the same Magnific singleton.
1.0.16
New
- New hook: lbp_resource_list_row_details - Lets devs inject custom per-resource content (e.g. internal notes) into each resource row server-side.
Fixes
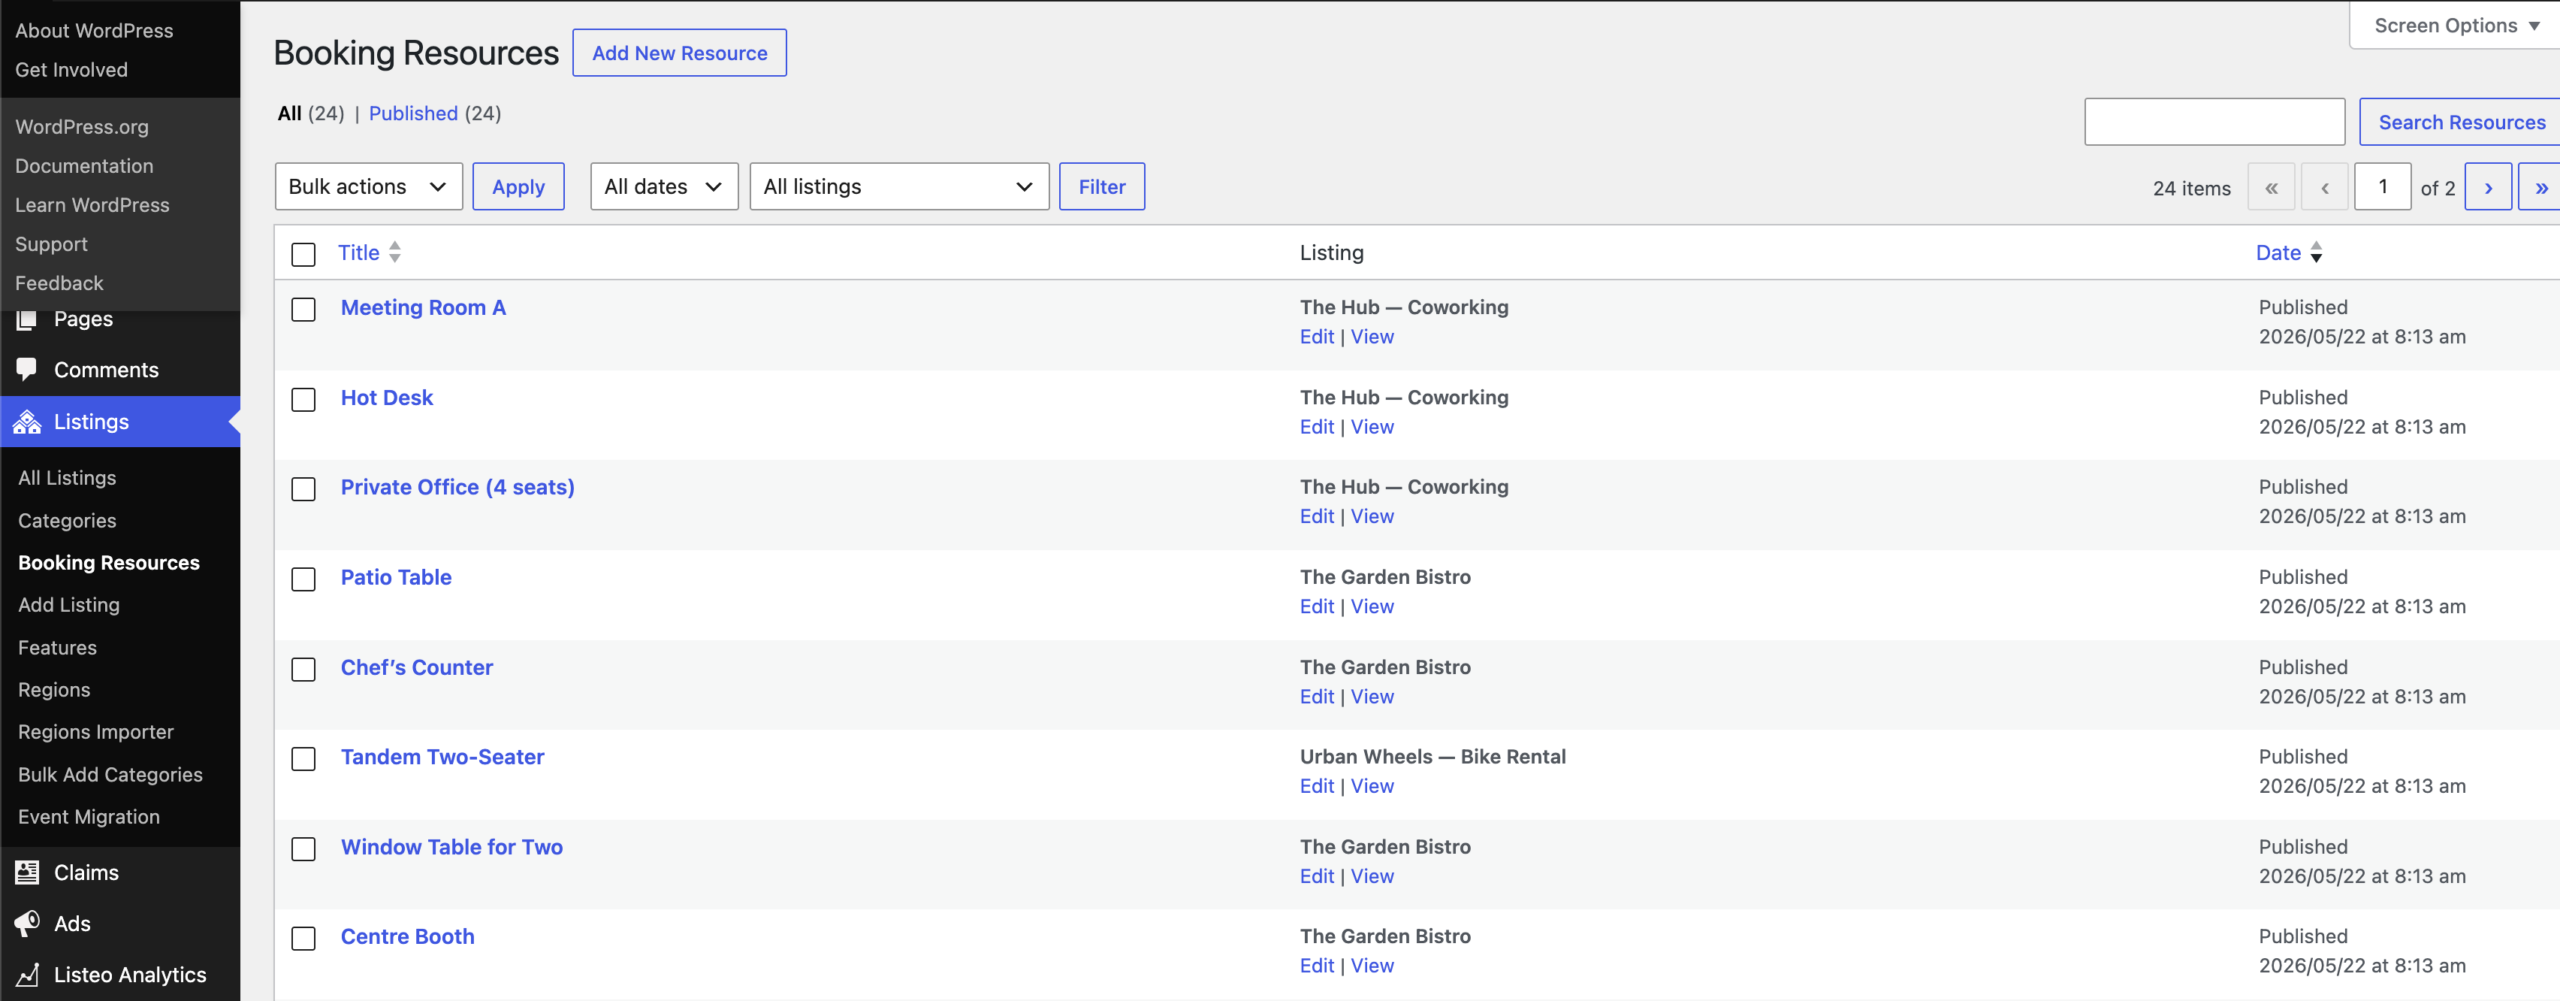
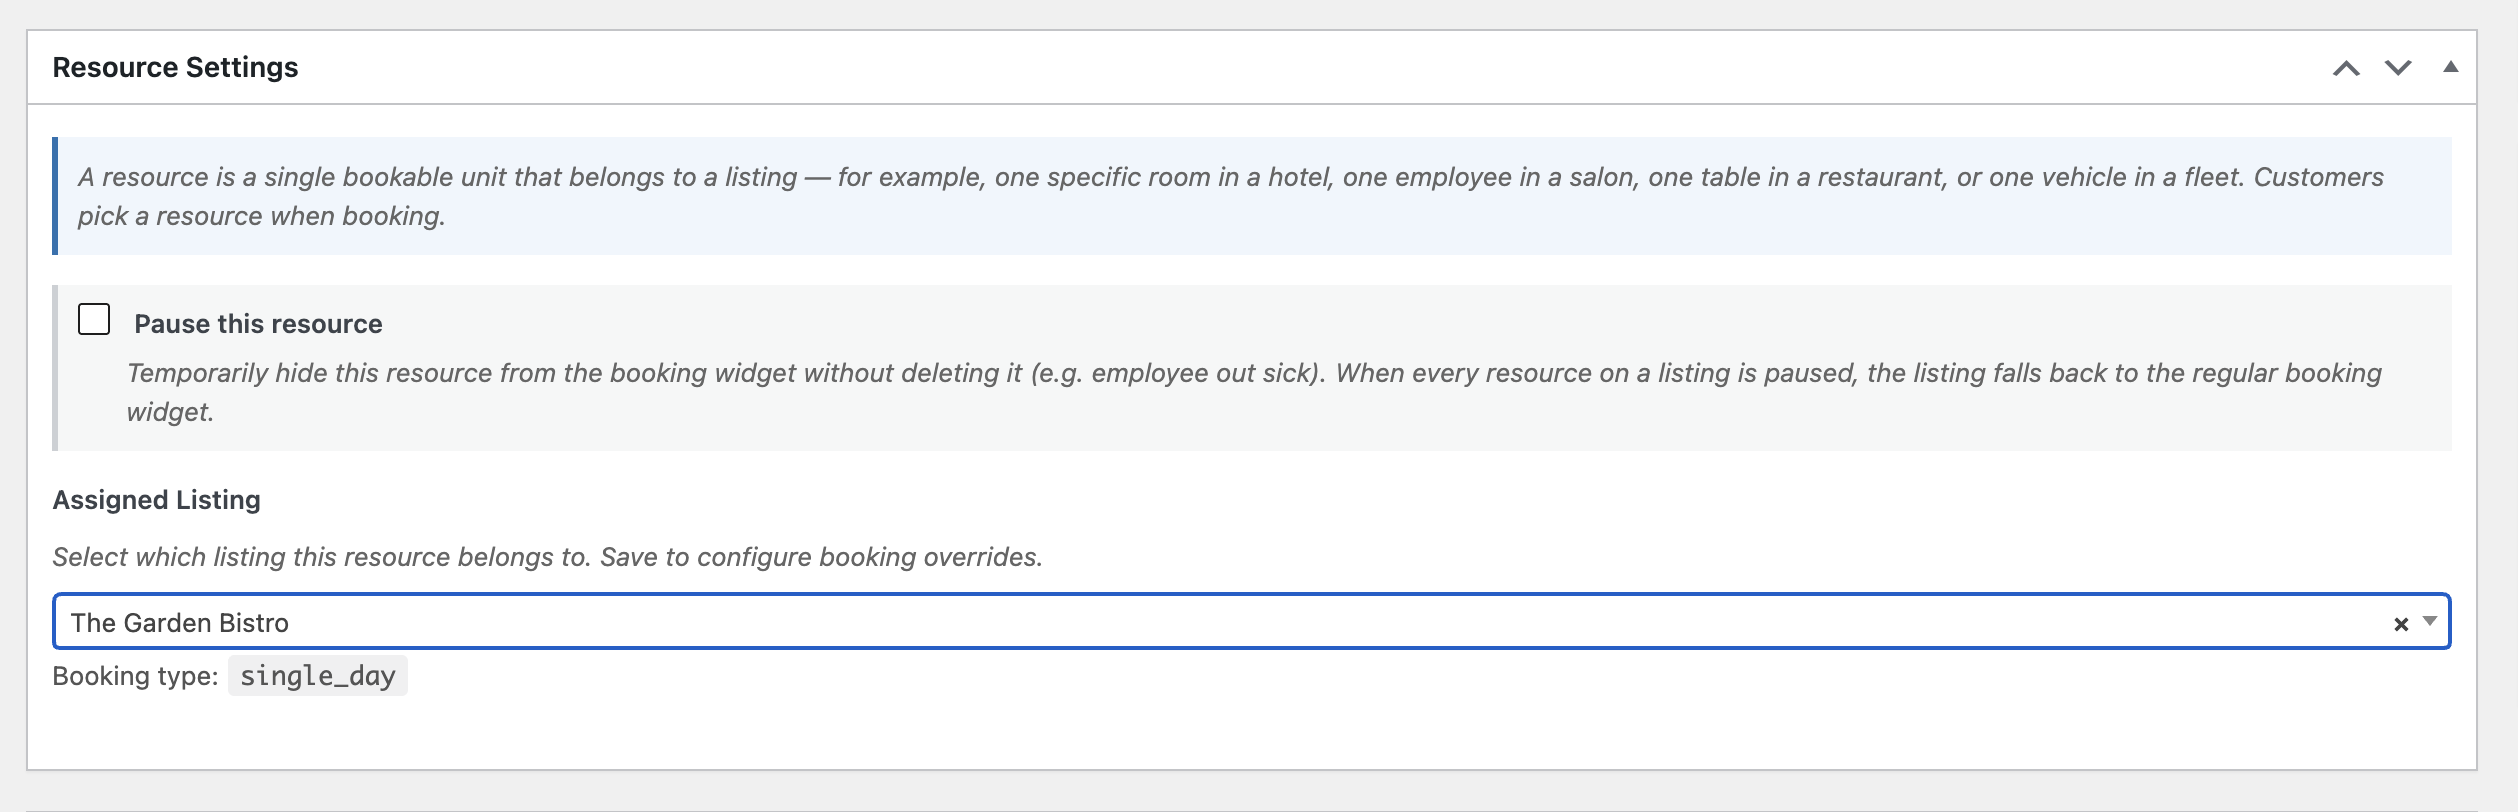
- Resource manager access fix - Any active team member can now open resource manager (role no longer blocks entry); per-resource permissions still gate what they can actually touch.
- Duration + resource time slots bug - Fixes bug when listings slots configuration was used over the resource config
- Weekday timezone bug - Slot weekday is now computed server-side instead of browser-side, fixing wrong-day slot selection for visitors west of UTC.
- Race condition on quick date/team switches - Stale slot responses are now discarded so they can't overwrite newer ones.
- Date format bug - Compact dates across the booking widget/popup now respect the site's actual date order (day-first sites no longer get month-first dates); new lbp_short_date_format filter for overrides.
1.0.15
Fixes
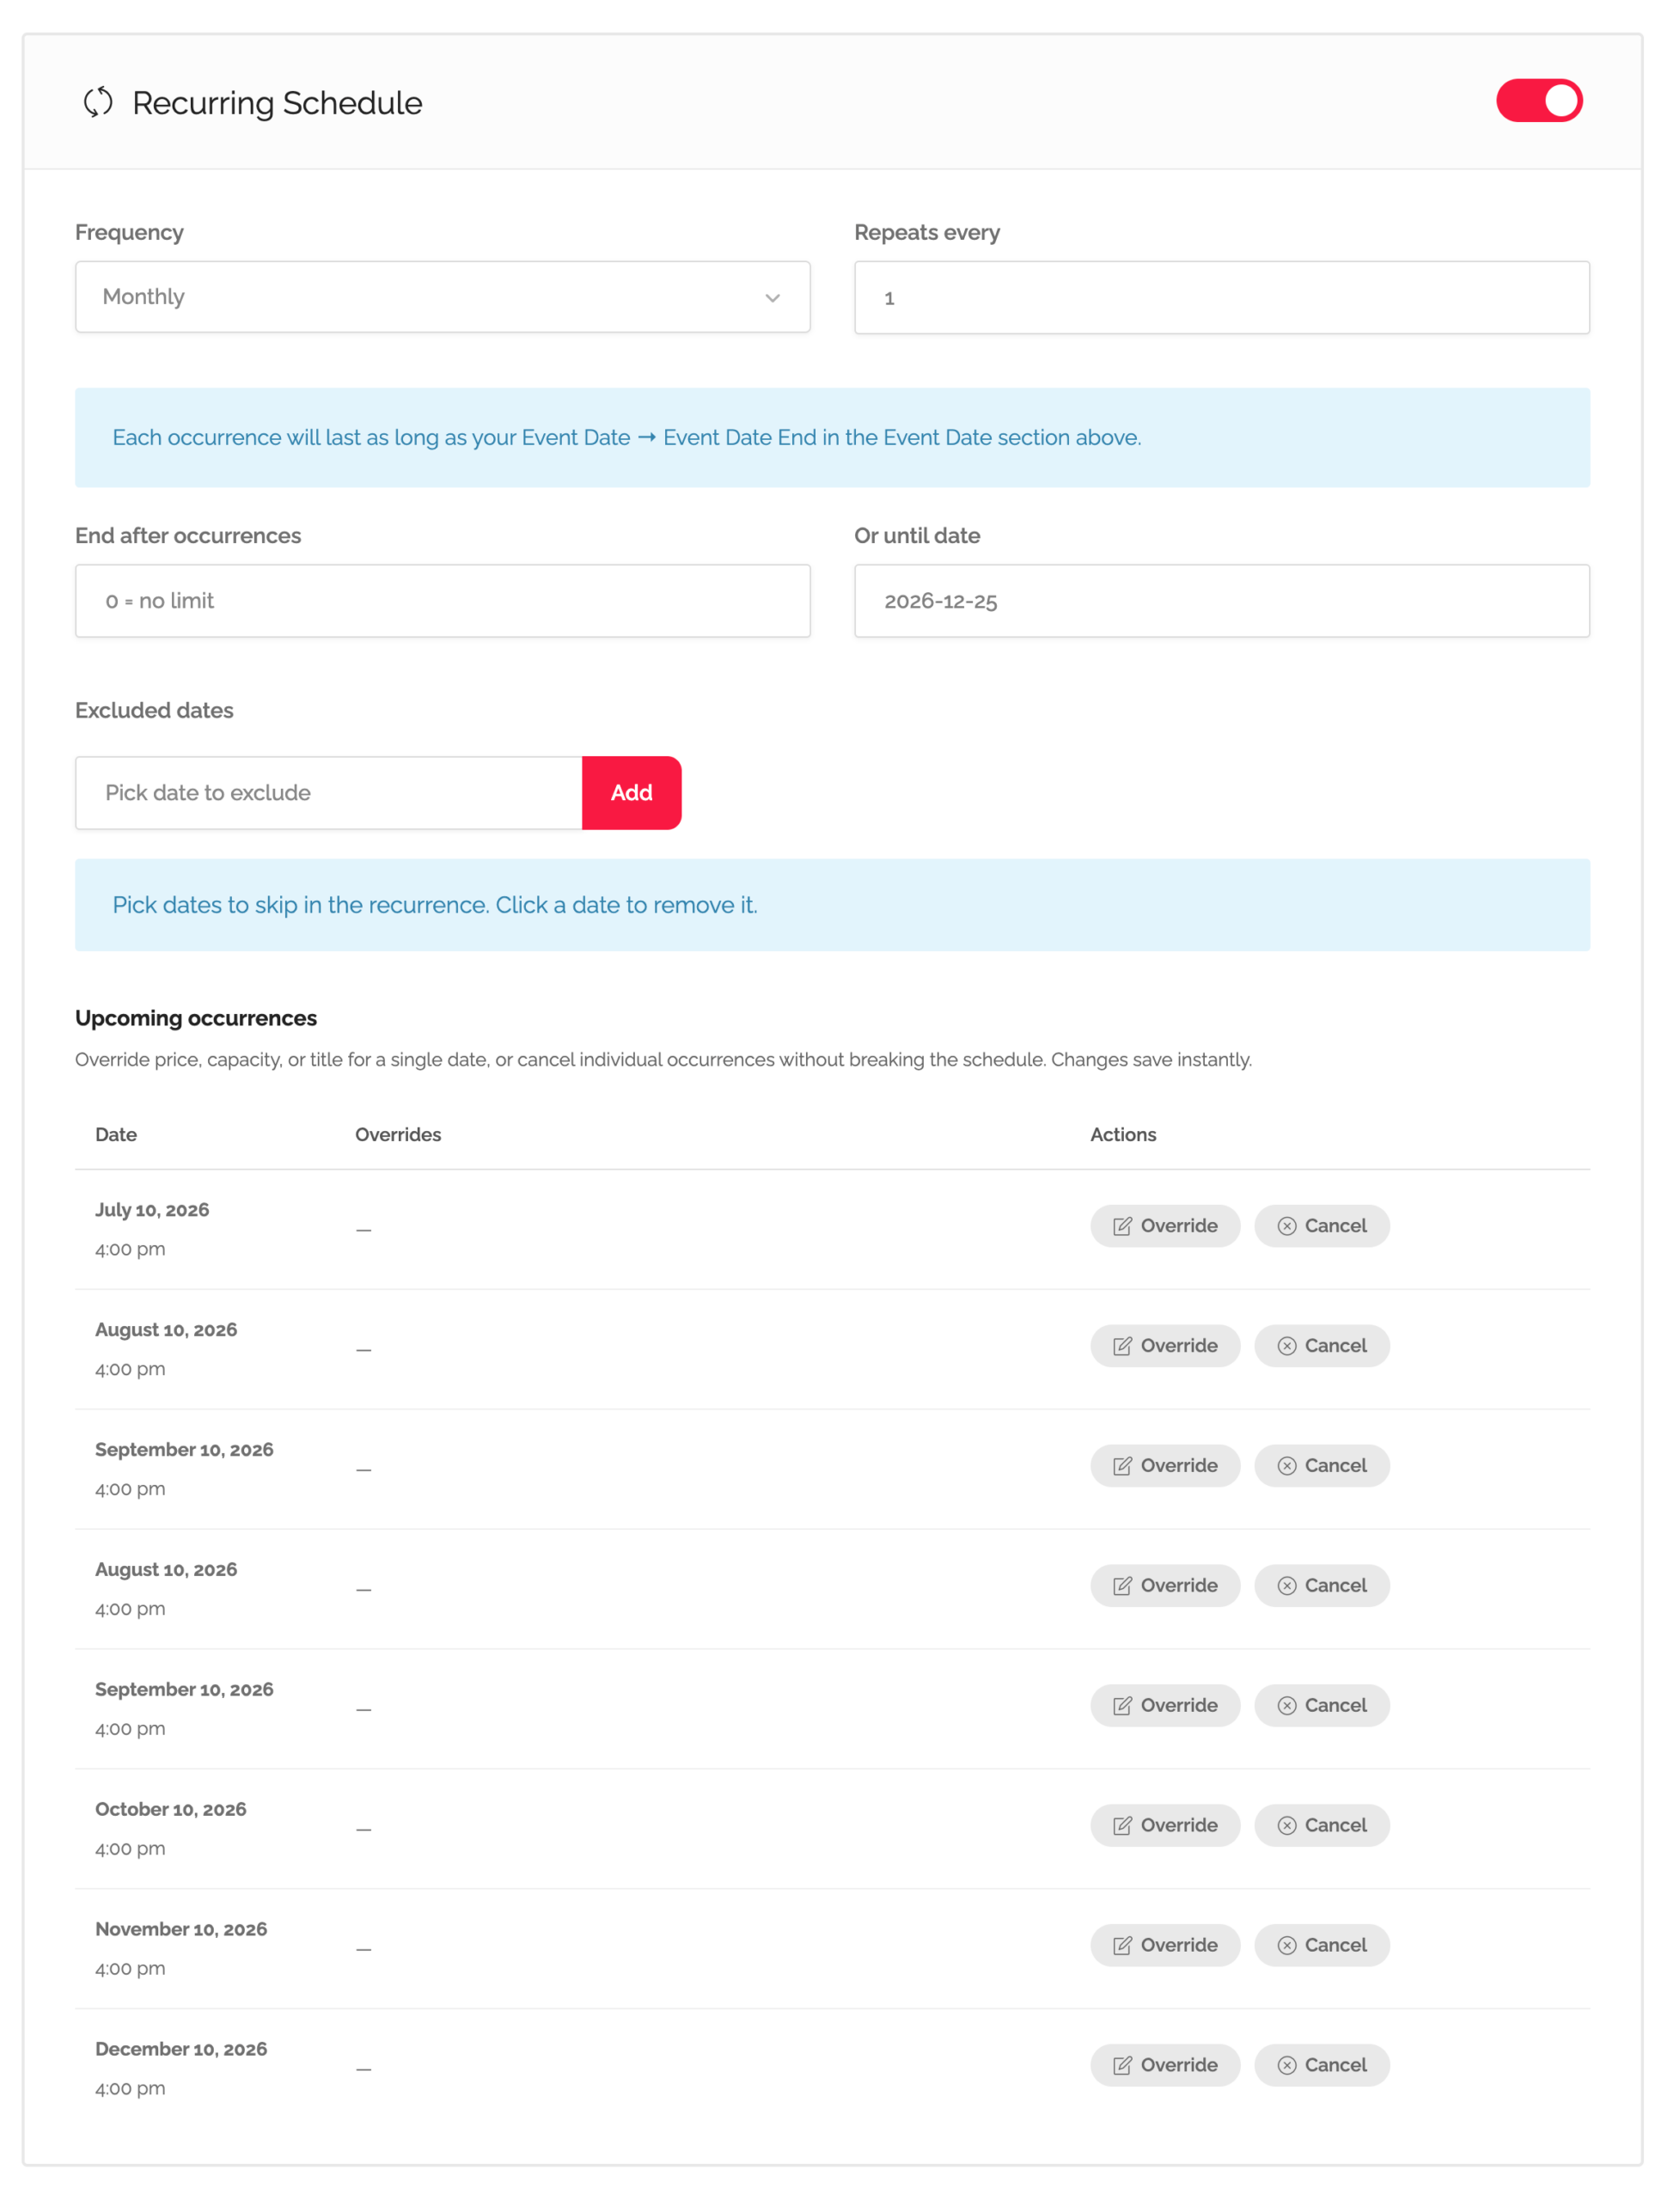
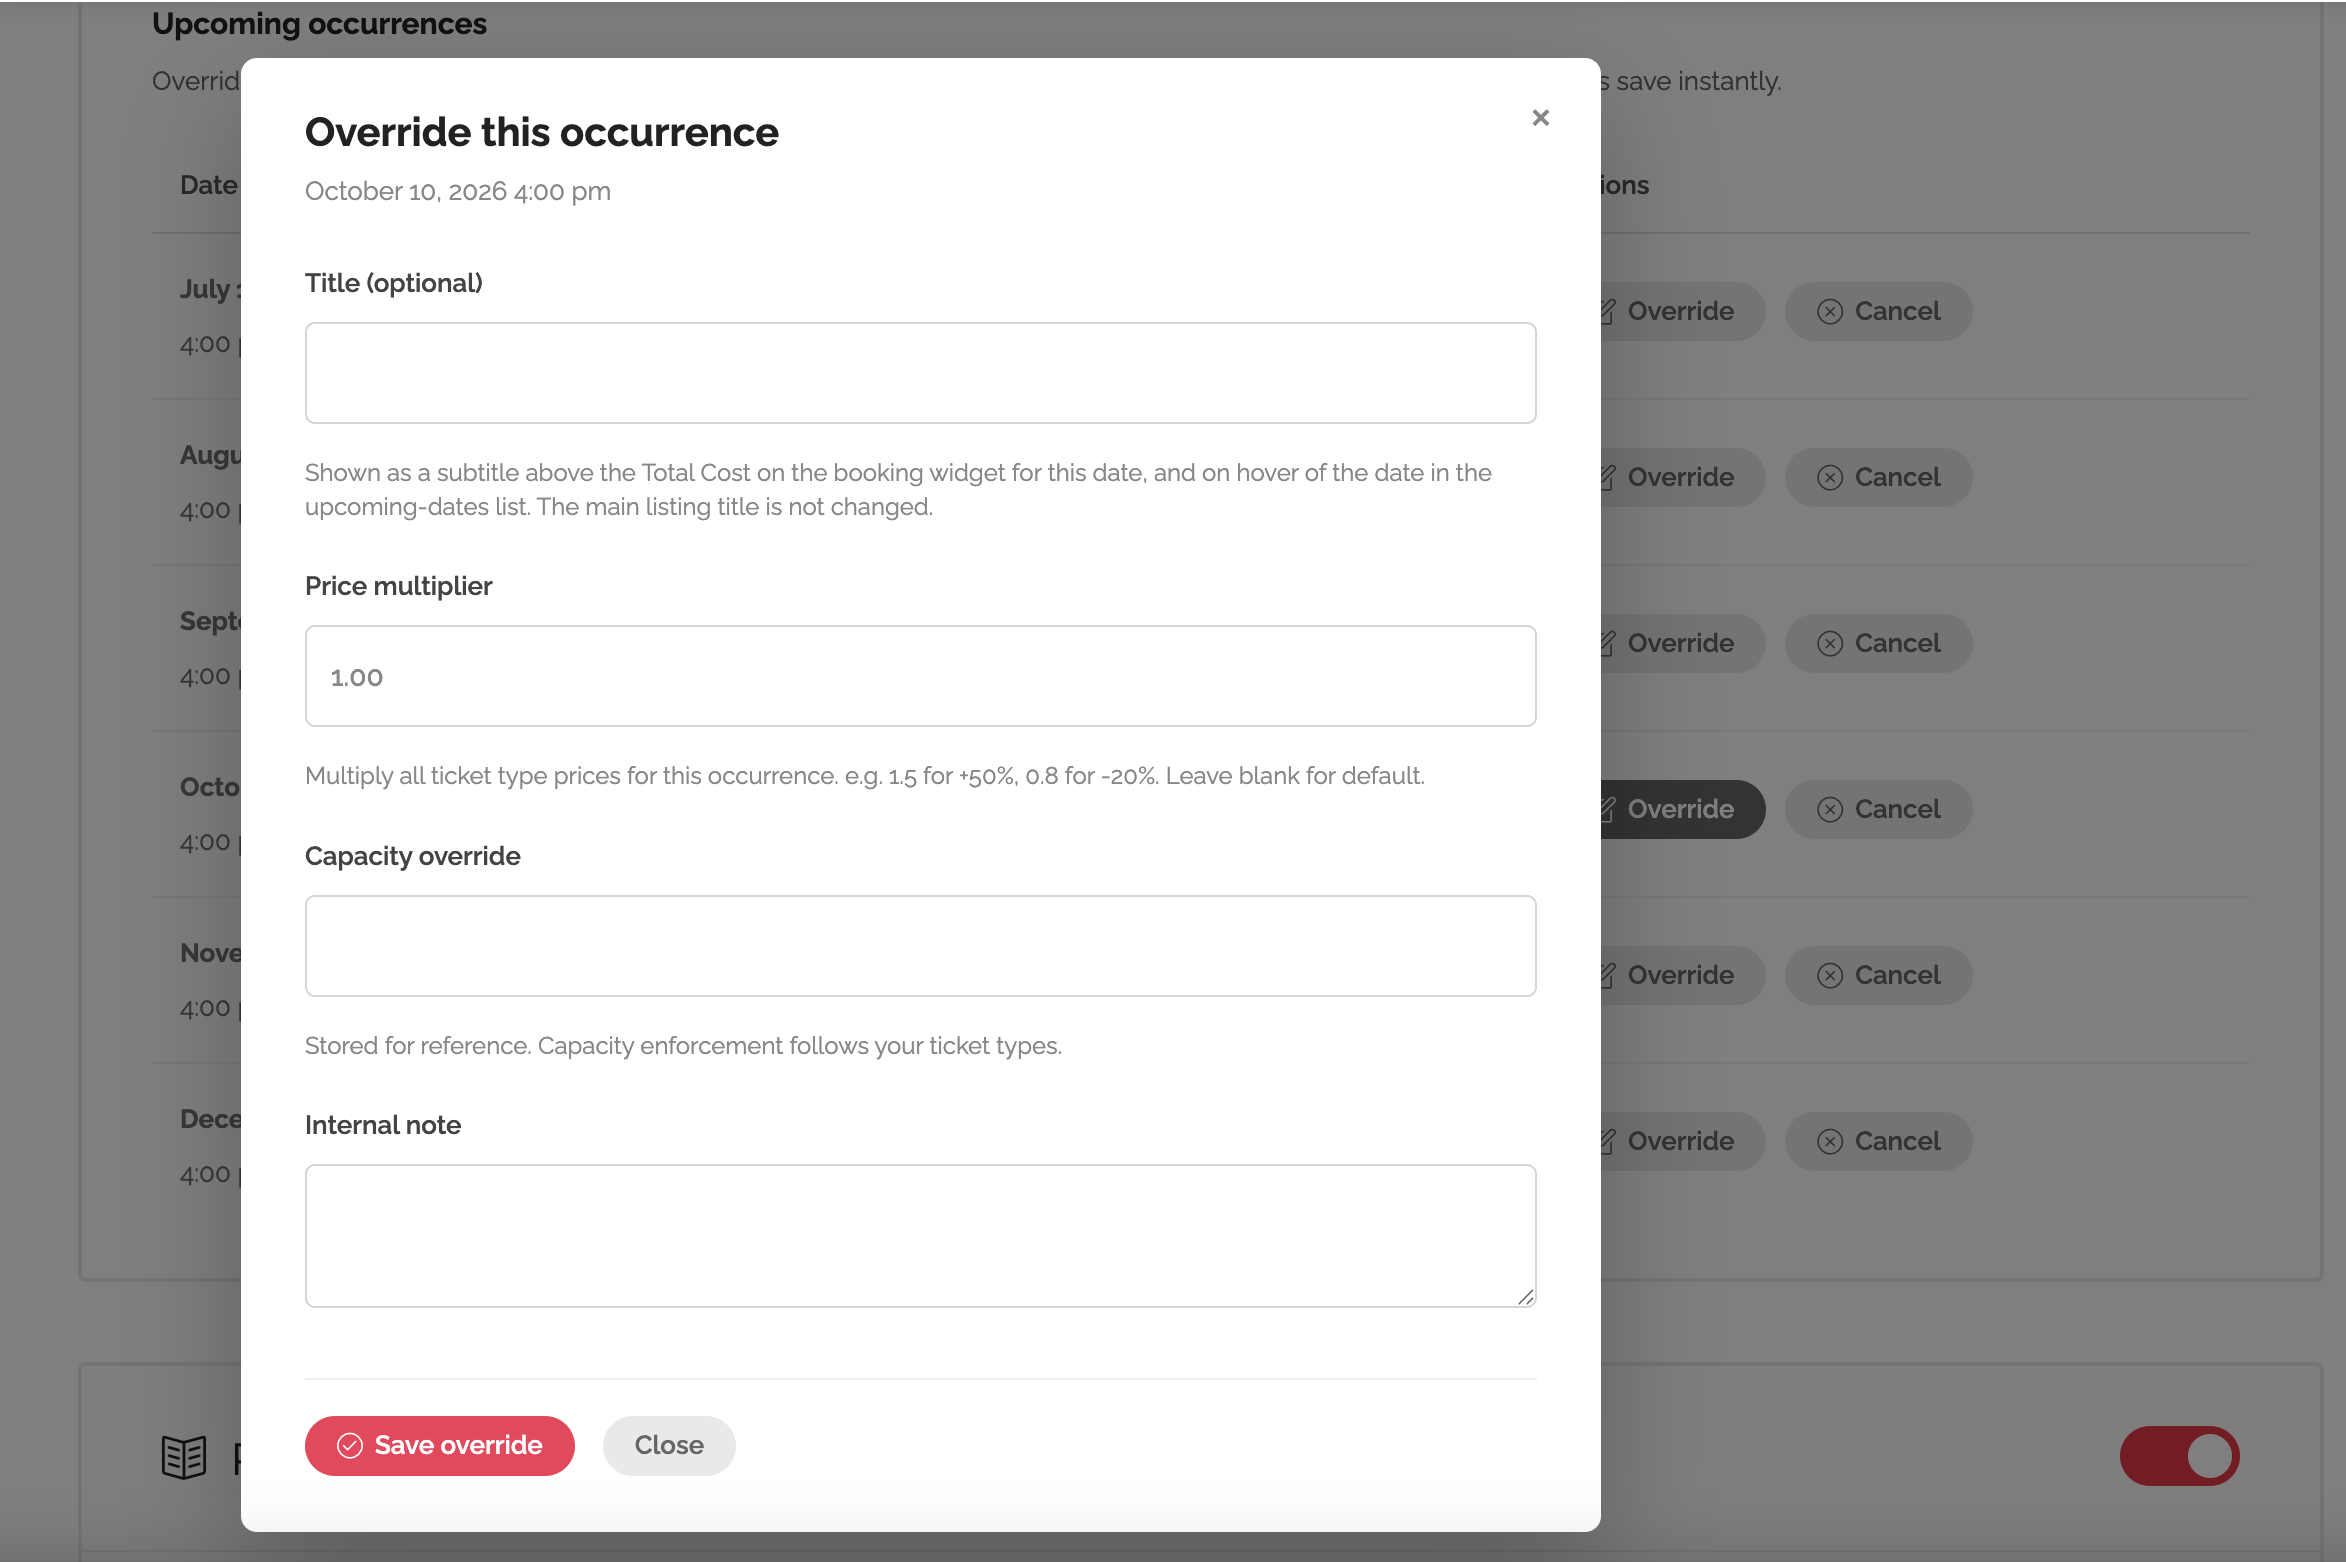
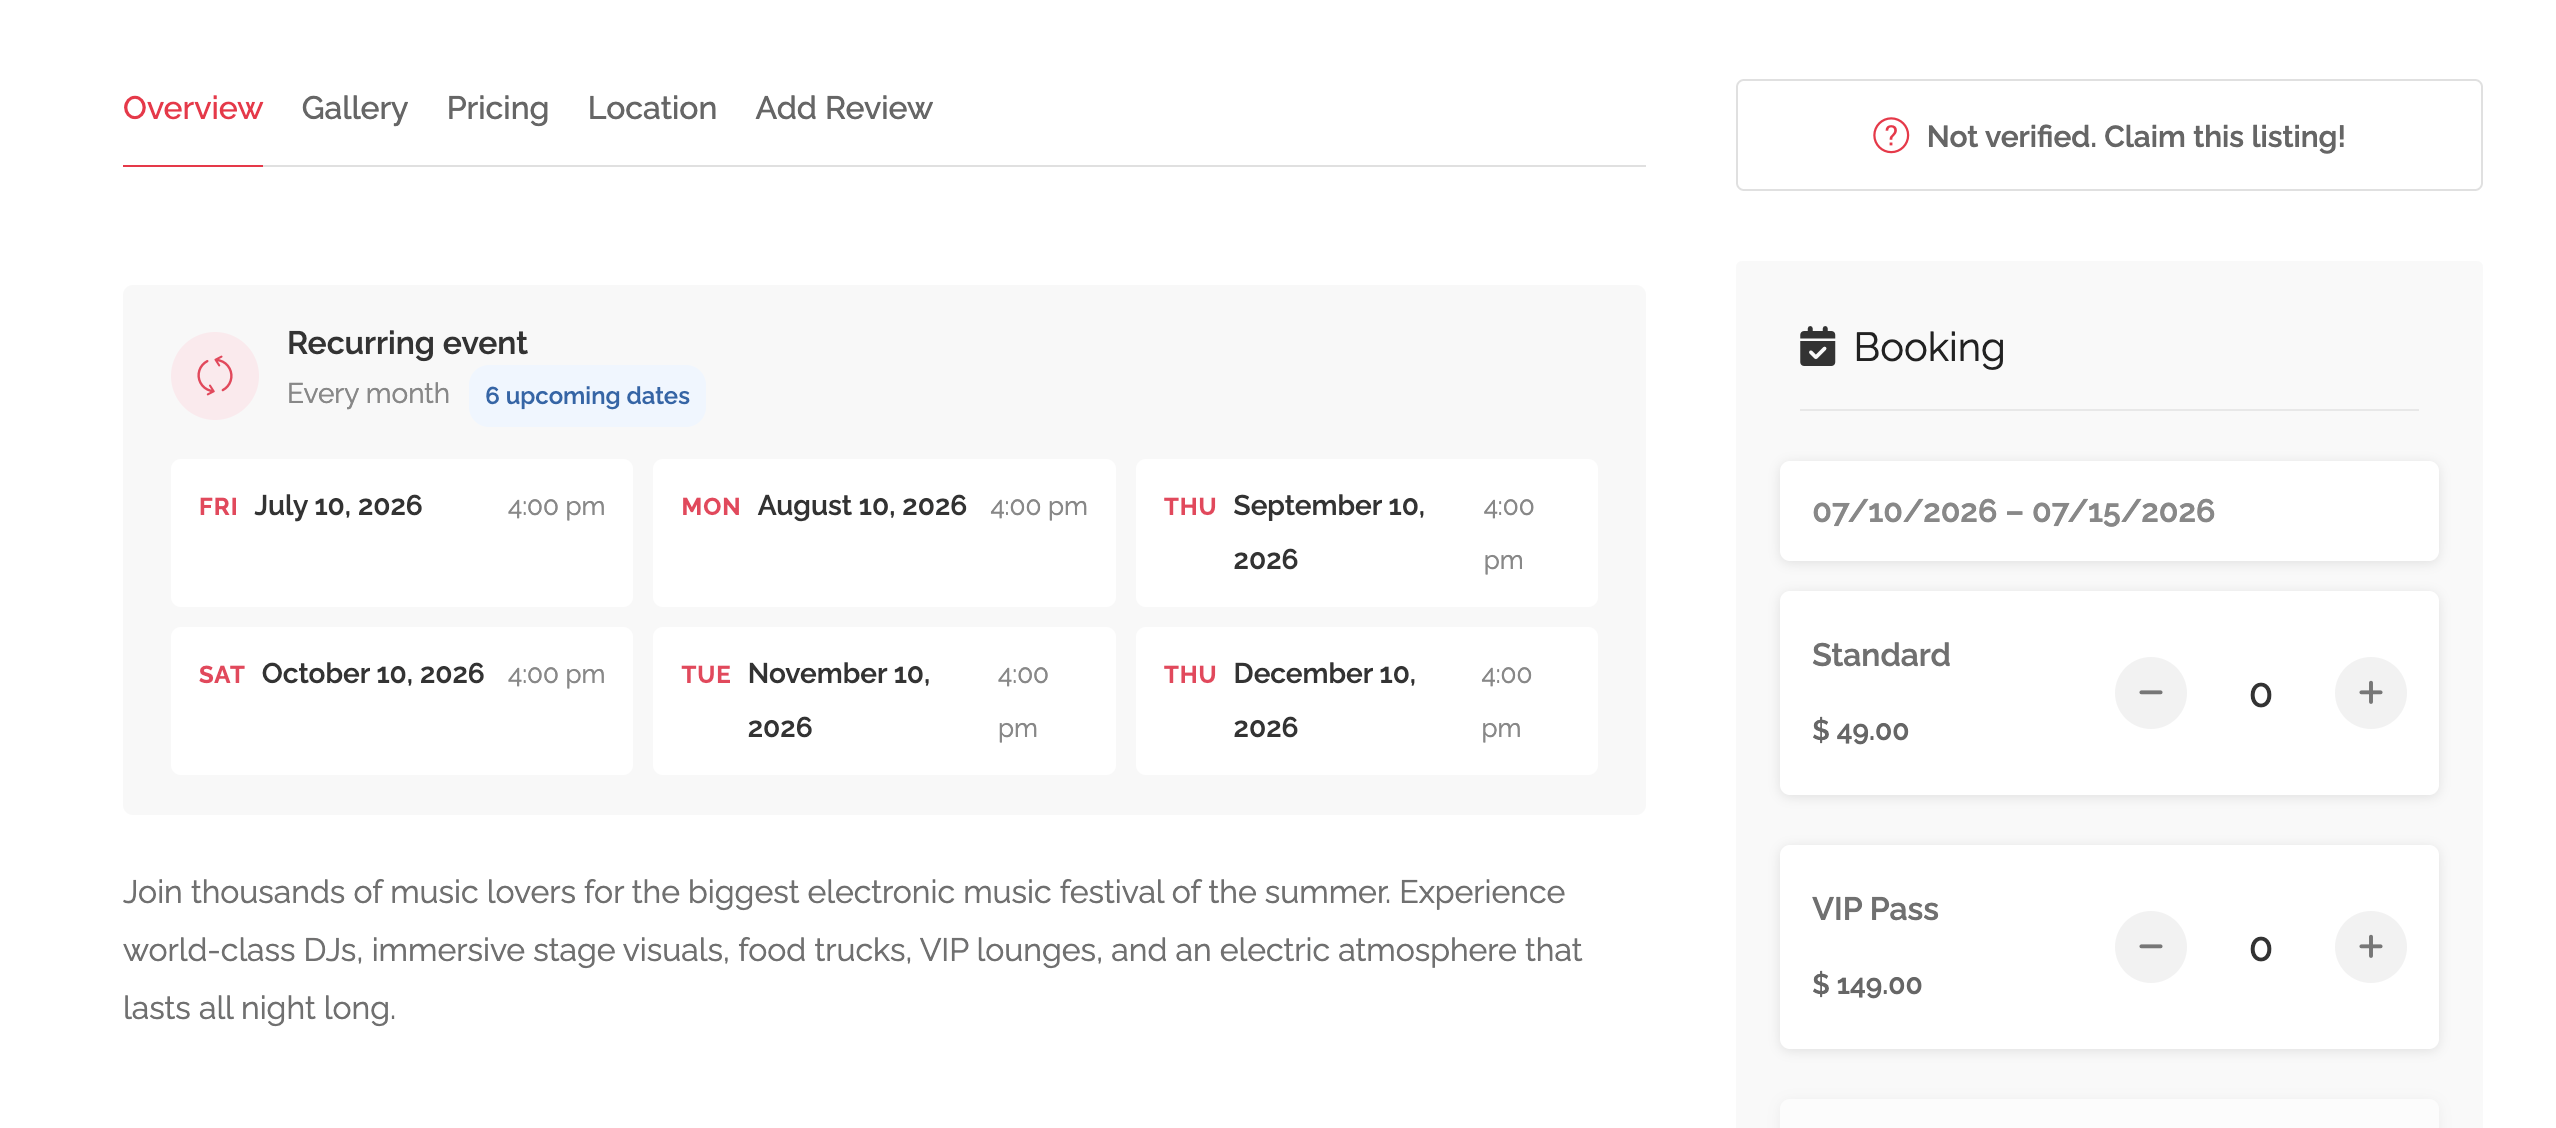
- capacity issues on recurring events
1.0.14
Fixes
- resource popup fixed on mobile; booking dates no longer drift to 2029–2030; per-resource minimum days enforced.
- Booking Plus admin resource editor now matches the frontend.
New
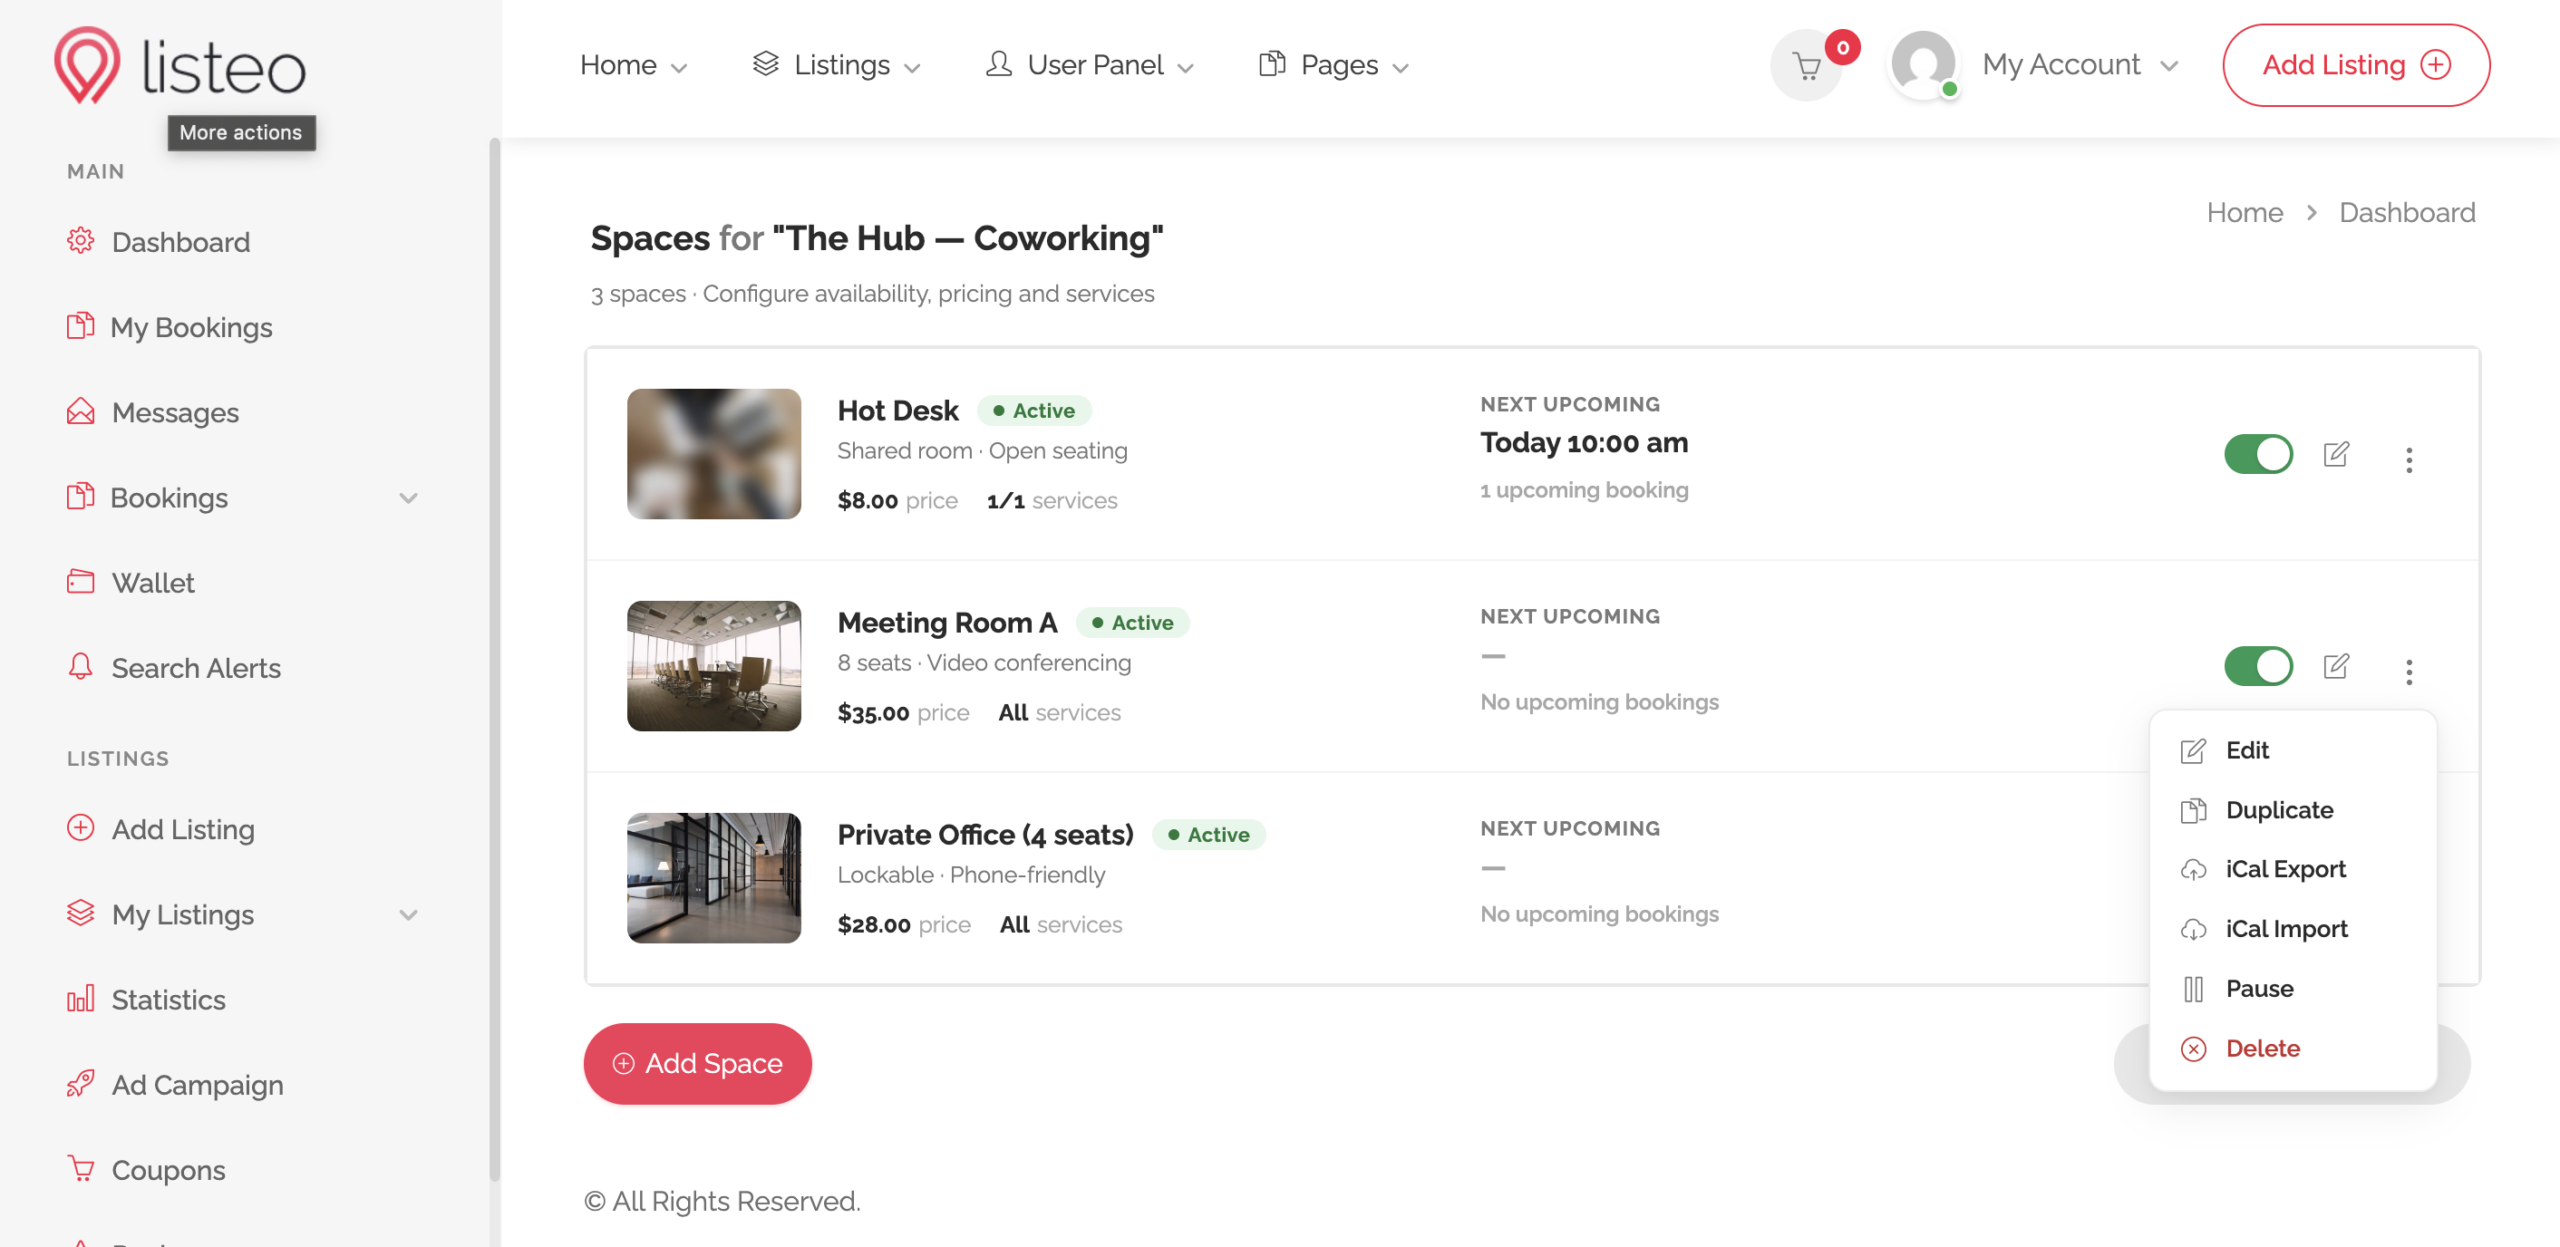
- Booking Plus ticket types and recurring schedule can be used as multi-step form sections
1.0.13
Fixes
- Availability Calendar on the resource form saves reliably (was broken/collapsed, toggle didn't persist).
- "Import slots from main listing" now persists.
- Popup bookings now save custom booking fields (requires companion Core update).
- Multi-step submit form: Ticket Types & Recurring Schedule now assignable to a step (requires companion Core + Forms & Fields Editor).
- Kept the existing mobile sticky "Book Now" fix.
Improved
- Styling improvements
- Tems support