
This guide gets WorkScout Monetization Plus installed and shows how it fits into your site, so you can sell recurring or one-time job, resume, and task packages plus paid memberships. It is our own extension and does not require WooCommerce Subscriptions or WooCommerce Memberships.
You can check landing page of WorkScout Monetization Plus and purchase it there.
What this plugin does
WorkScout Monetization Plus adds recurring and one-time payment options to your WorkScout job, resume, and task packages. The best part: you do not need WooCommerce Subscriptions to make it work.
It does more than job, resume, and task packages, too. The same billing powers memberships: you can lock any part of your site behind a recurring subscription, so only paying members see it. That part is covered in its own Membership & Paywalls article.
-
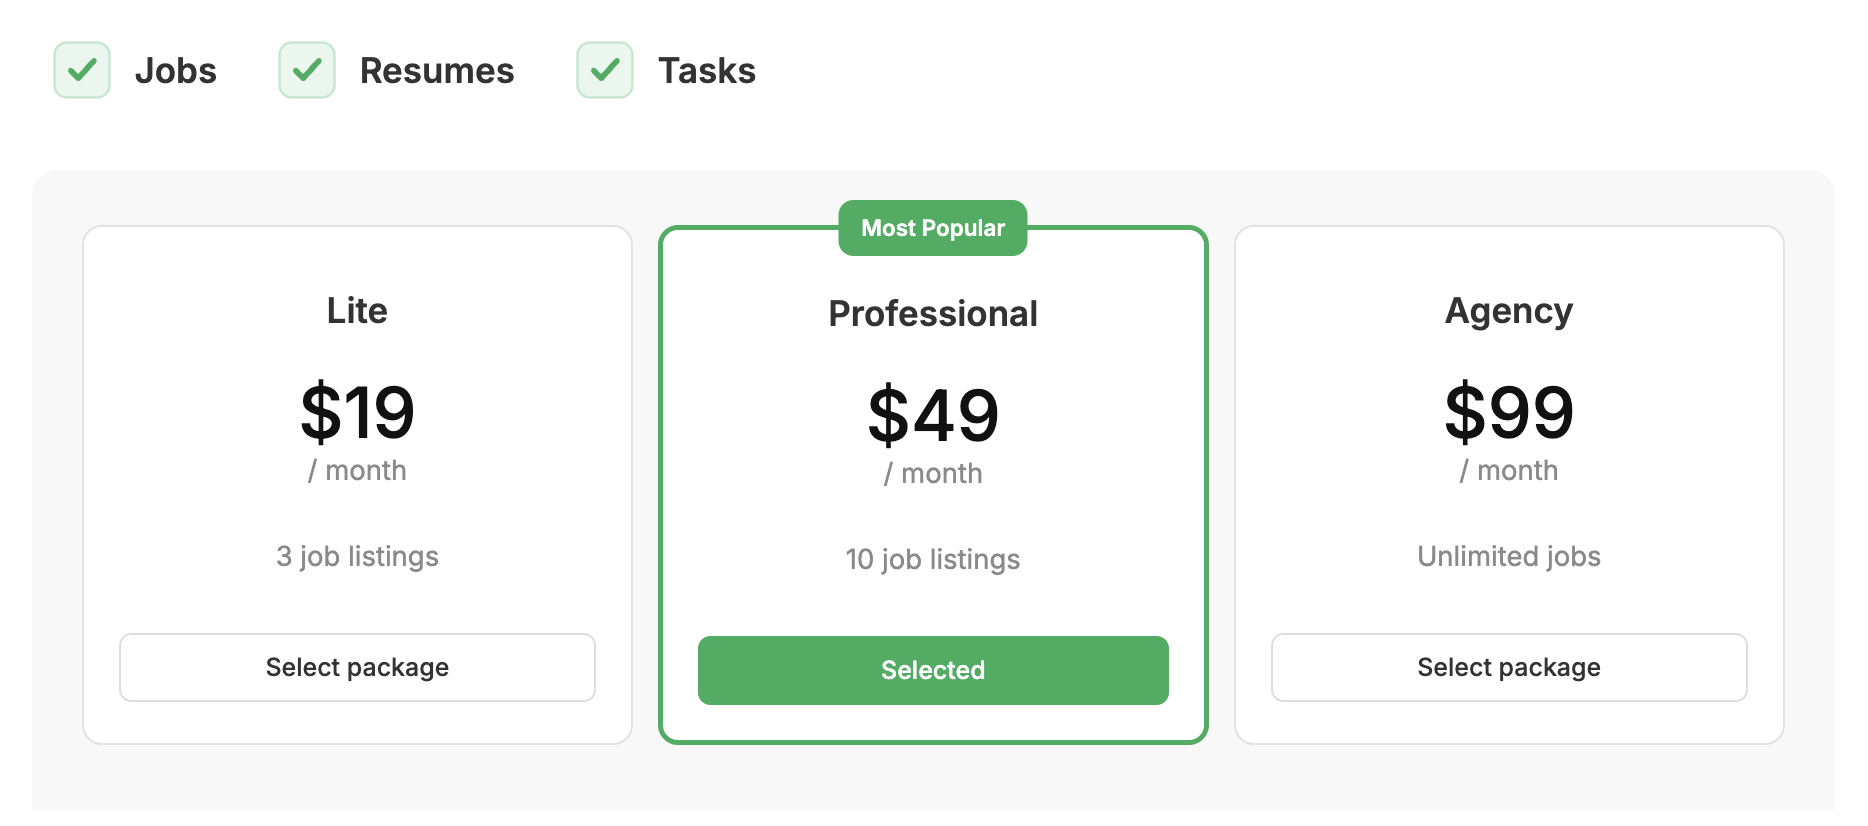
Recurring payments for job, resume, and task packages
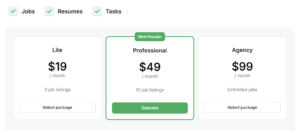
WorkScout Package Subscription
-
Paid Membership & Paywalls
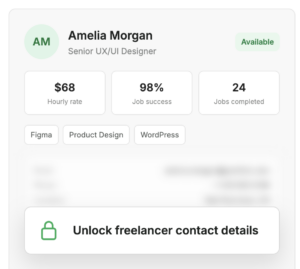 Paid Membership Package
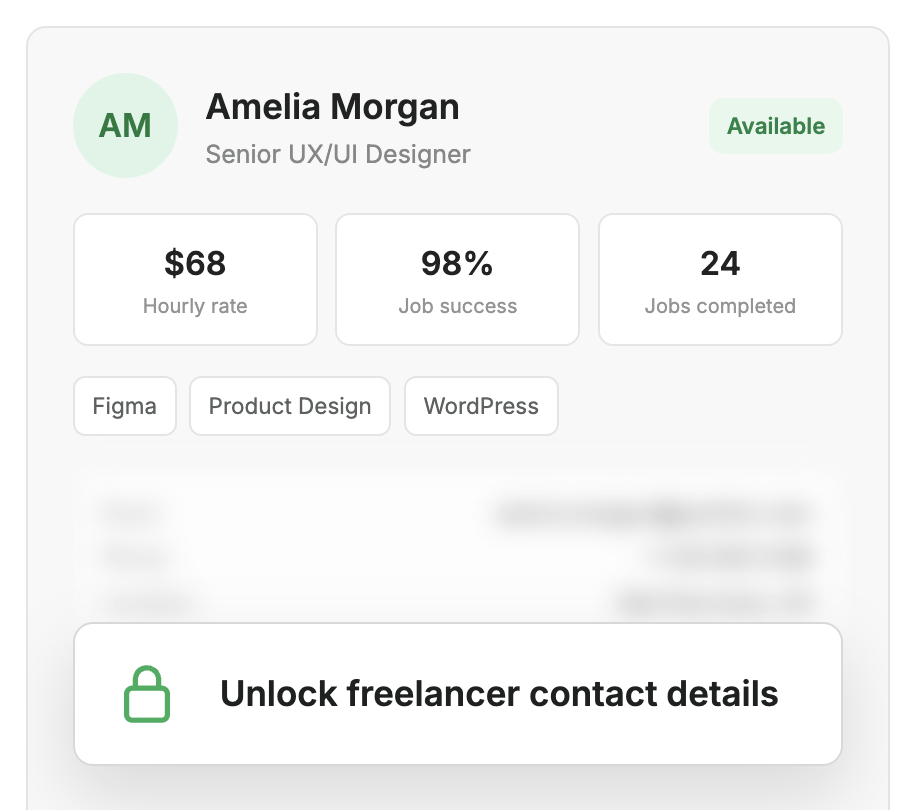
Your site keeps working the way it does today. Your normal WooCommerce package products and your WorkScout package entitlements stay exactly as they are. The plugin simply adds recurring billing on top, handled by a hosted payment provider.
You choose one active payment provider at a time, set globally for the whole site. The supported providers are:
- Stripe Direct
- Paddle Merchant of Record
- Polar Merchant of Record
- Dodo Payments Merchant of Record
Each payment provider offers multiple payment methods (credit cards, Klarna, PayPal etc.). Check what each of them offer:
Before you begin
Make sure your site meets these requirements:
- A working WorkScout theme site with WorkScout Core active.
- WooCommerce active.
- Job, resume, or task packages set up with WP Job Manager WC Paid Listings. Resume packages additionally require Resume Manager; task packages require WorkScout Freelancer.
Install the plugin
Installing is just like any other WordPress plugin:
- Go to Plugins > Add New in your WordPress admin and upload the plugin zip file.
- Click Activate.
- That is it. On activation the plugin sets up its database tables and background tasks automatically. You do not have to do anything for that part.
Where to find it
After activation, open WorkScout Core → Monetization Plus in wp-admin.
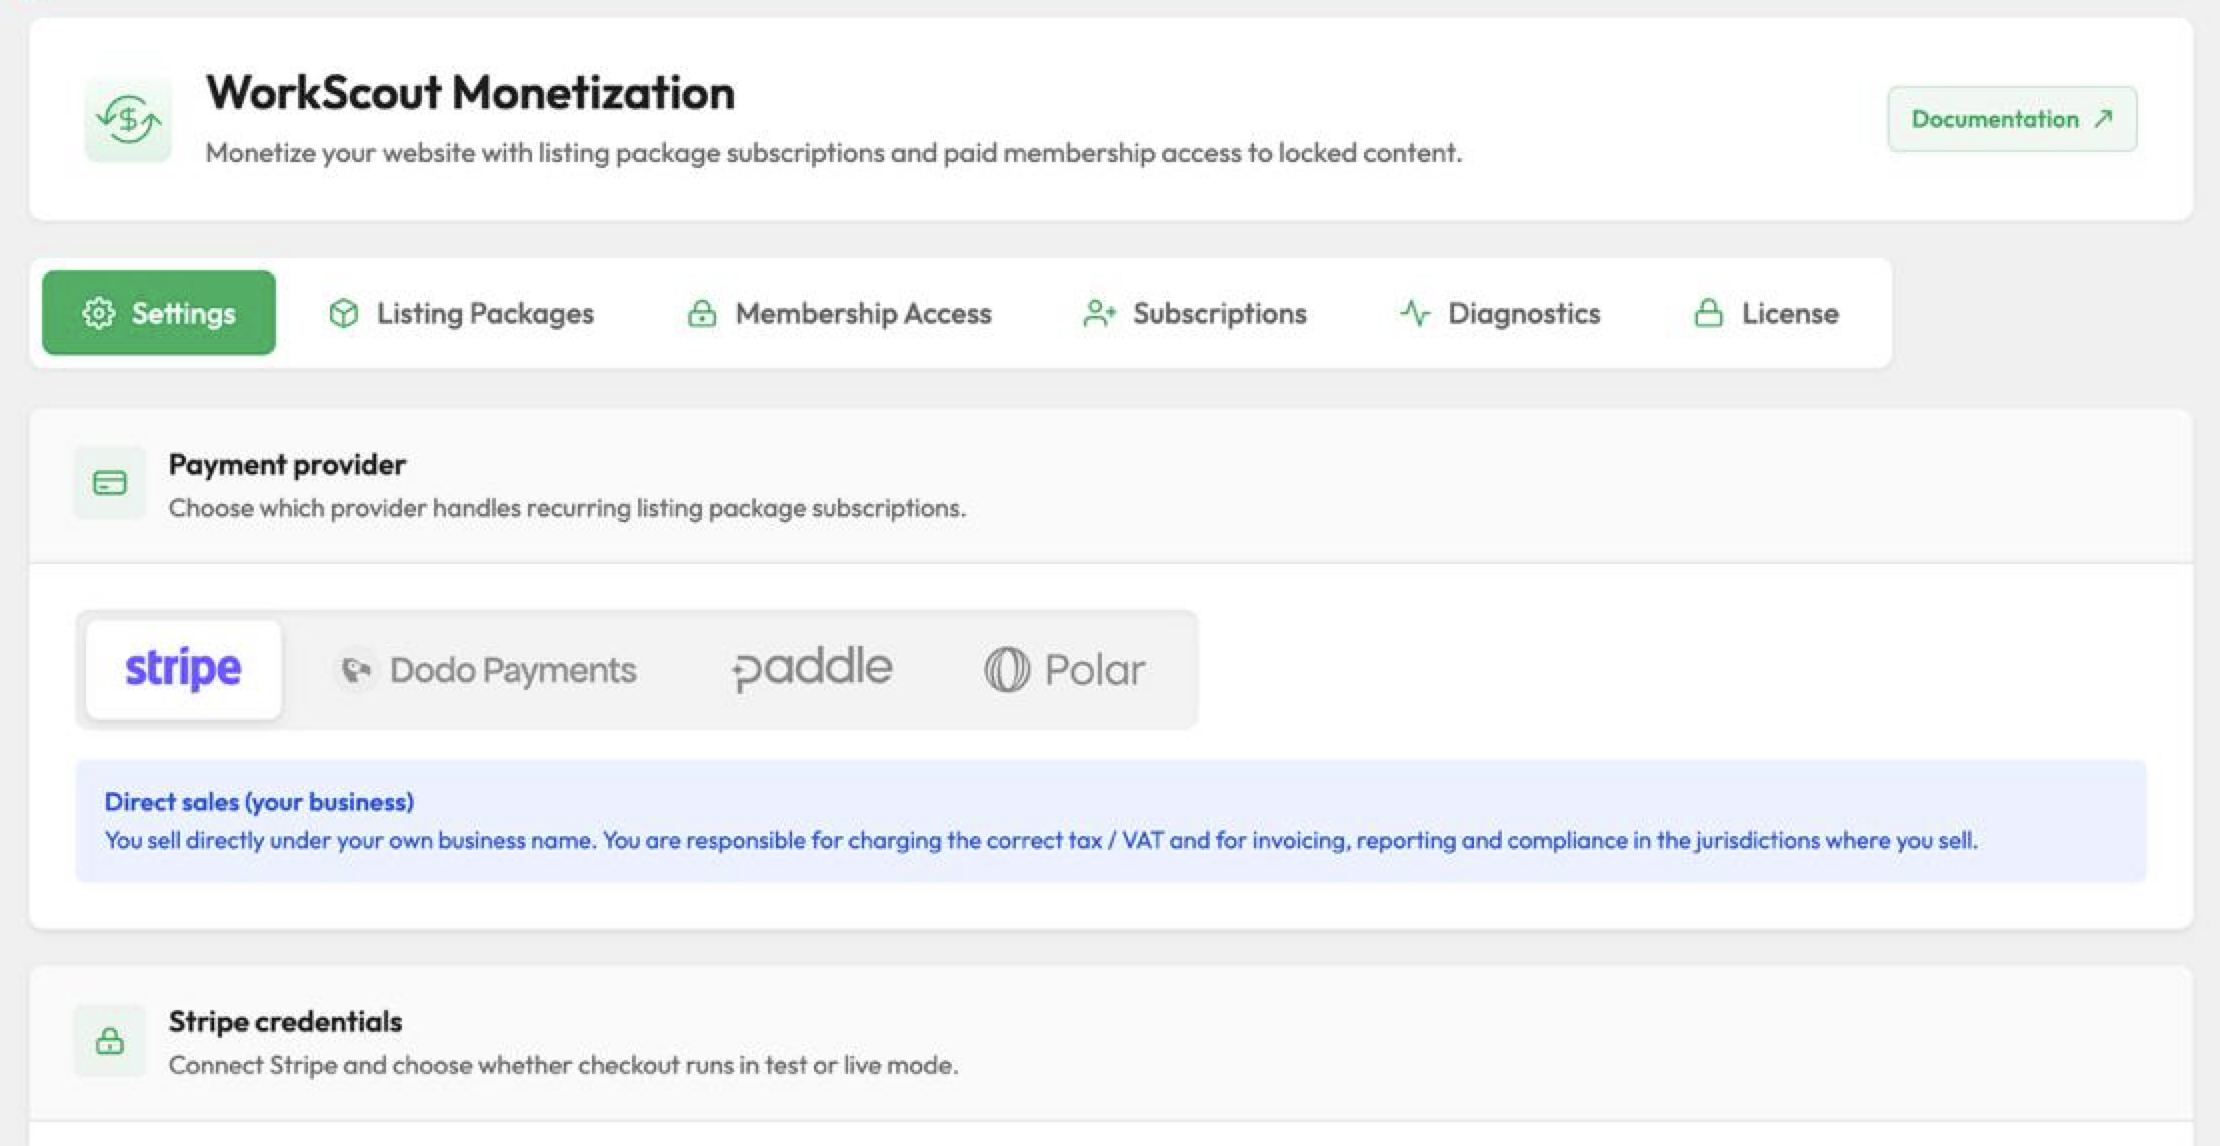
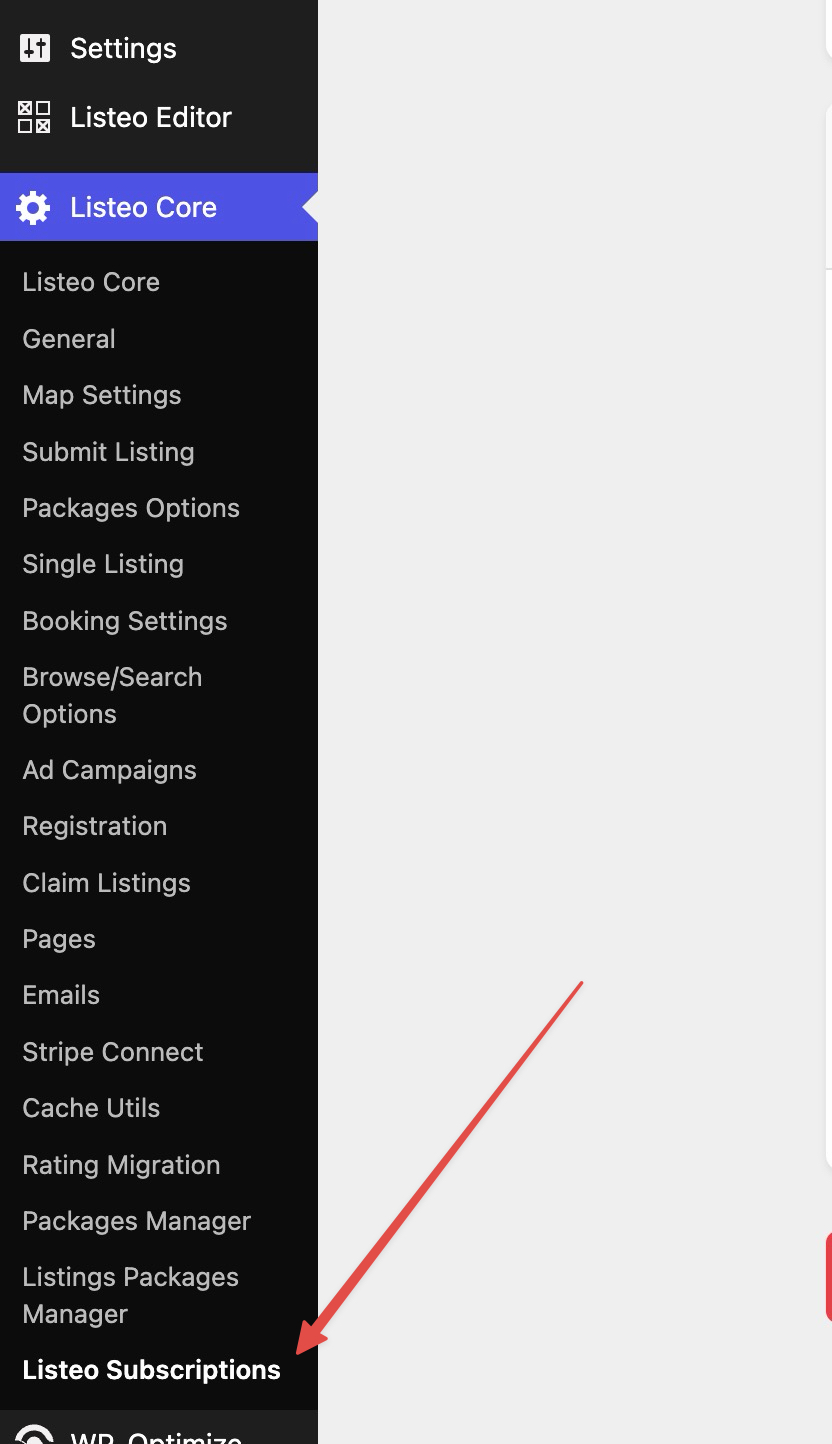
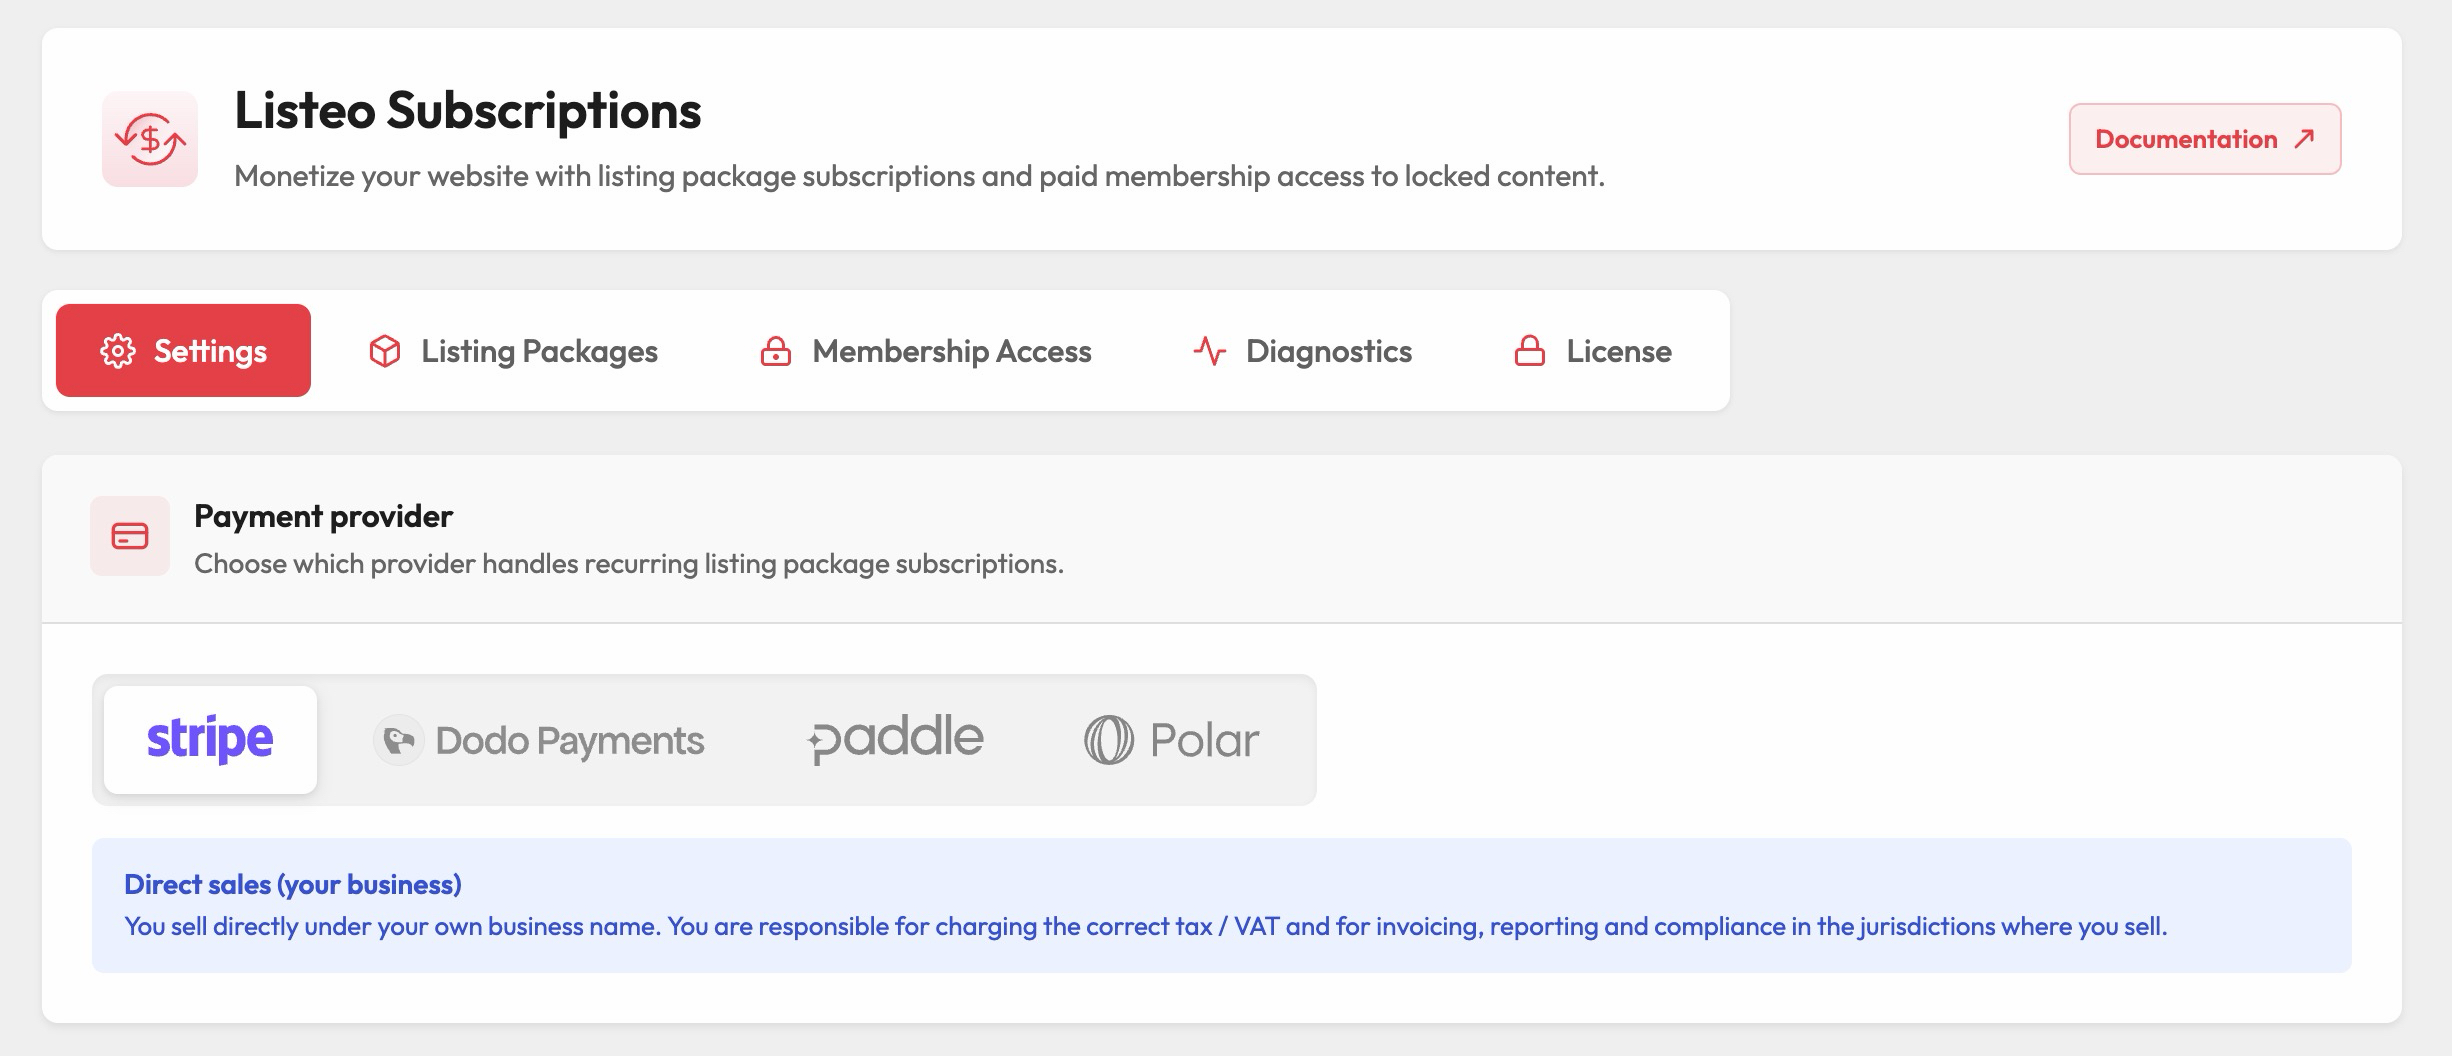
The settings screen includes these tabs:
- Settings – choose and configure your payment provider.
- Listing Packages – configure recurring or one-time billing for job, resume, and task packages.
- Membership Access – create paid memberships and protect content.
- Subscriptions – review recurring and one-time purchases.
- Diagnostics – check the health of your setup.
- License – activate and manage your license key.
About the license
Tip If you purchased yearly plan and won’t renew after a year – no worries – existing subscriptions and live payment flows keep running even without an active license. Only settings editing and updates are locked, so customers are never affected.
The big picture: how it all fits together
Here is the whole journey in five steps, so you know where you are headed:
- Activate the plugin and your license.
- Choose and configure your payment provider (Stripe or a Merchant-of-Record provider).
- Create a matching product and price in that provider’s dashboard.
- In the Listing Packages tab, choose recurring or one-time billing and paste the provider’s price or product ID.
- Customers buy the package, get billed automatically, and you manage everything from one place.

