
You can take content that’s already on your site (a freelancer profile, contact detail, resume section, job-board section, text, or image) and hide it until someone buys a membership. Members see it. Everyone else gets a locked card that points them to your memberships page.
It runs on top of your normal WorkScout and WooCommerce setup and is ideal for protecting freelancer contact details, premium resume information, or private job-board sections. A membership is a WooCommerce product with recurring billing, using the same payment-provider connection as package subscriptions. Setting up your provider (Stripe, Paddle, Polar, Dodo) and Merchant of Record is covered in the provider articles. This one assumes a provider is already active.
How it works
Here’s what the plugin does on the frontend.
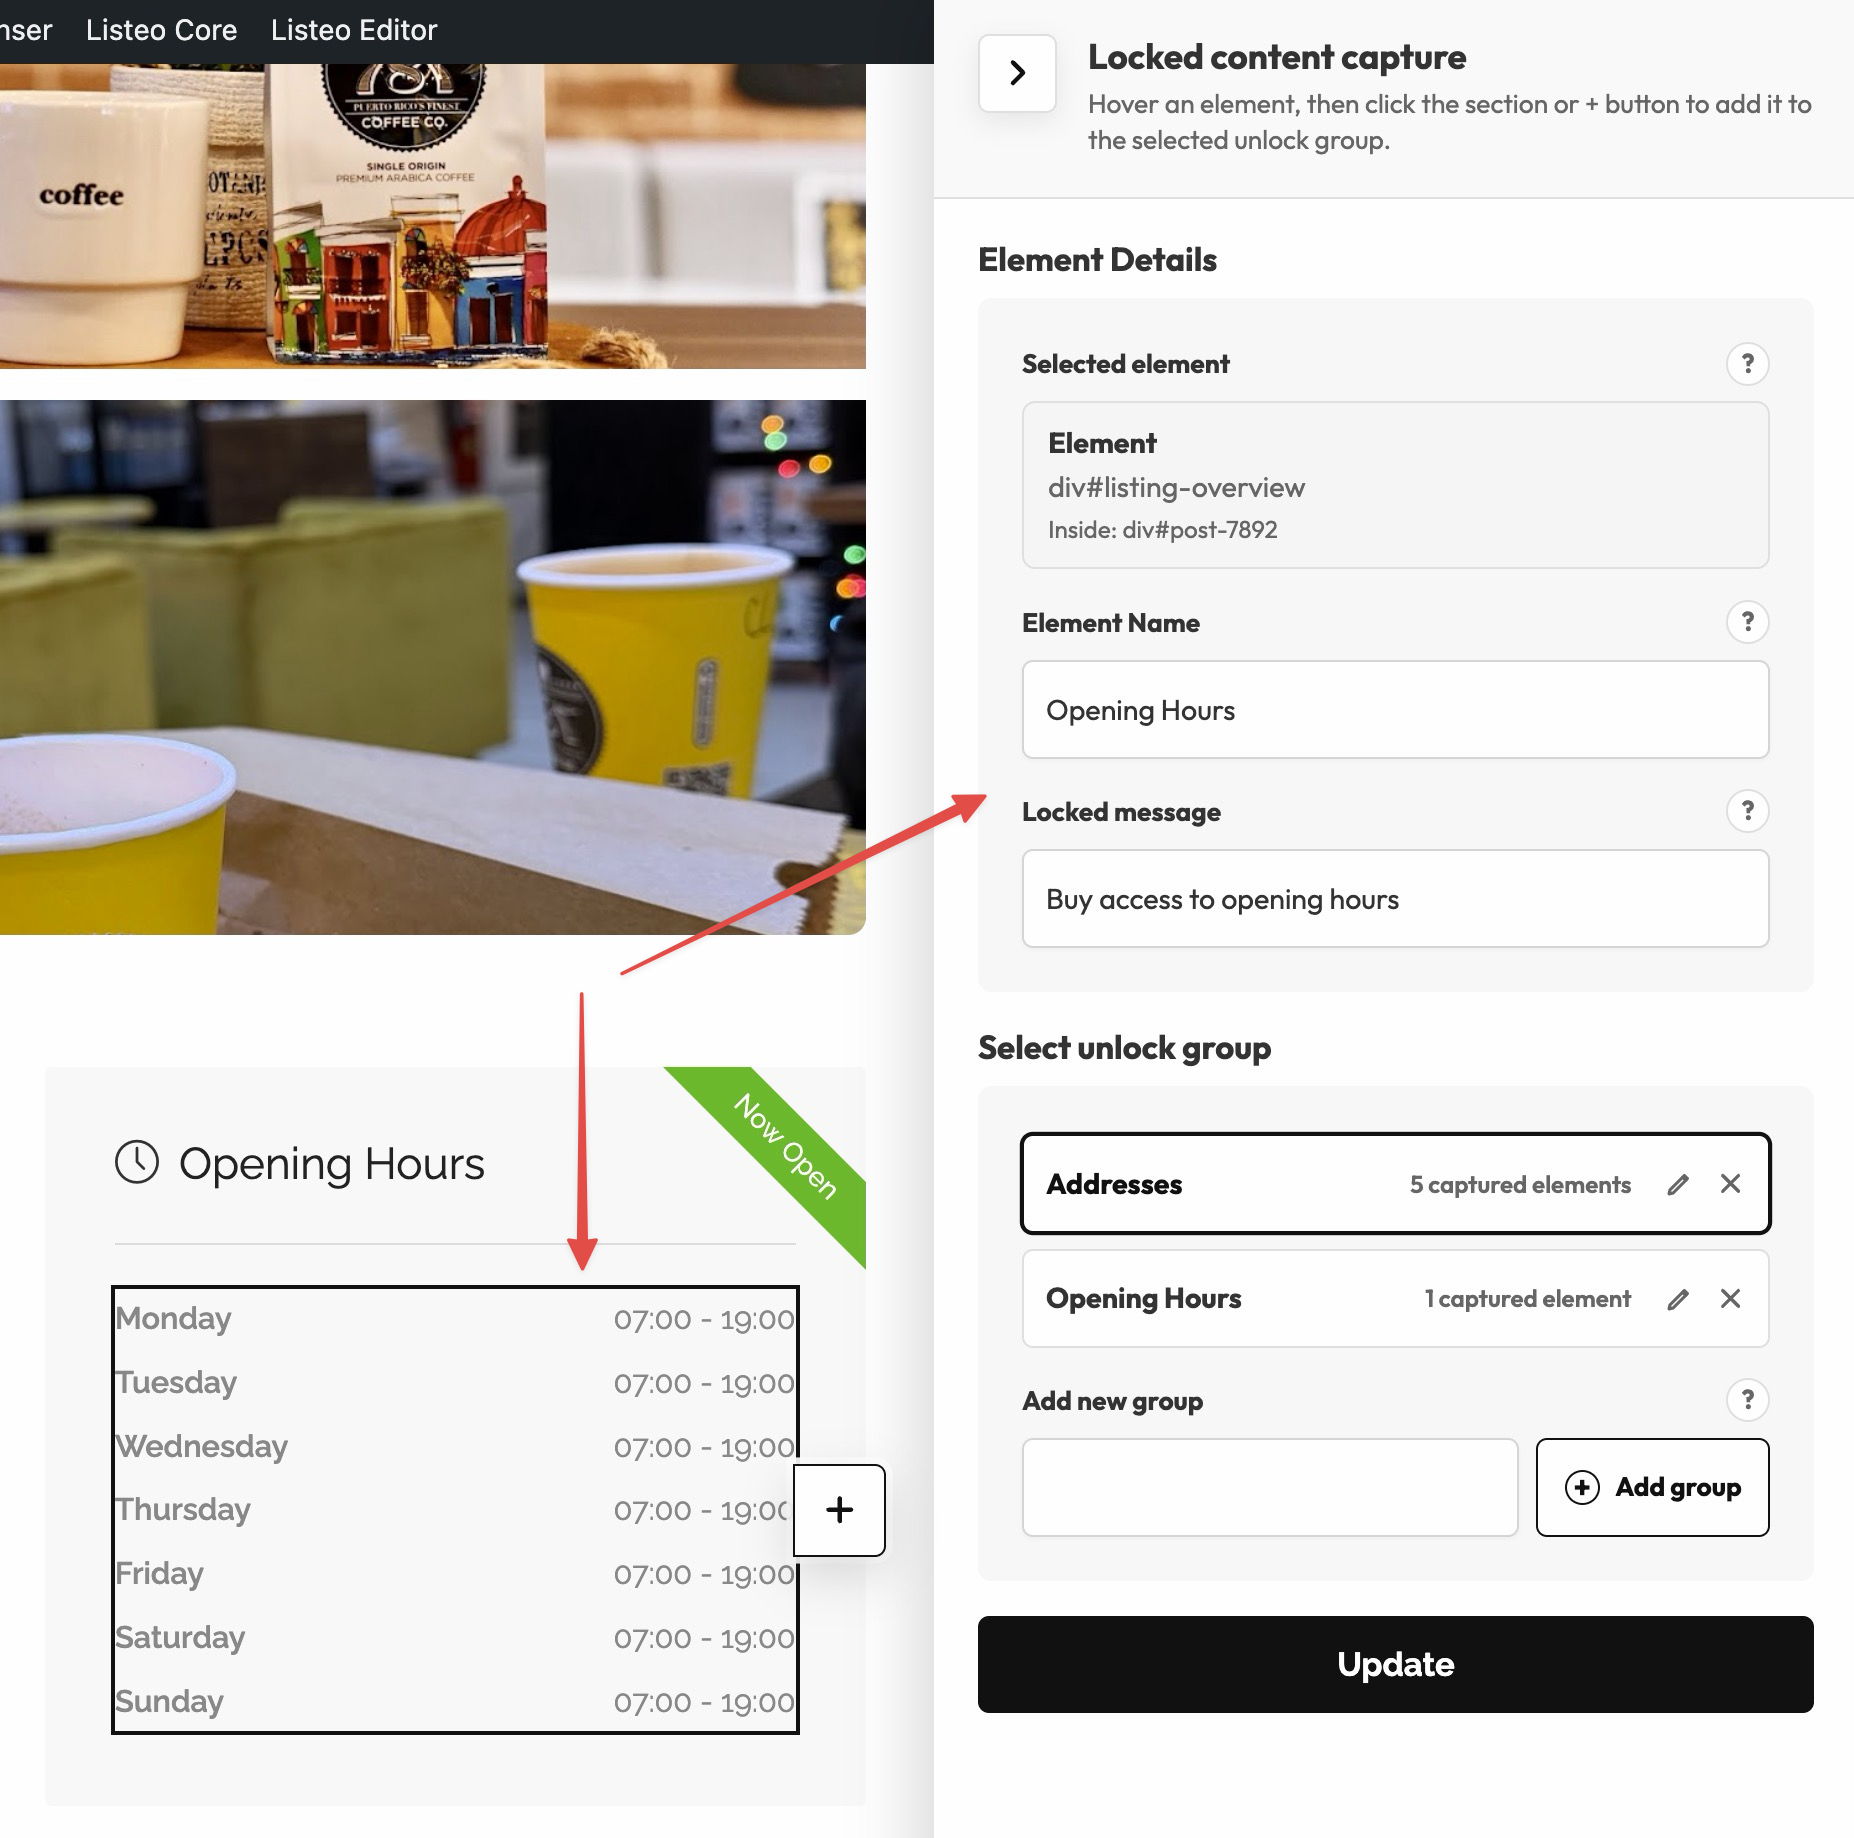
- You point at the content. A visual capture mode lets you select basically ANY visible element to be locked. The plugin saves them as a protected section, a group of elements that unlock together.
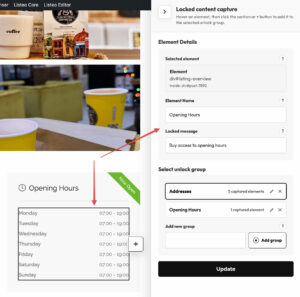
Visual capture mode 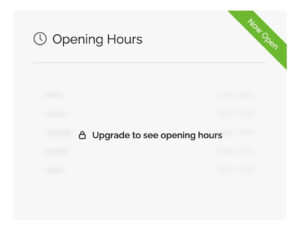
Example: Freelancer Contact Details Locked - You attach the section to a membership. A membership is a recurring product. One membership can unlock several sections.
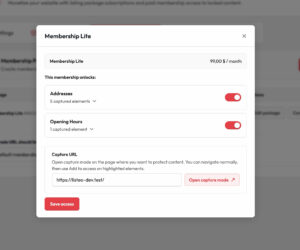
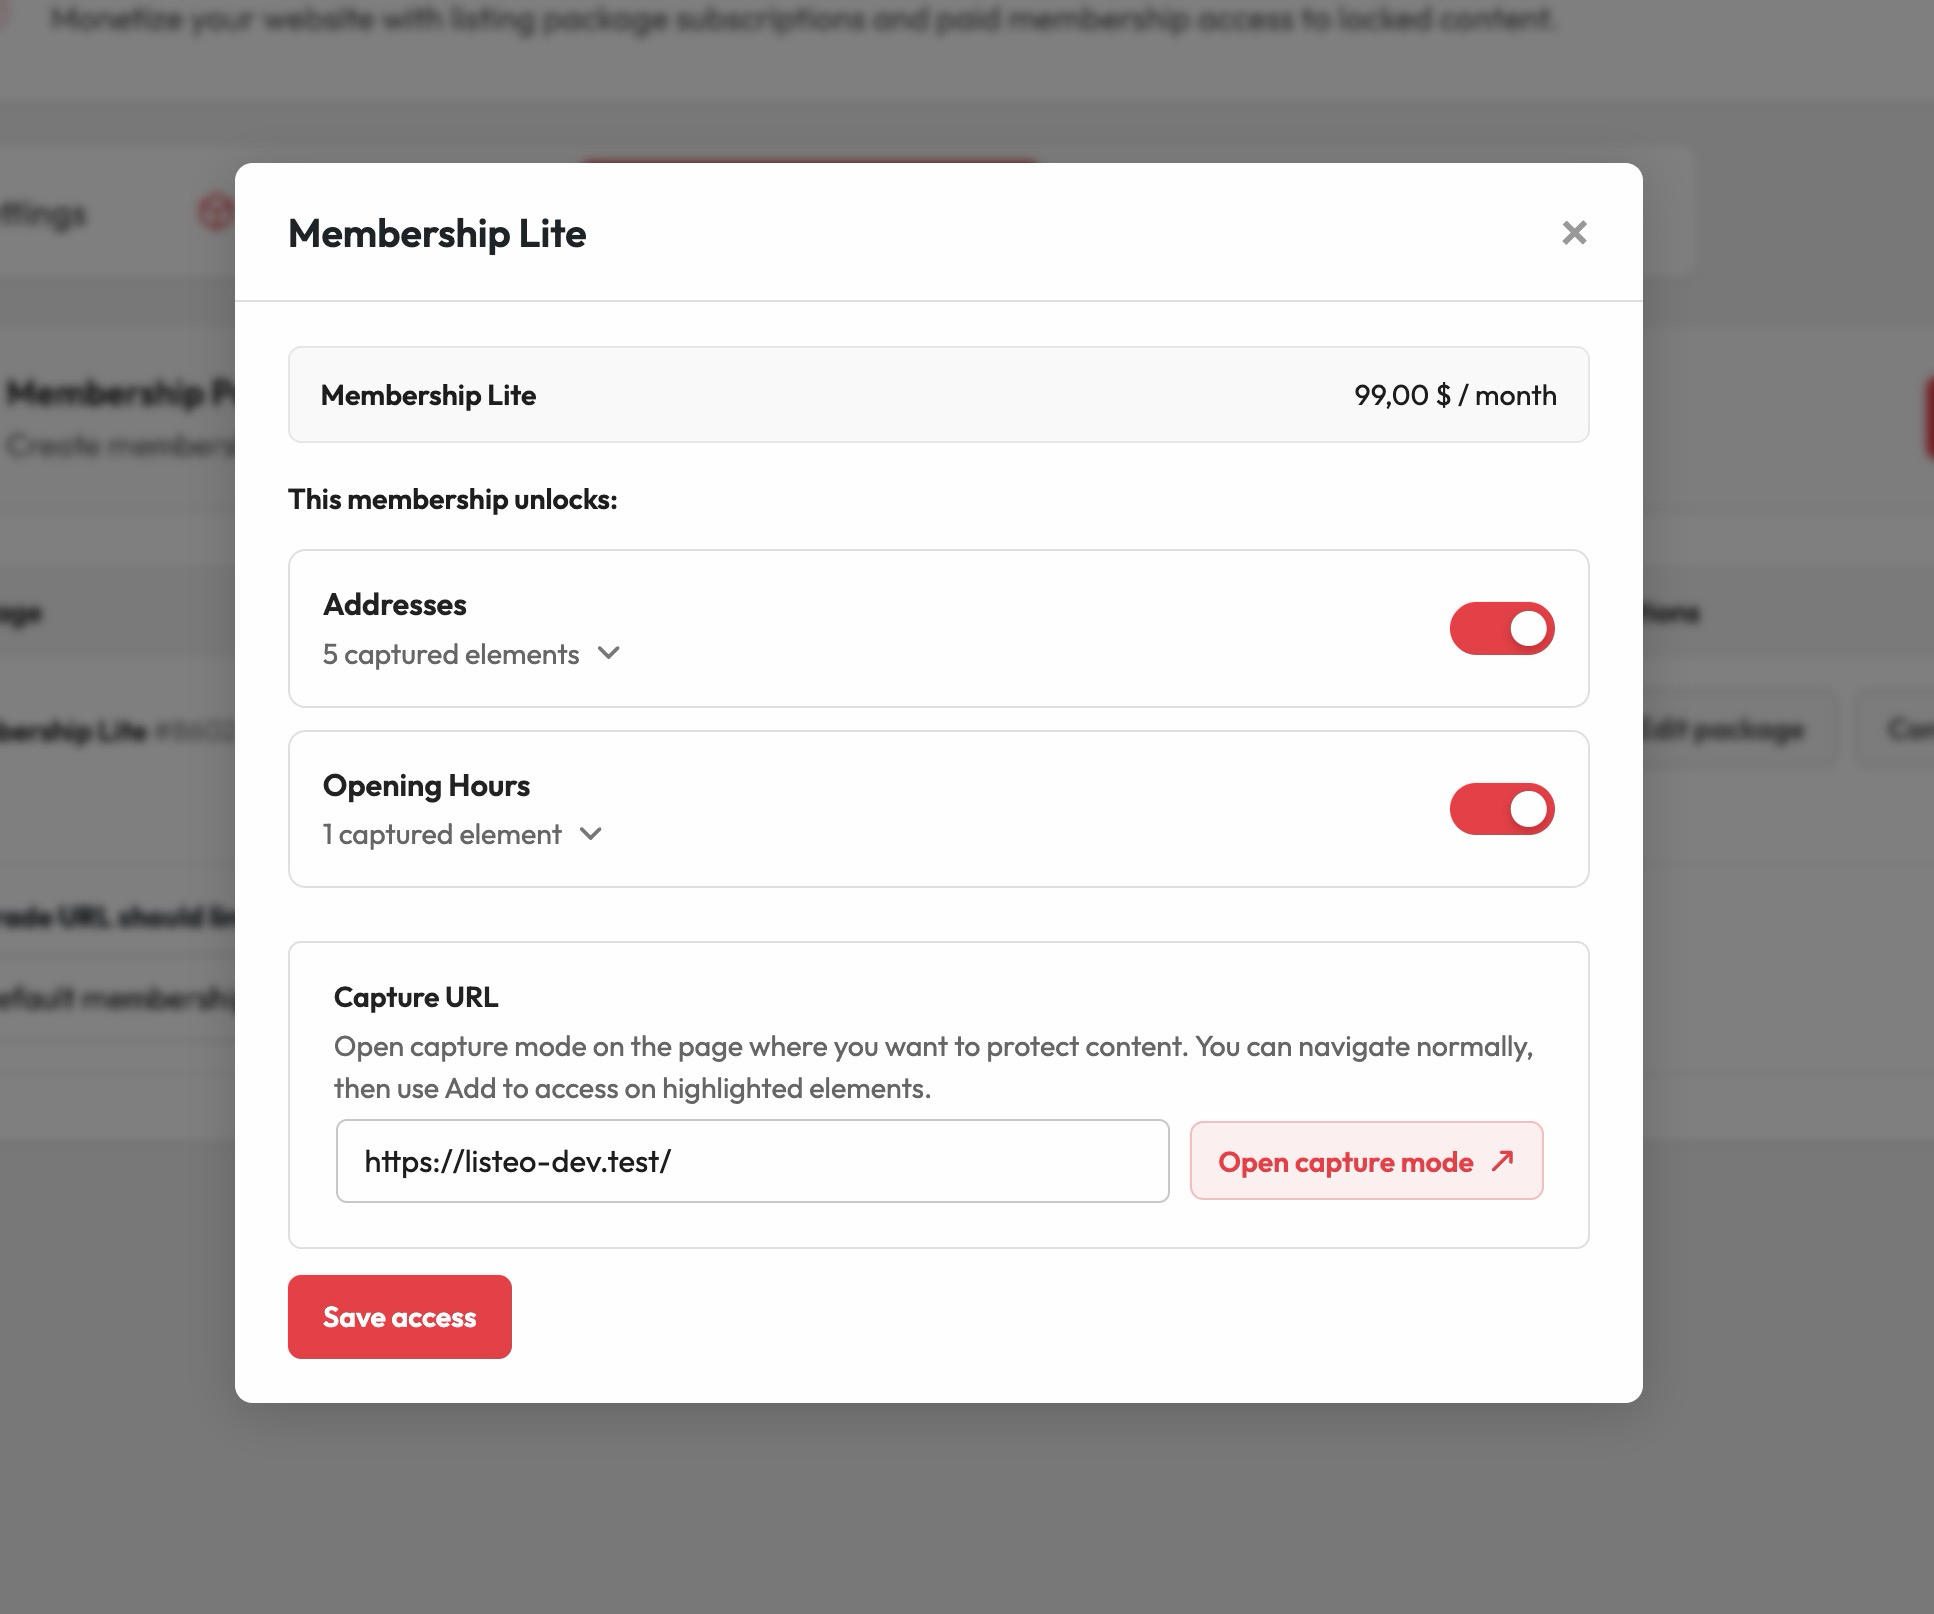
Membership Popup - A visitor opens the page. The plugin checks if any locked element is on the page, and if this visitor is allowed to see it.
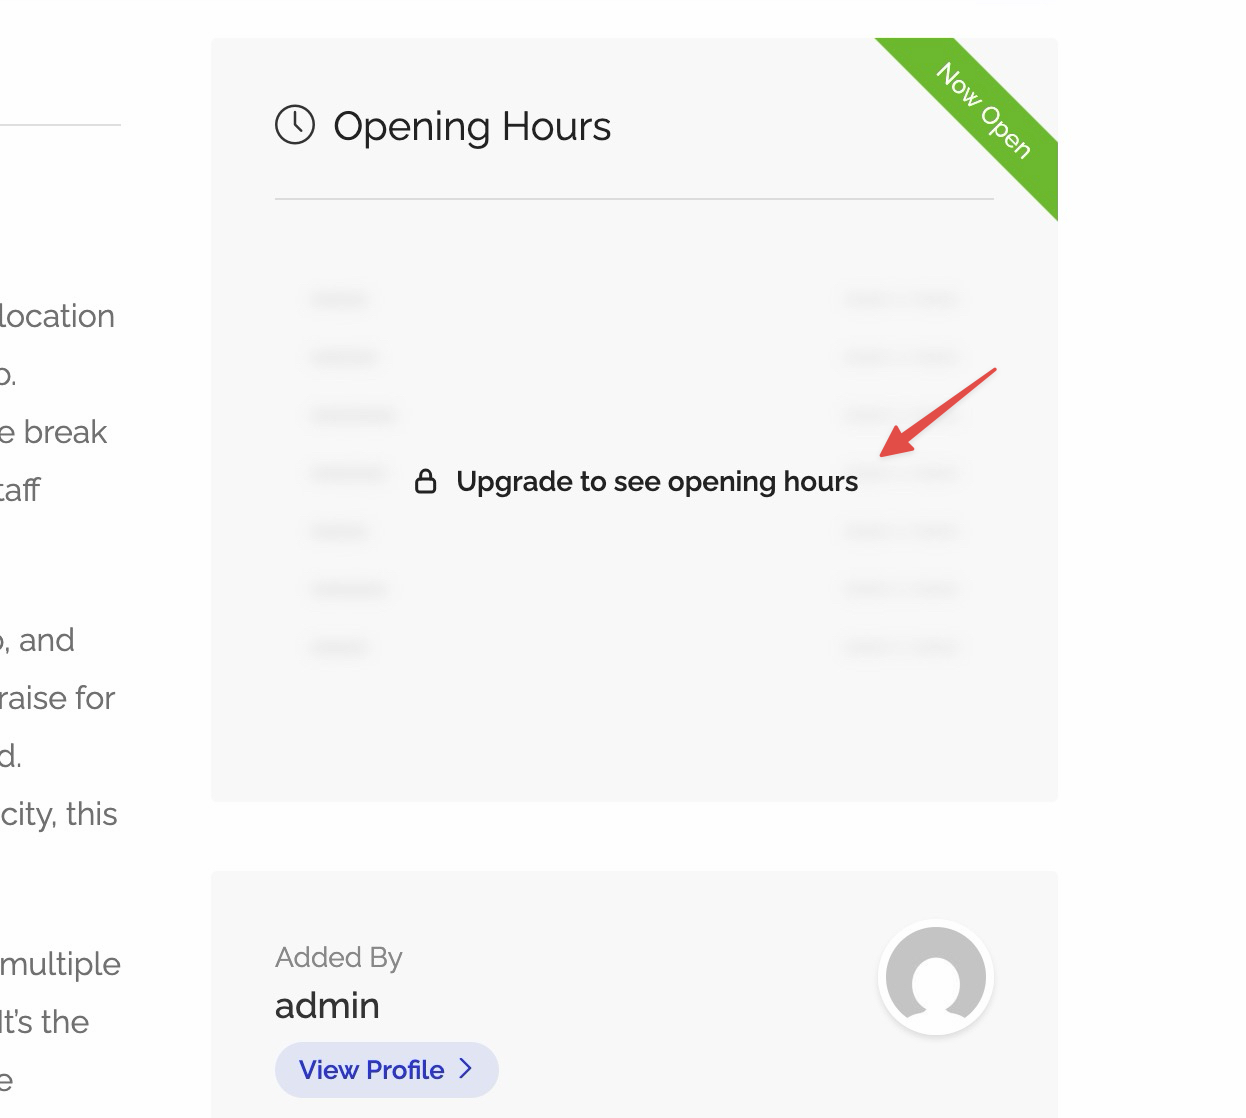
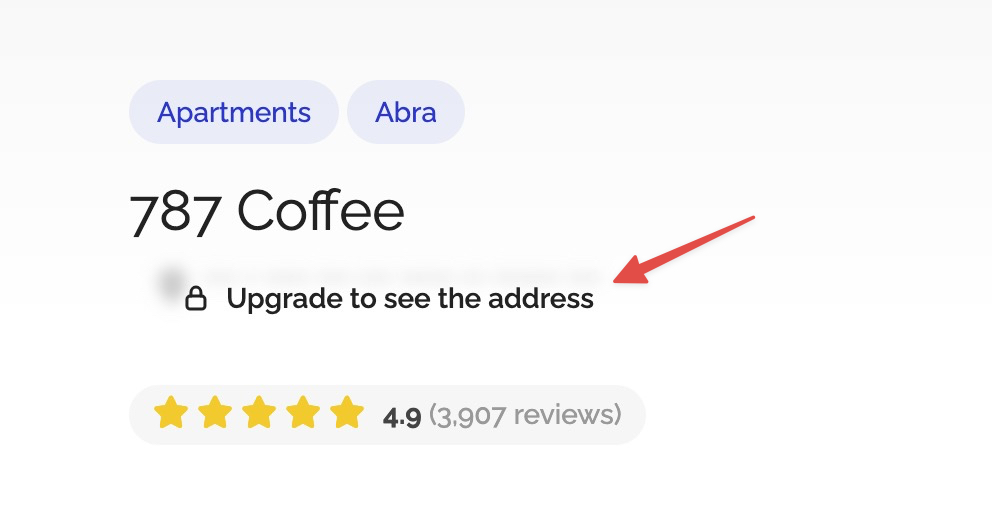
The locked card shows a lock icon and a short message that you configure in Visual Capture Mode. The message is a link to default memberships page (or custom page), where the visitor can buy access.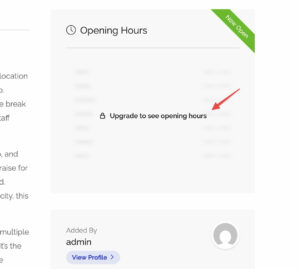
An example of locked Freelancer Contact Details 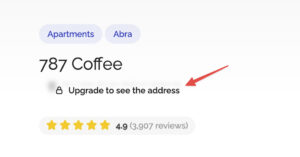
An example of locked contact details - Access is checked per visitor. Admins always see everything. A logged-in visitor gets access only with an active subscription to a membership after purchase.
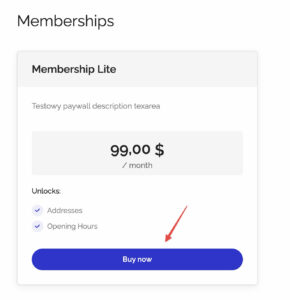
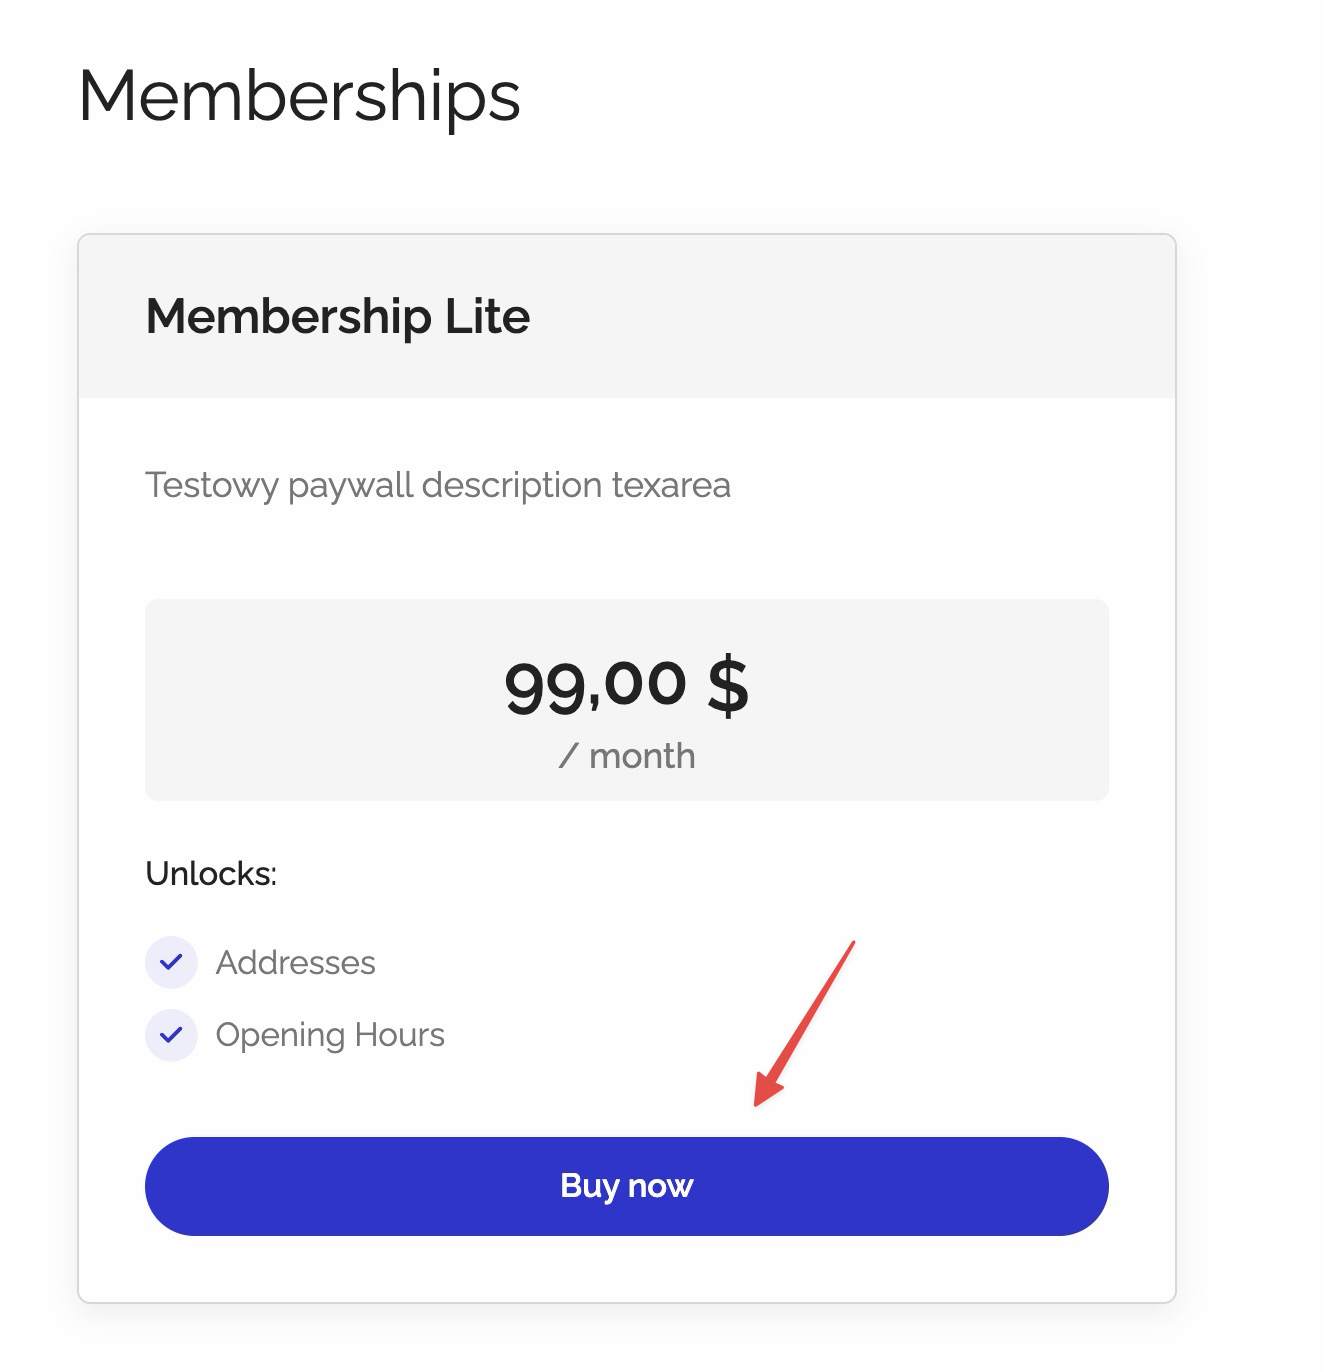
Buy Membership - Blocked content is swapped out before the page loads. The real element is replaced with a locked card.
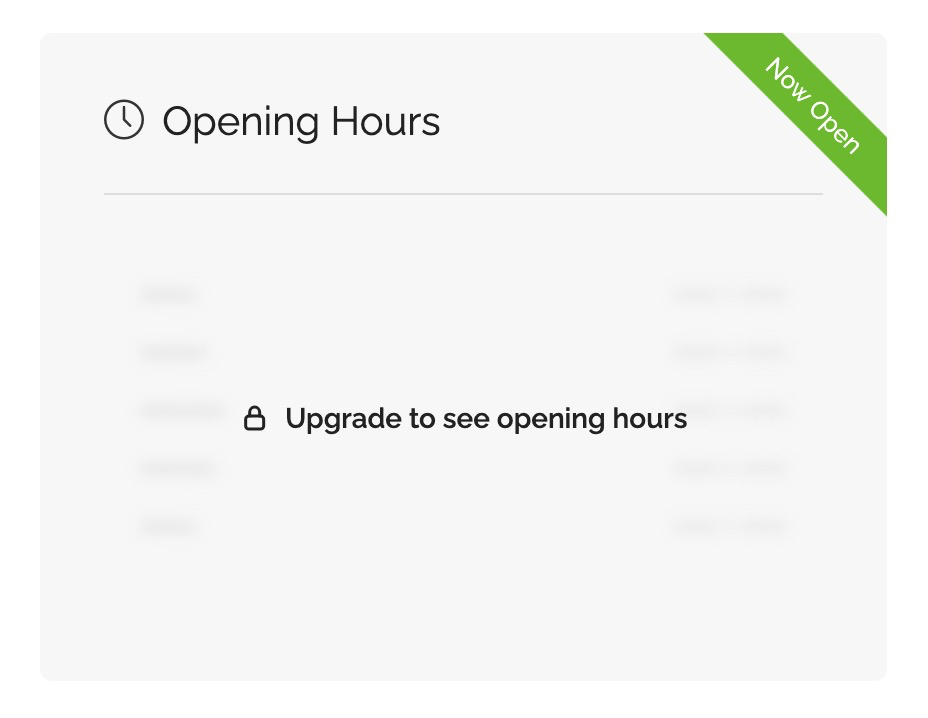
Access follows the subscription. When a membership lapses or is cancelled, the visitor loses access and sees the locked card again. New subscriptions, renewals, cancellations, and trial endings all sync to WorkScout through your provider’s webhooks.
Where to set it up
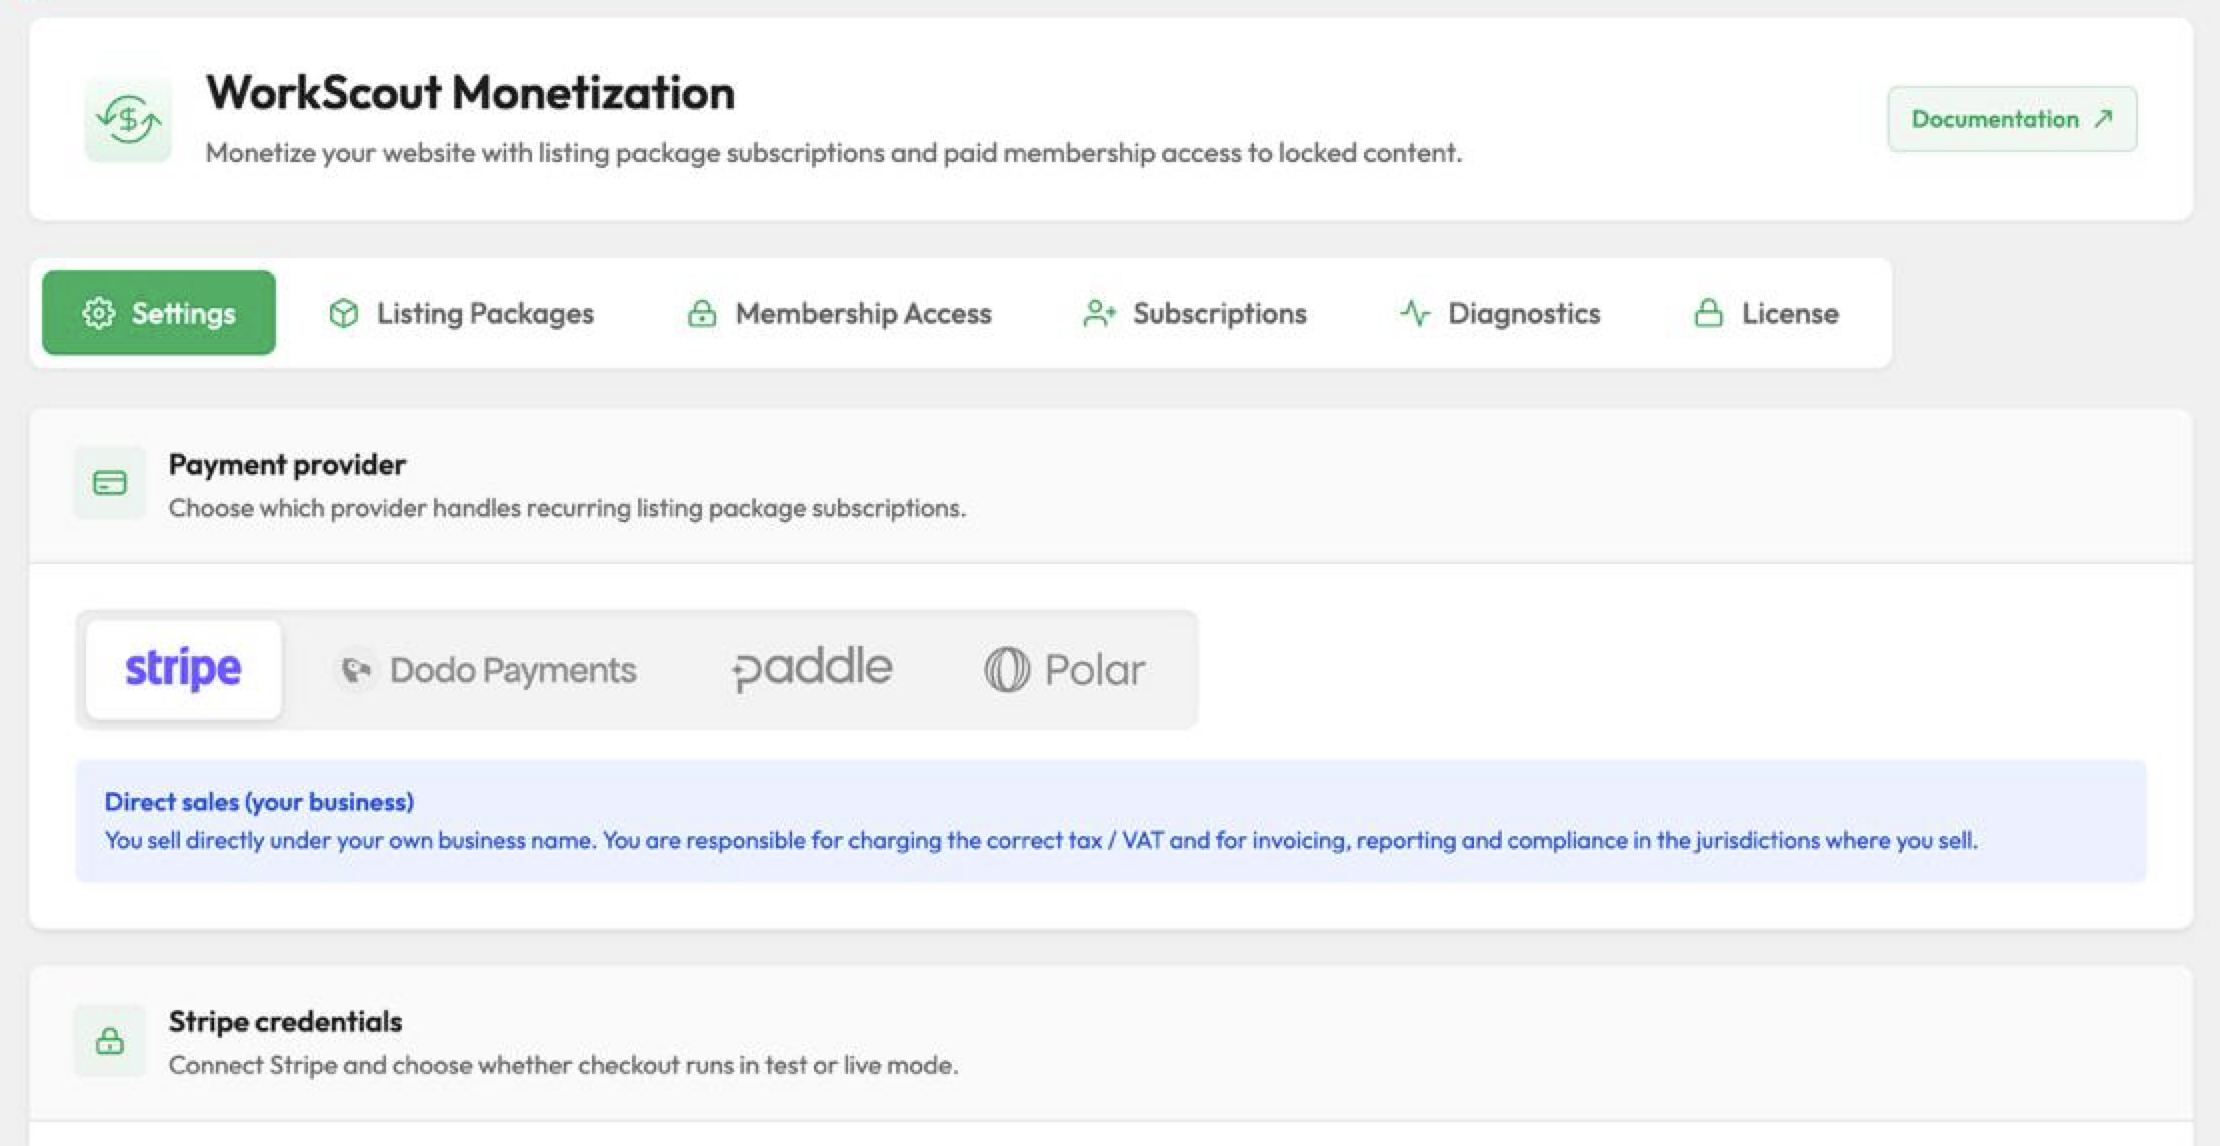
Open the Membership Access tab. The Membership packages card lists every membership you’ve made, with its price, provider, checkout status, and what it unlocks. You create memberships and open the capture tools from here.
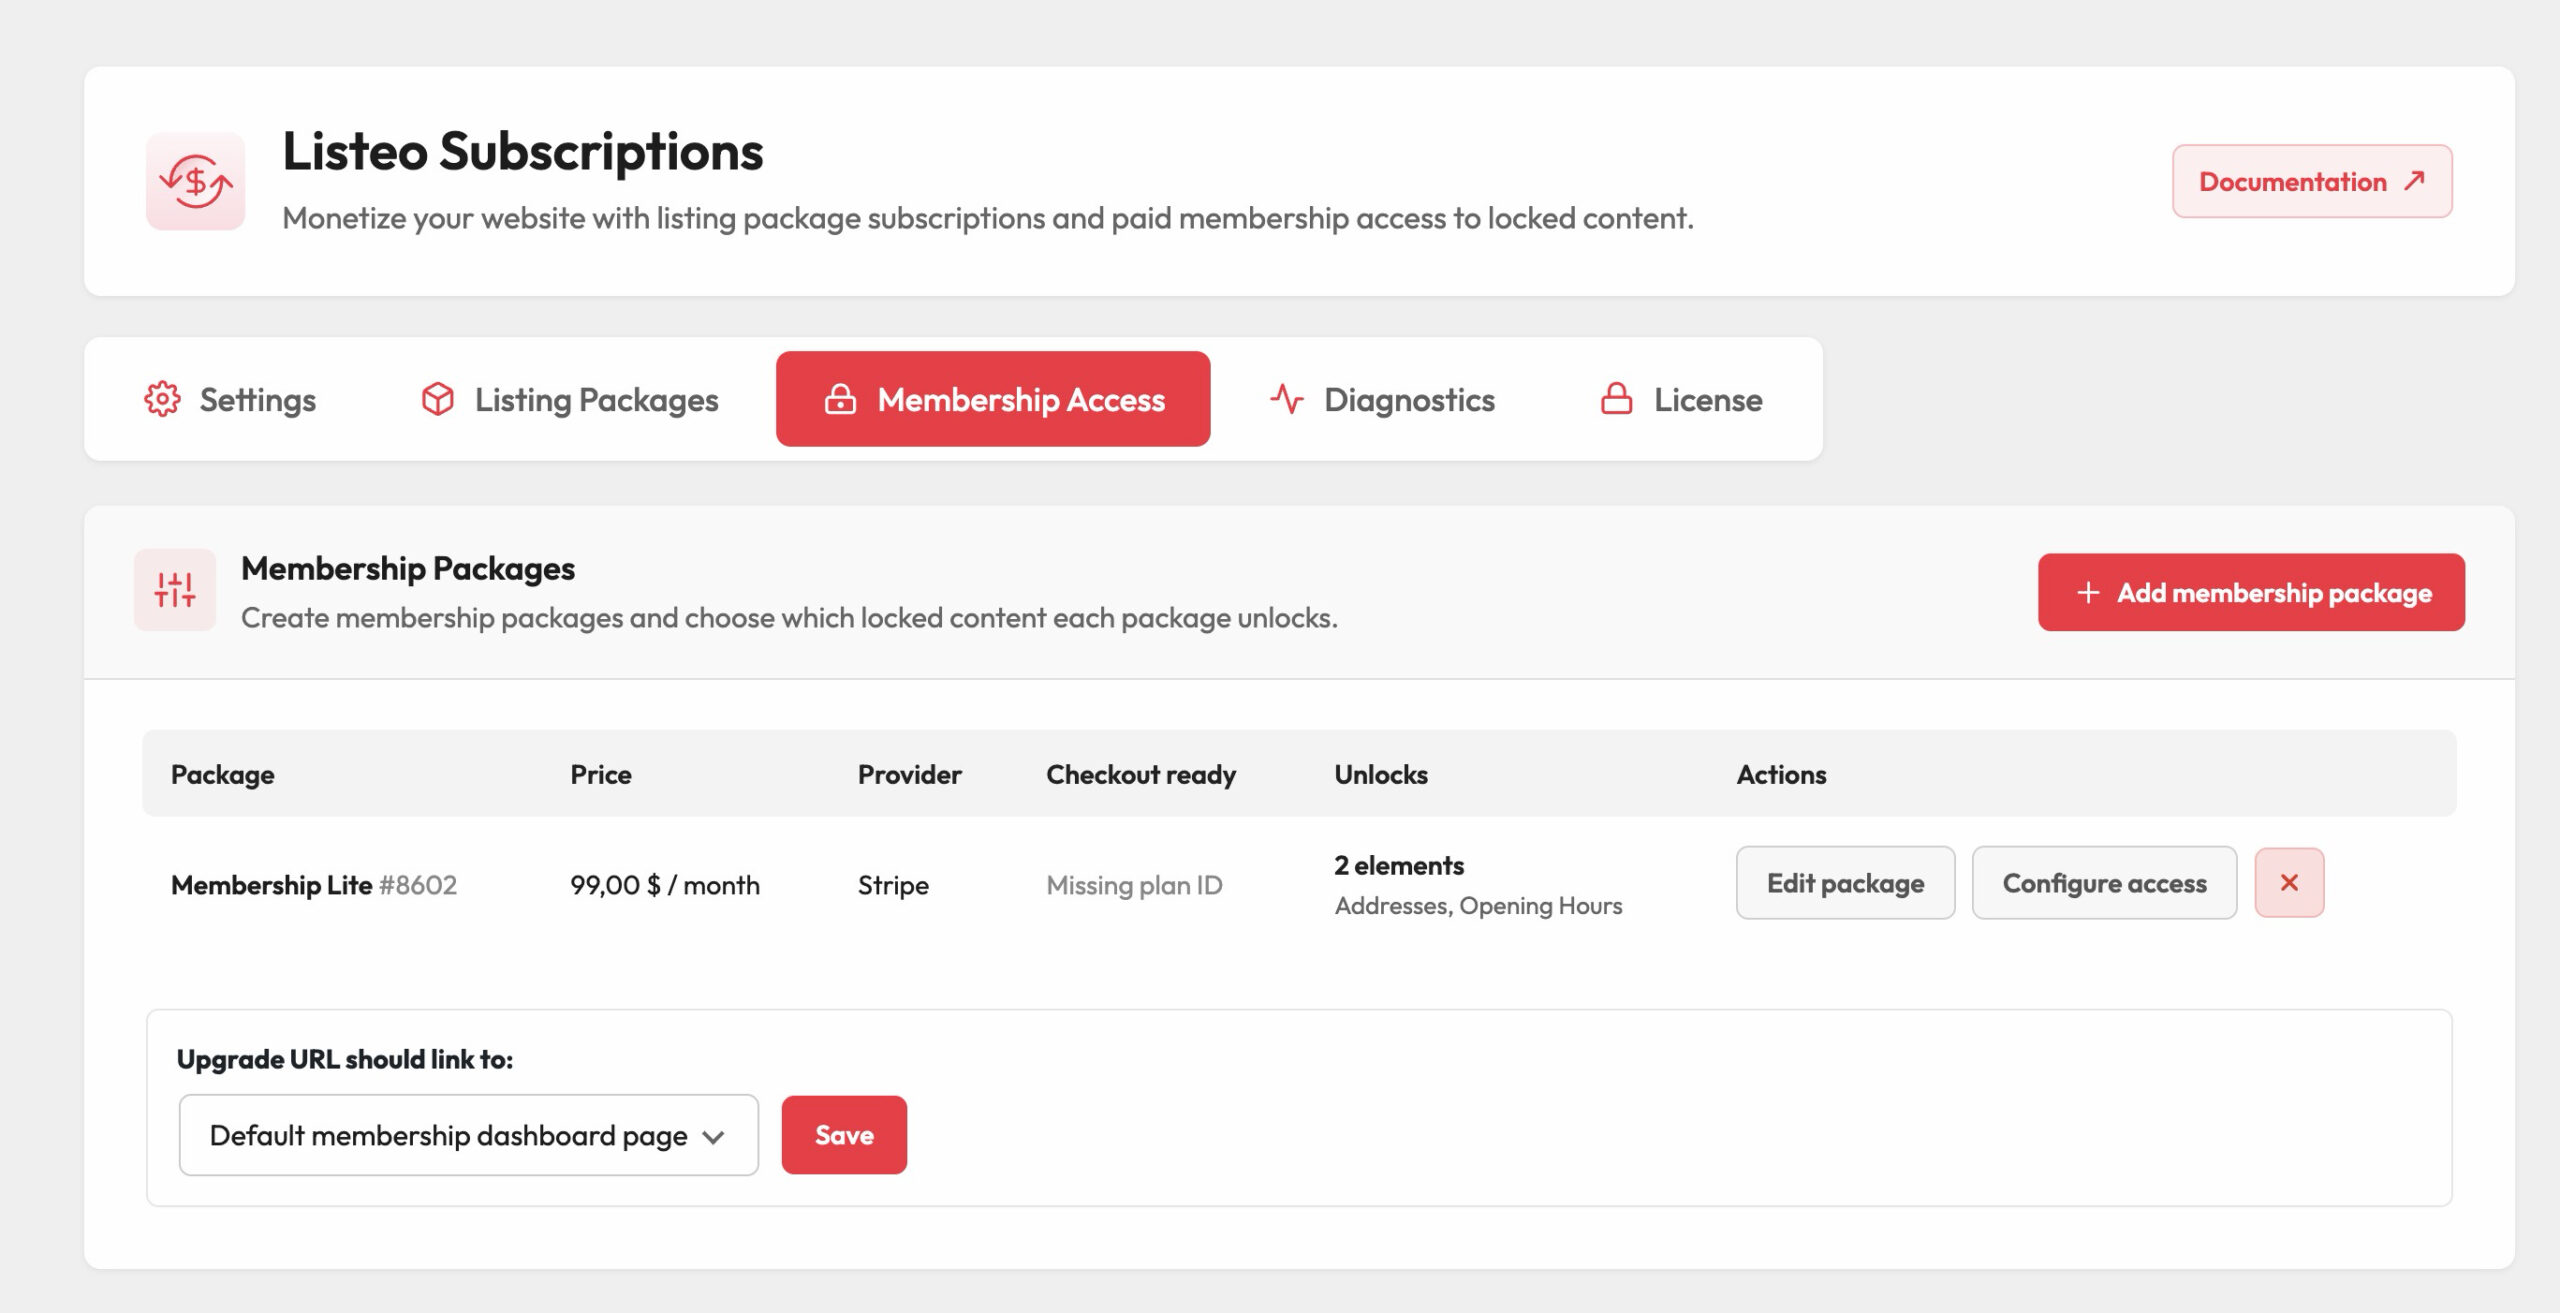
The two steps
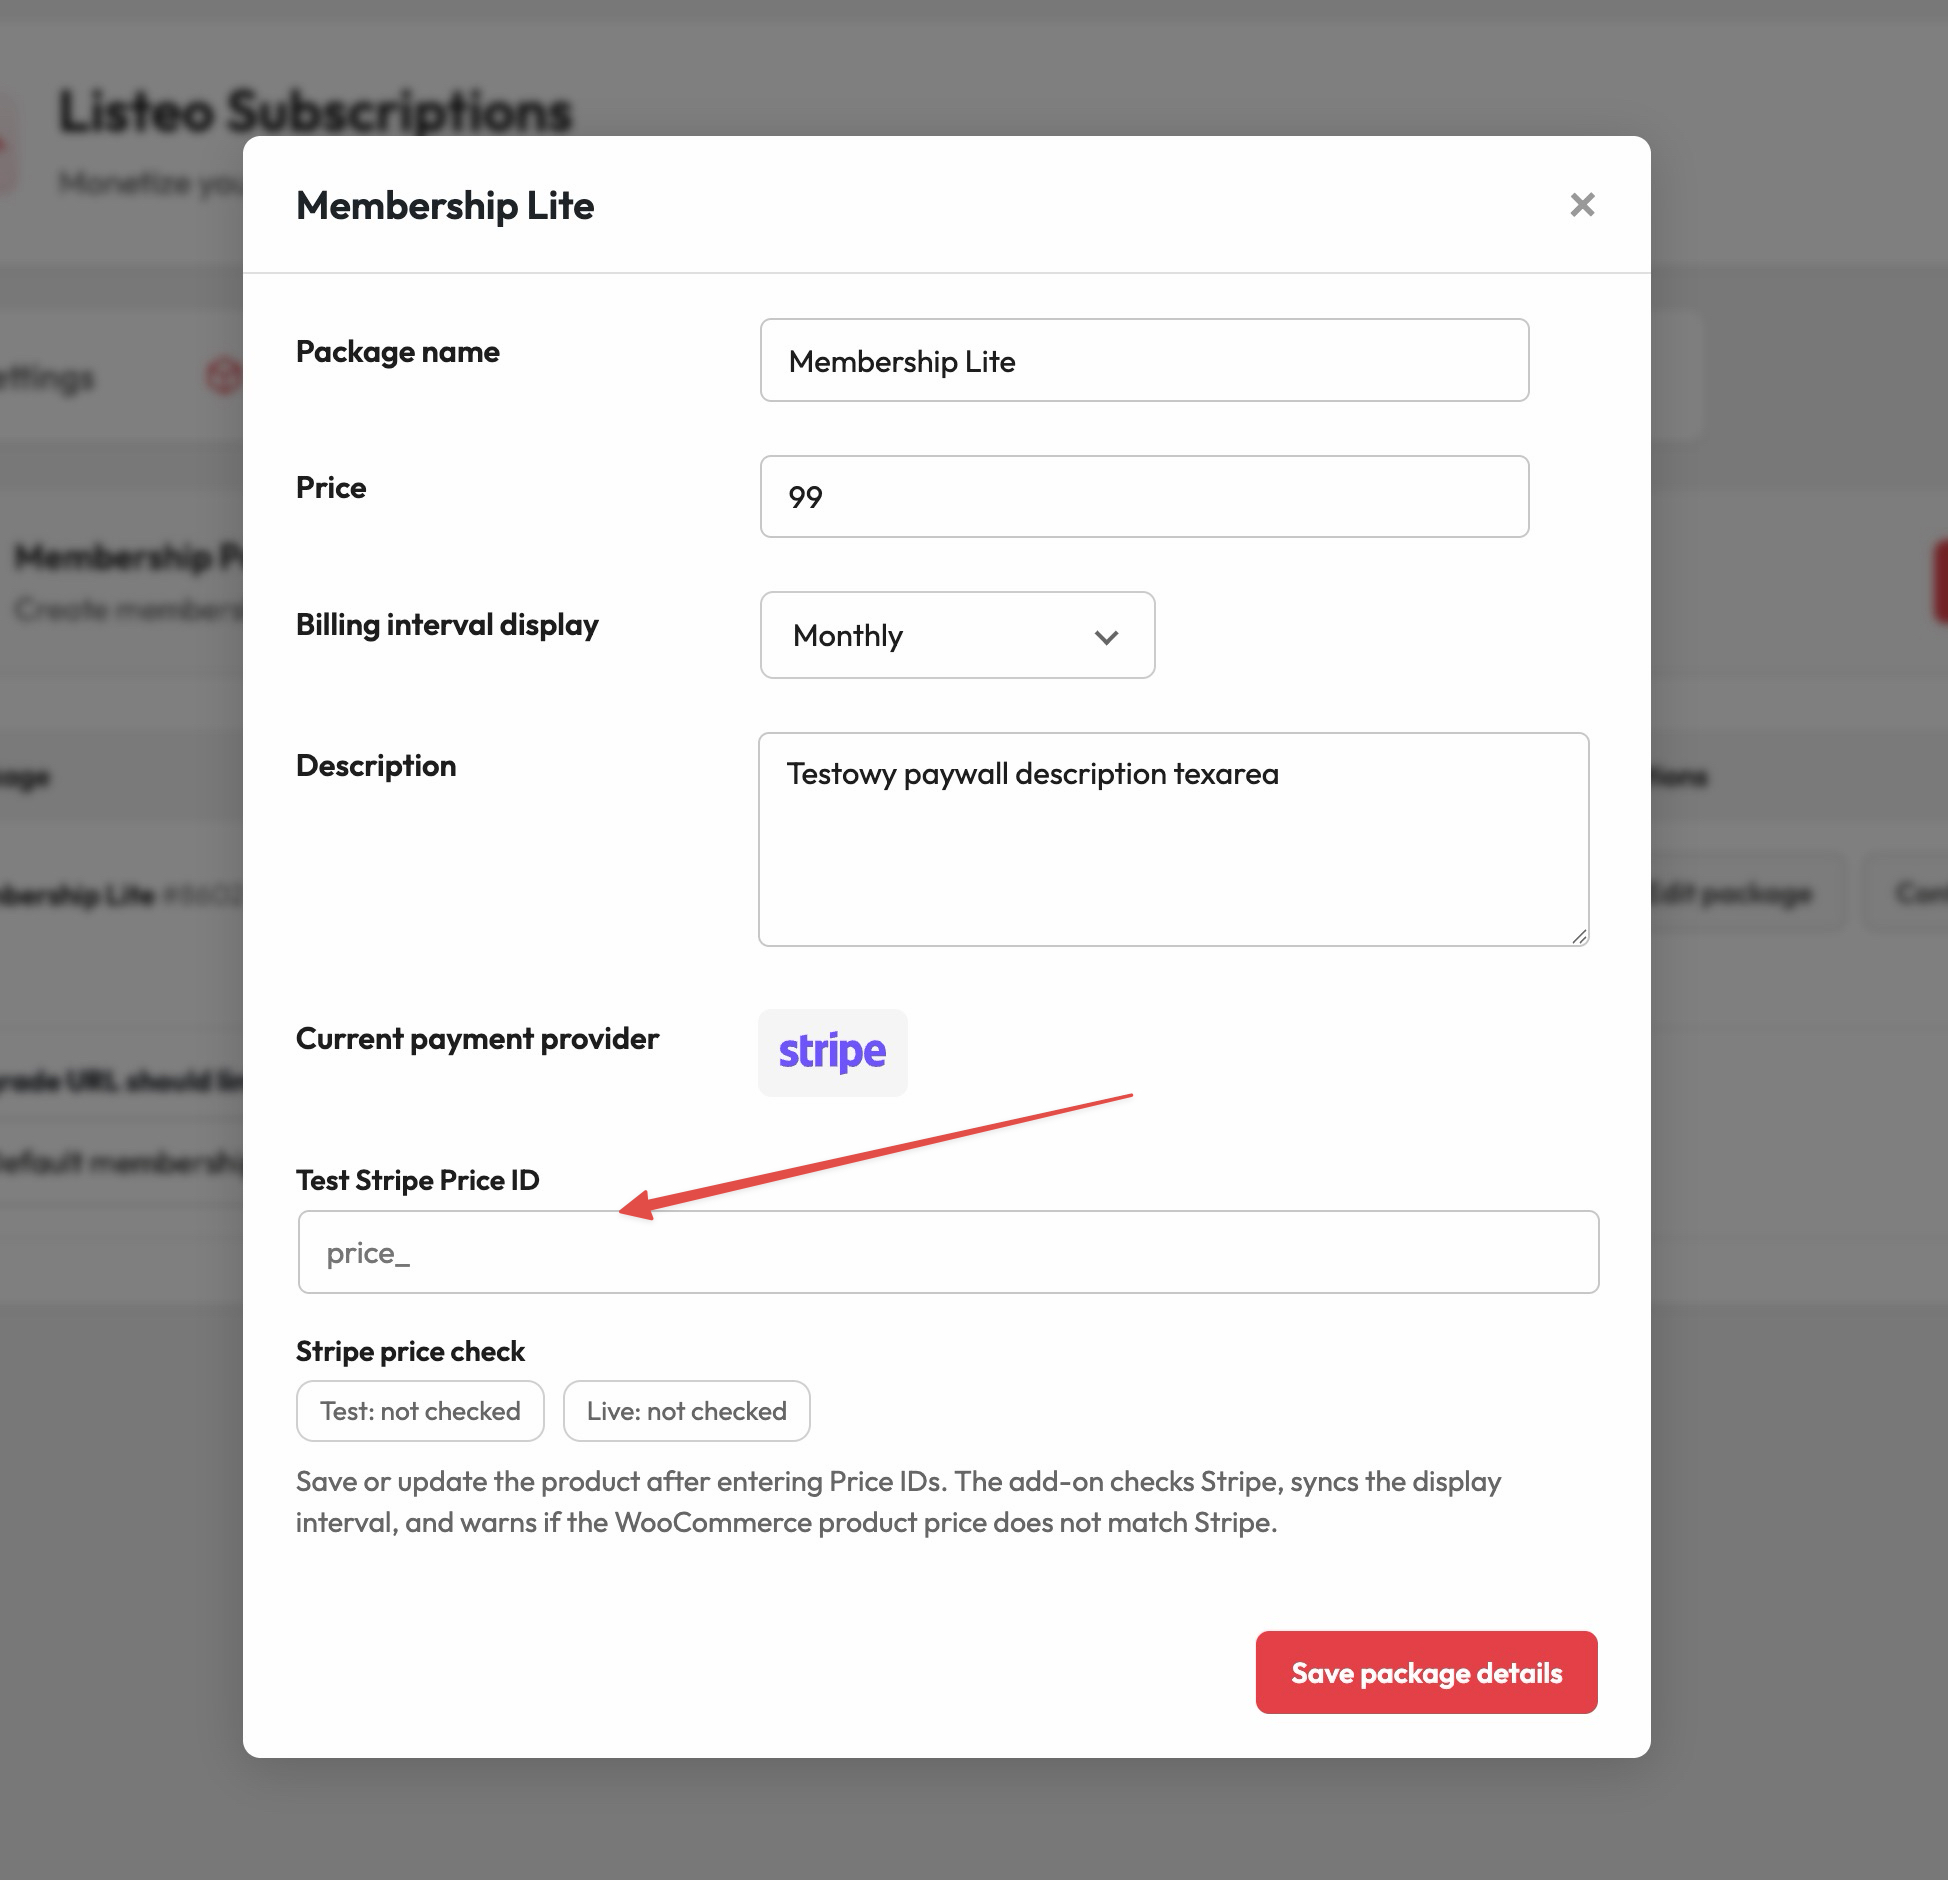
- Create a membership and connect provider product ID from payment provider
- Capture the content you want to lock.
Each step is below.
Step 1: Create a membership
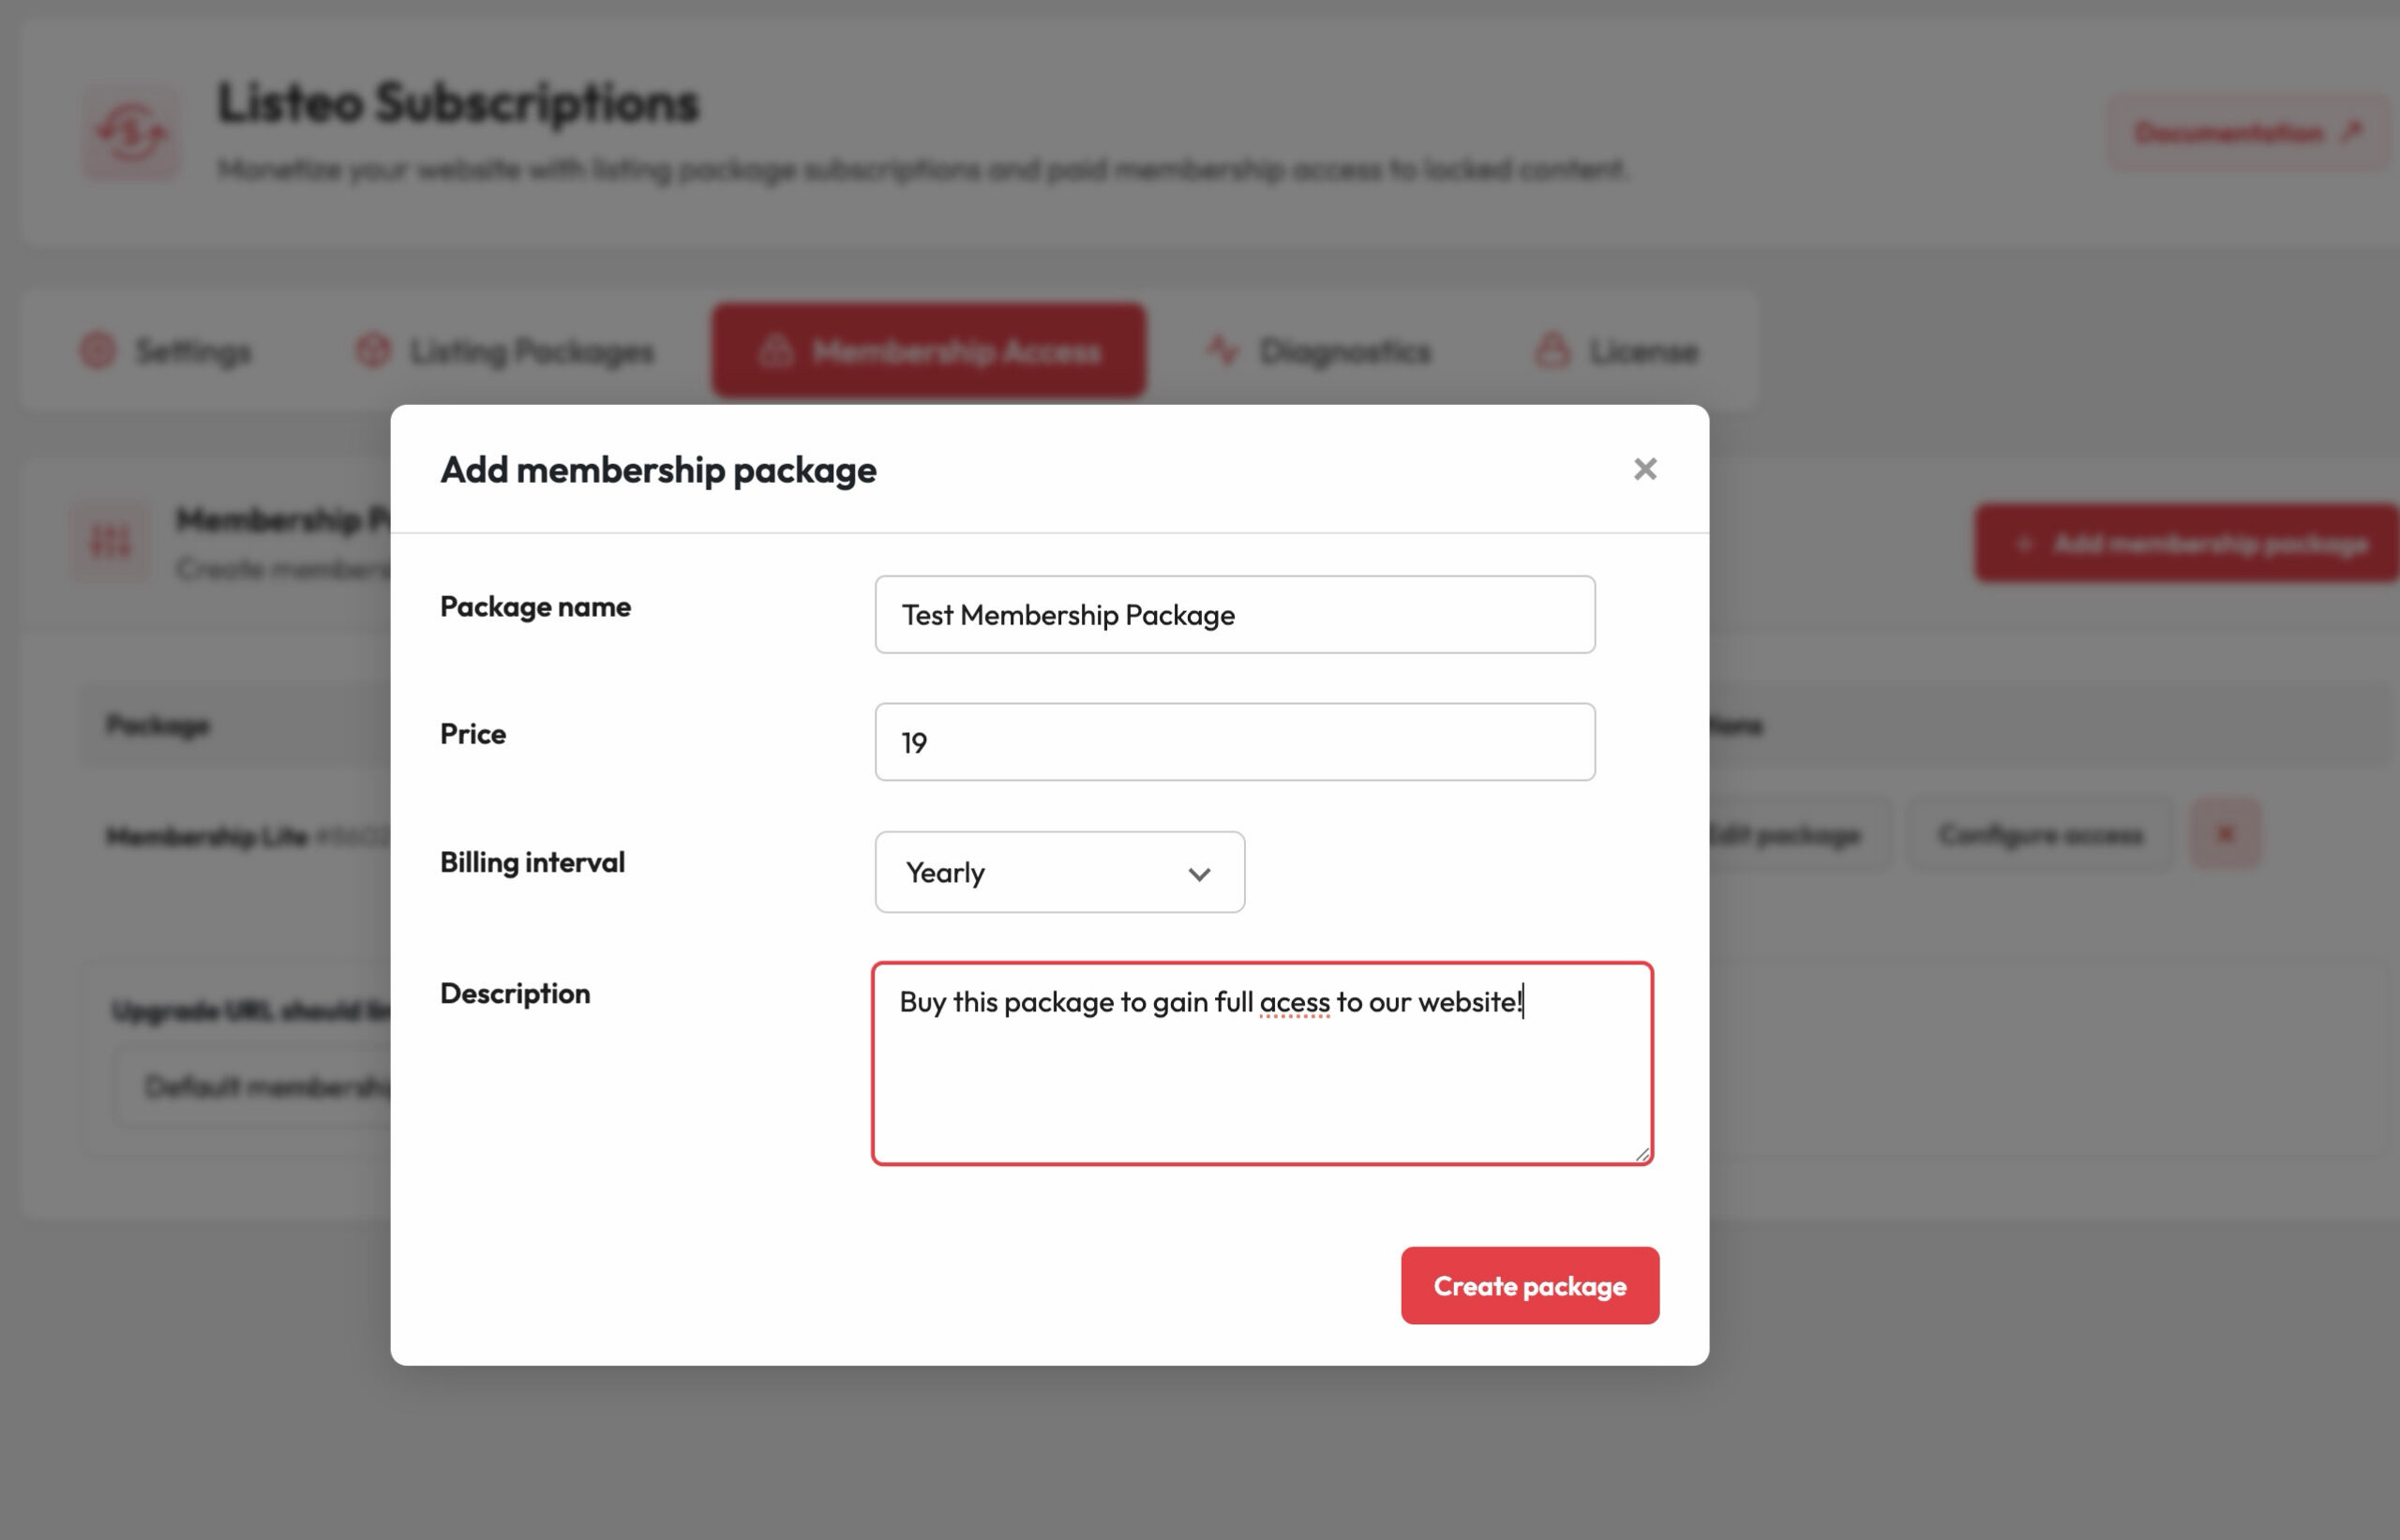
Click Add membership. Fill in the popup:
- Package name – What members see, like “Premium Membership.”
- Price – The recurring price.
- Billing interval – Monthly, Yearly, or Weekly.
- Description – Optional text shown on the membership card.
Save, and the membership package is created as a recurring WooCommerce product without need of even touching WooCommerce product settings!
Step 2: Capture the content
Capture mode lets you select literally any front-end element to lock.
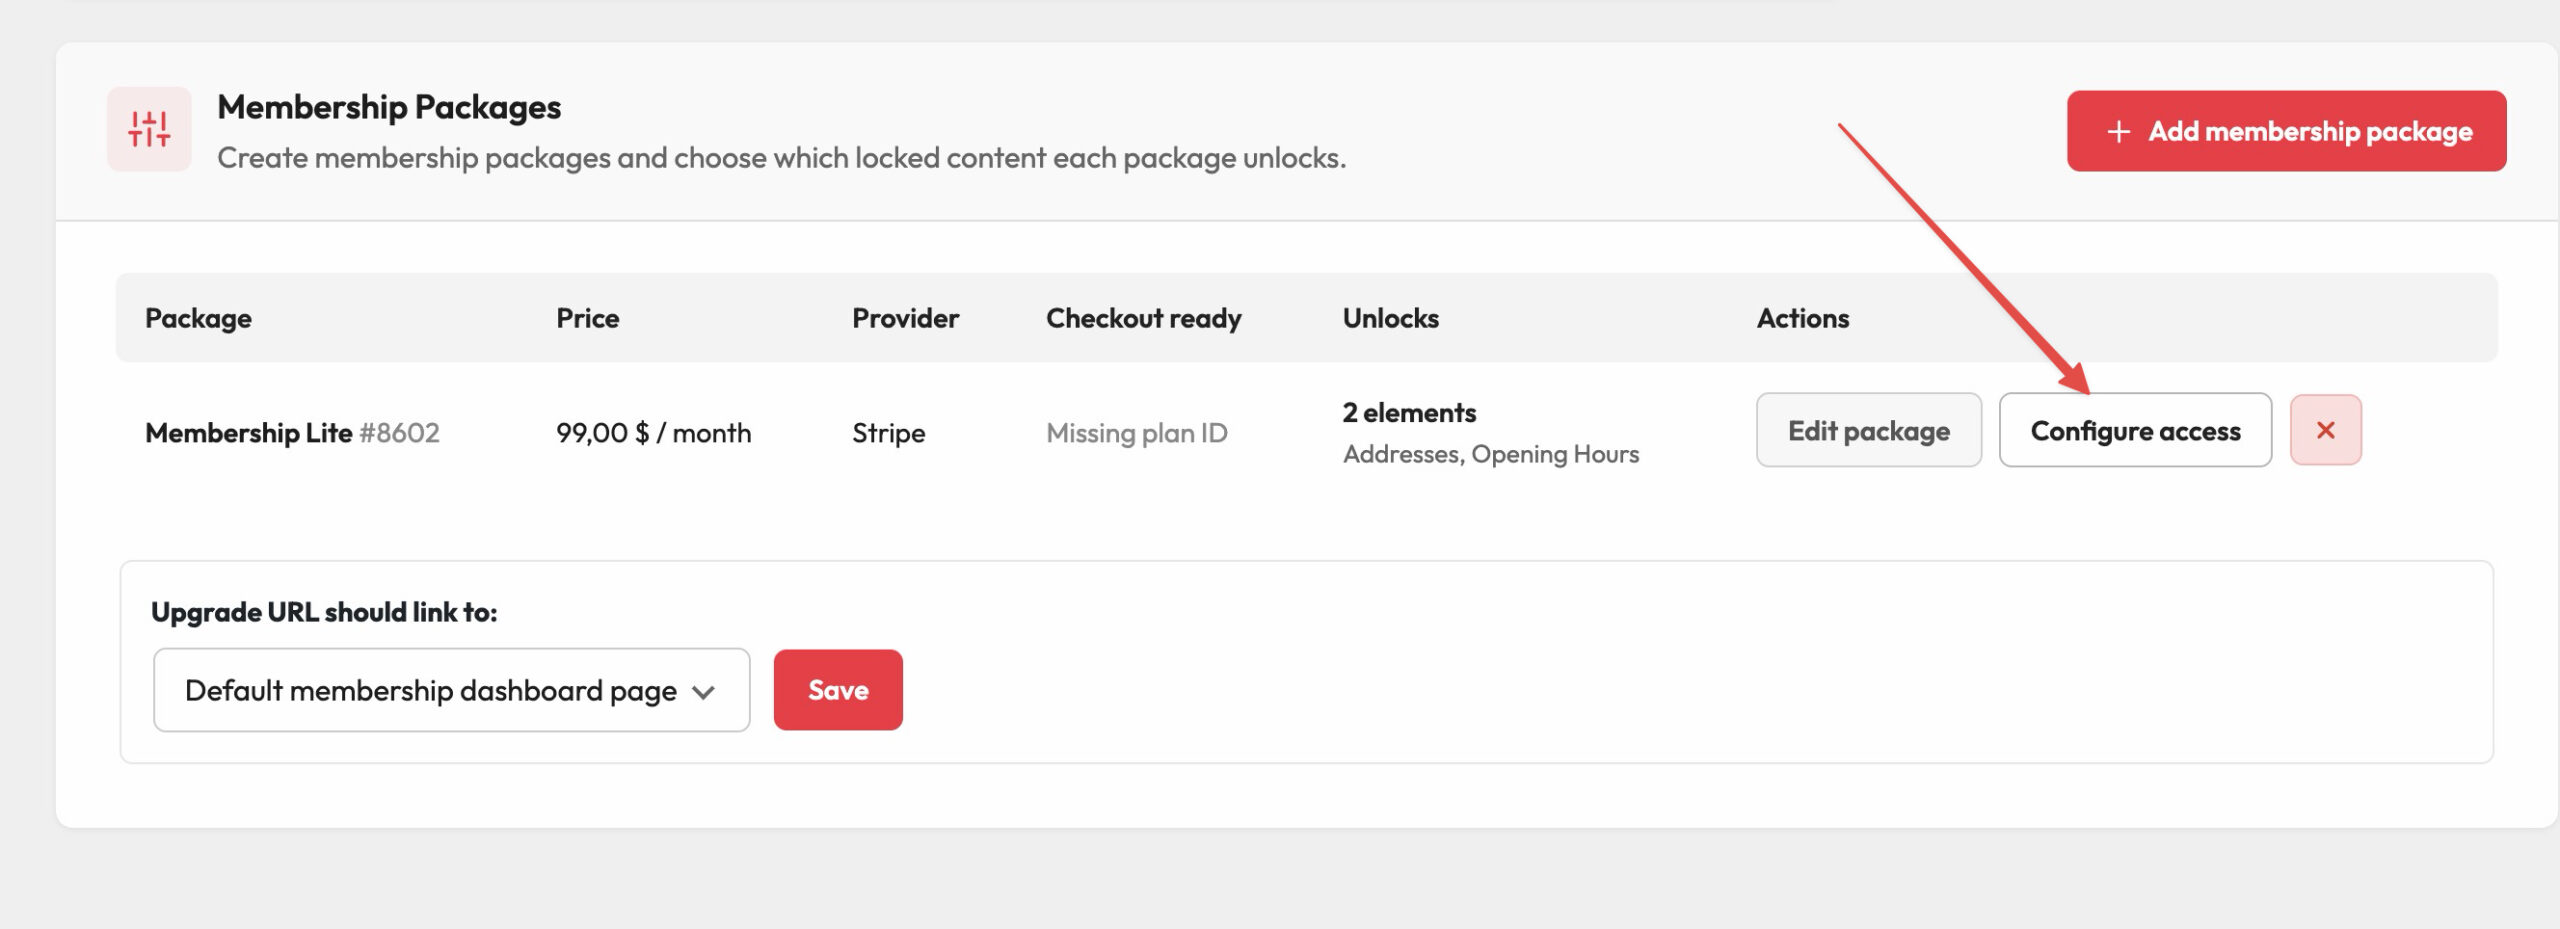
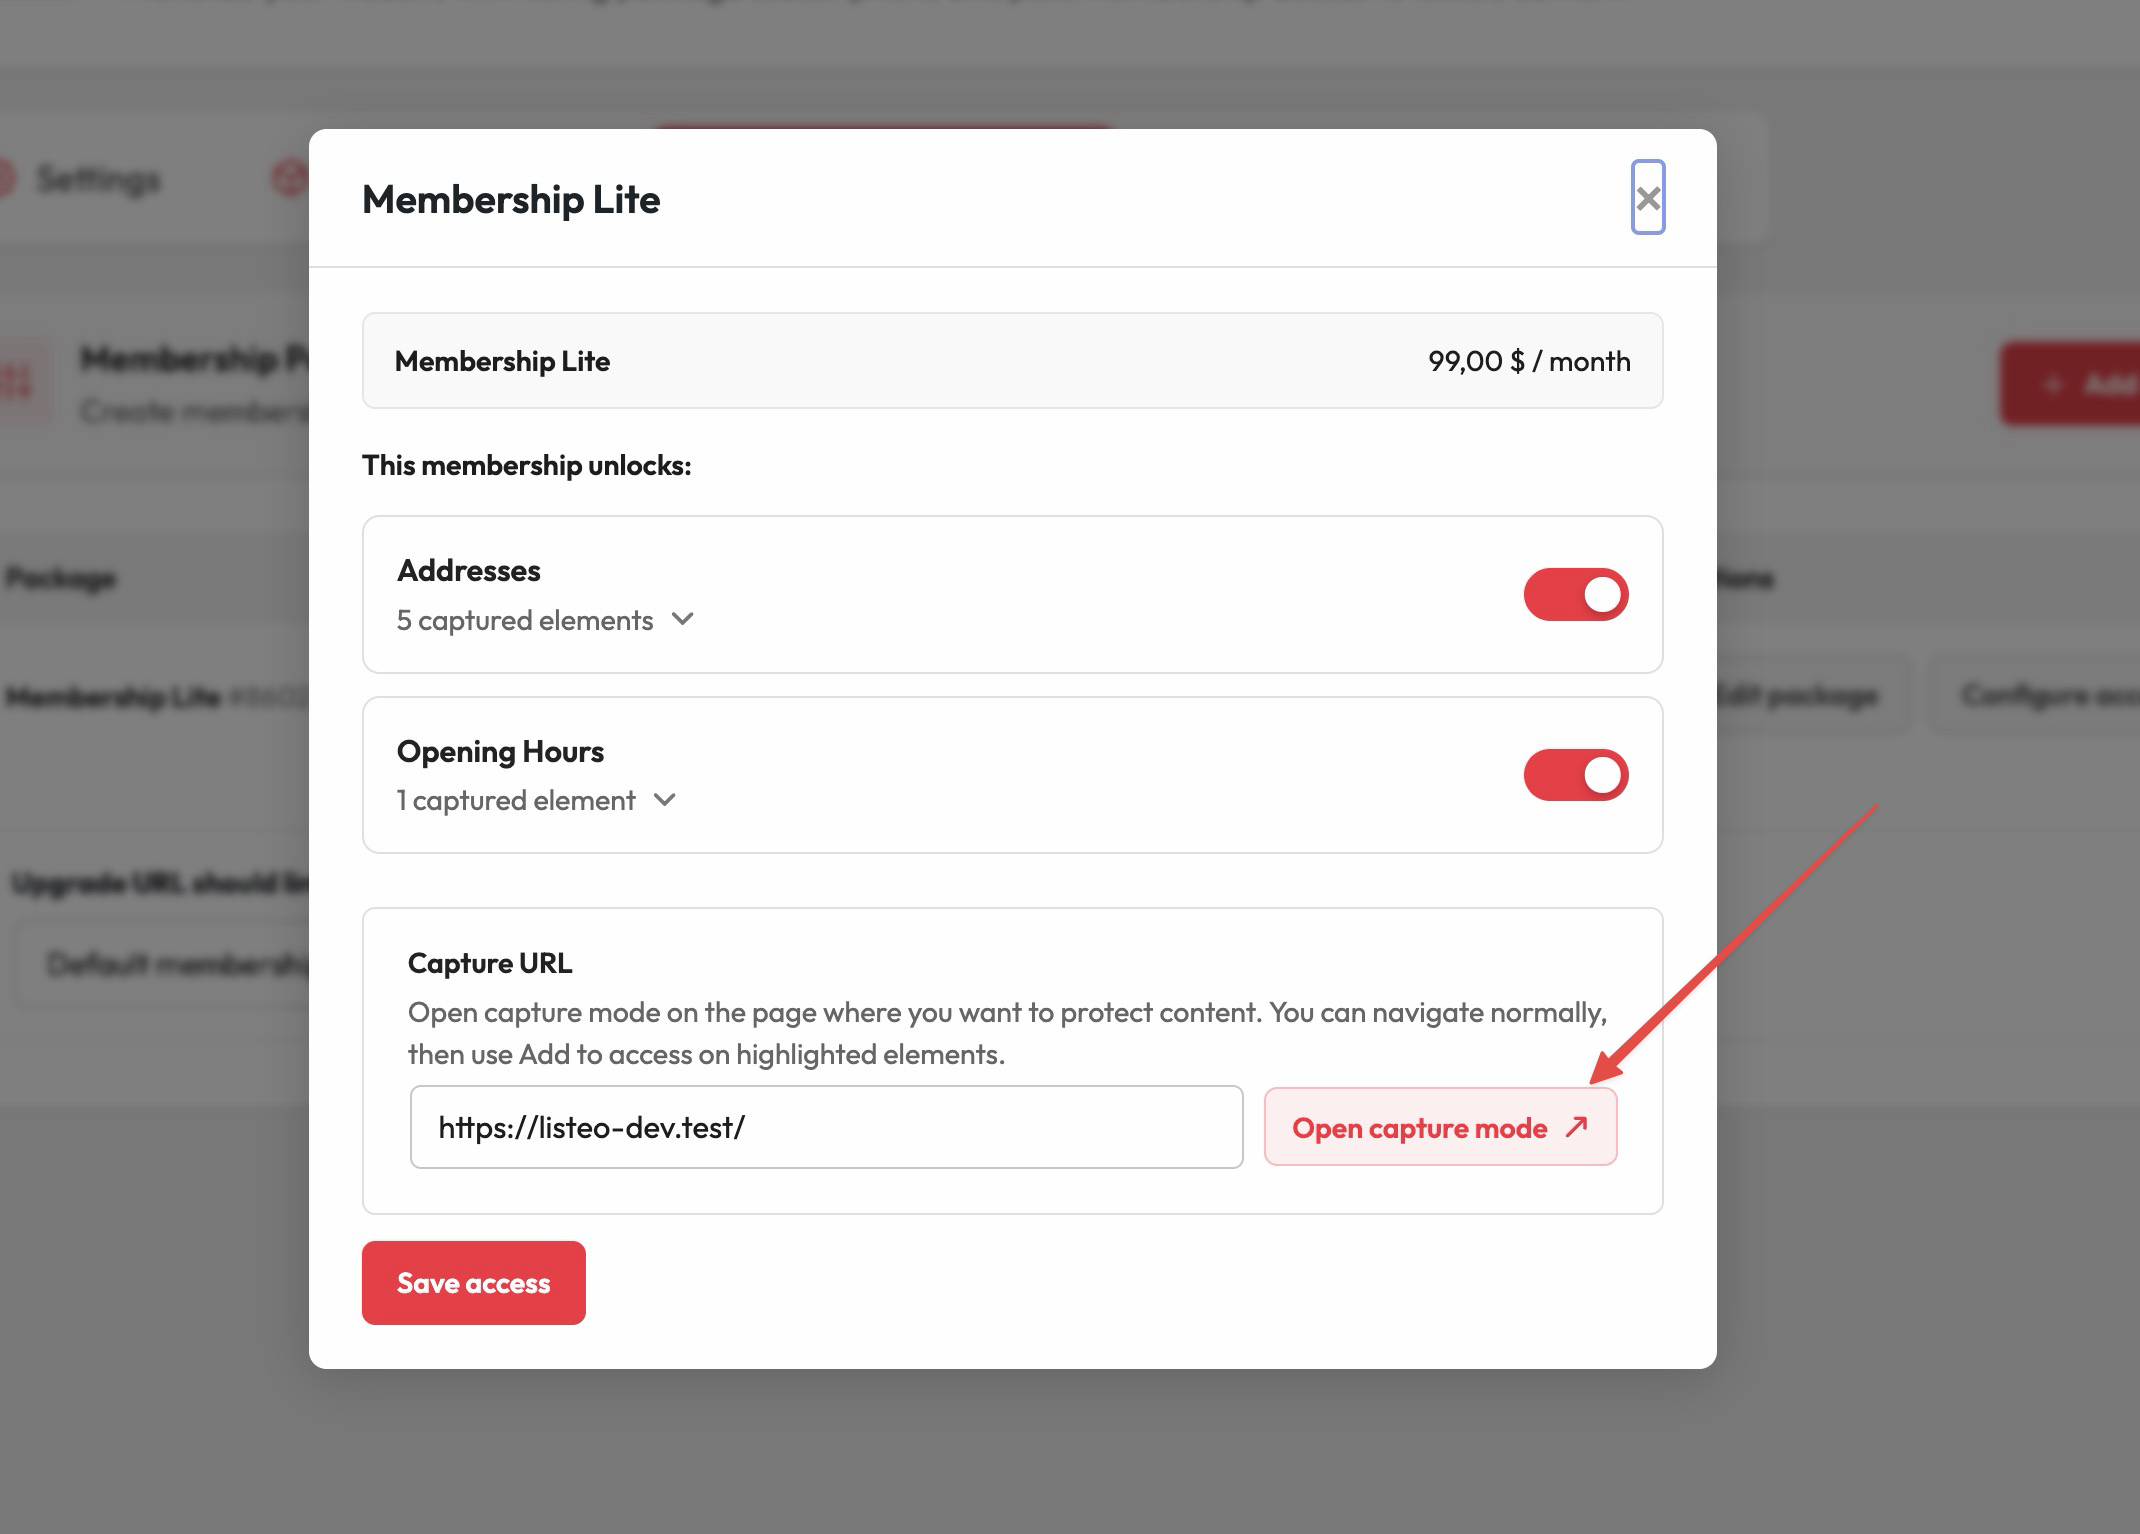
On the membership, click Configure access rules. In the Capture URL field, enter the page that holds the content (defaults to your home page), then click Open capture mode. The page opens in a new tab with the capture overlay on it. You can browse around, and it stays active across pages.
Create a protected section
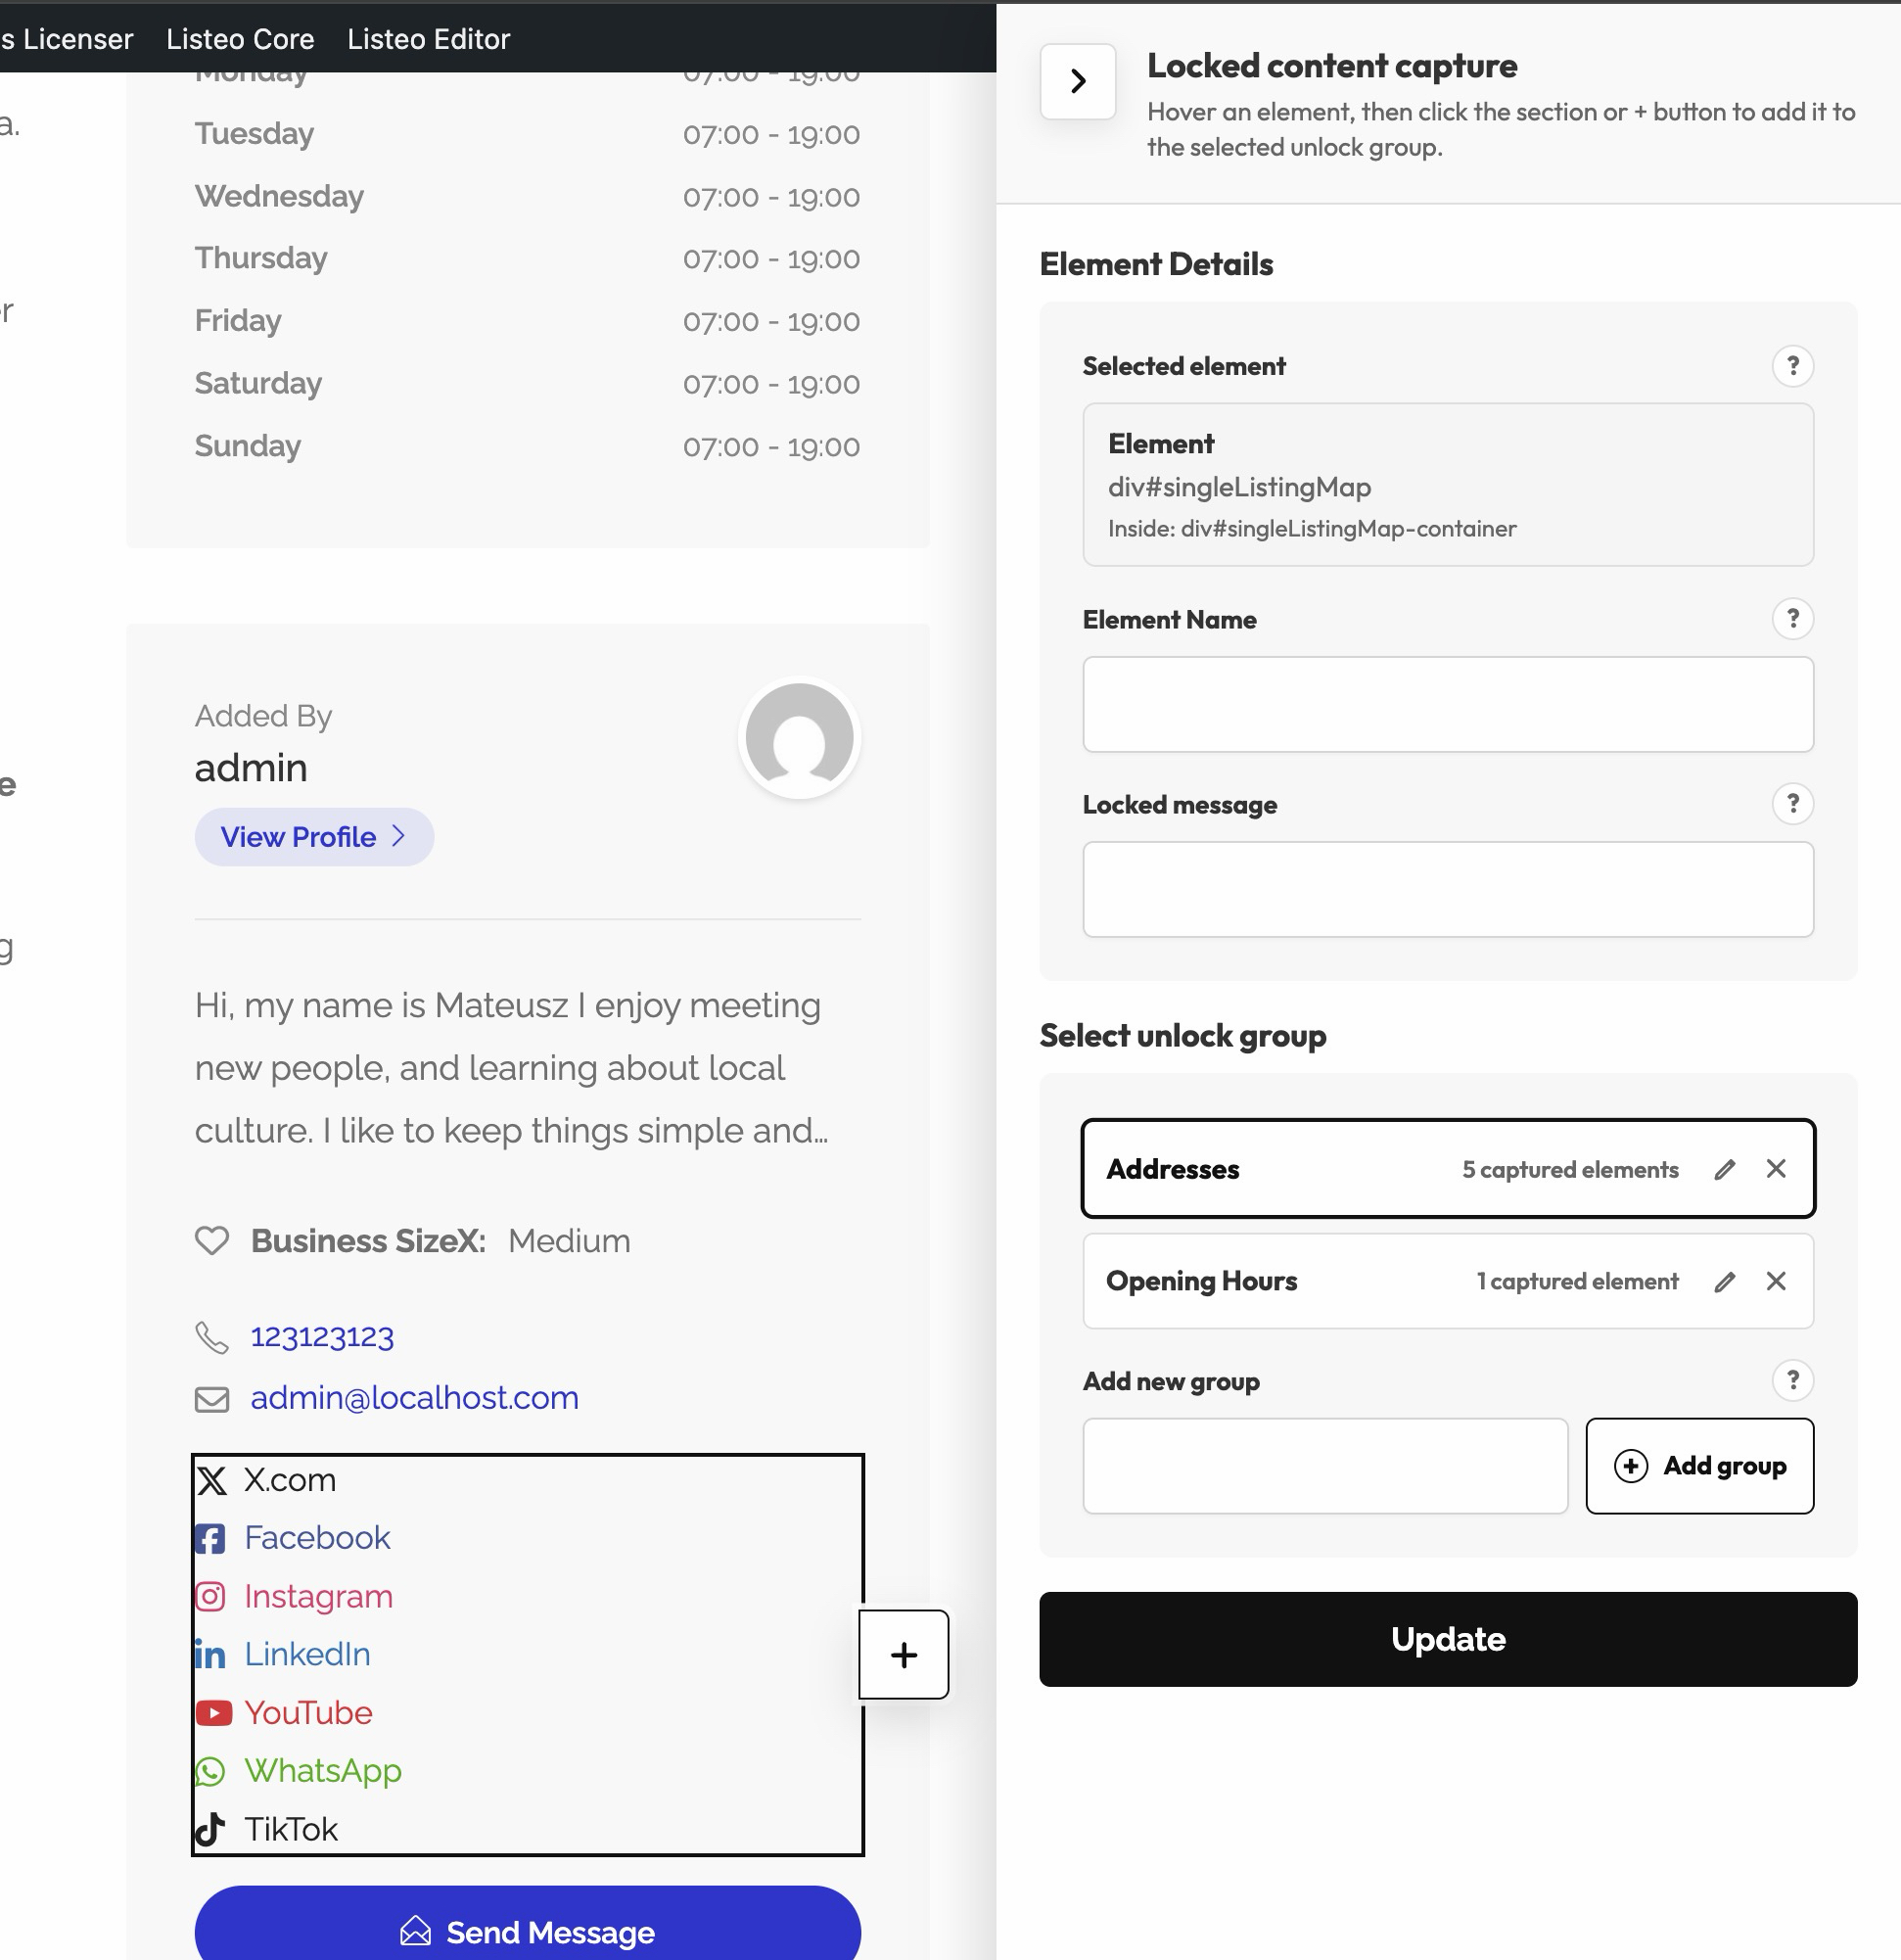
Locked elements live in groups (protected sections). Everything in a group unlocks together. In the Paywall capture sidebar, click Add group, name it in the Protected section field, and add it.
Add elements
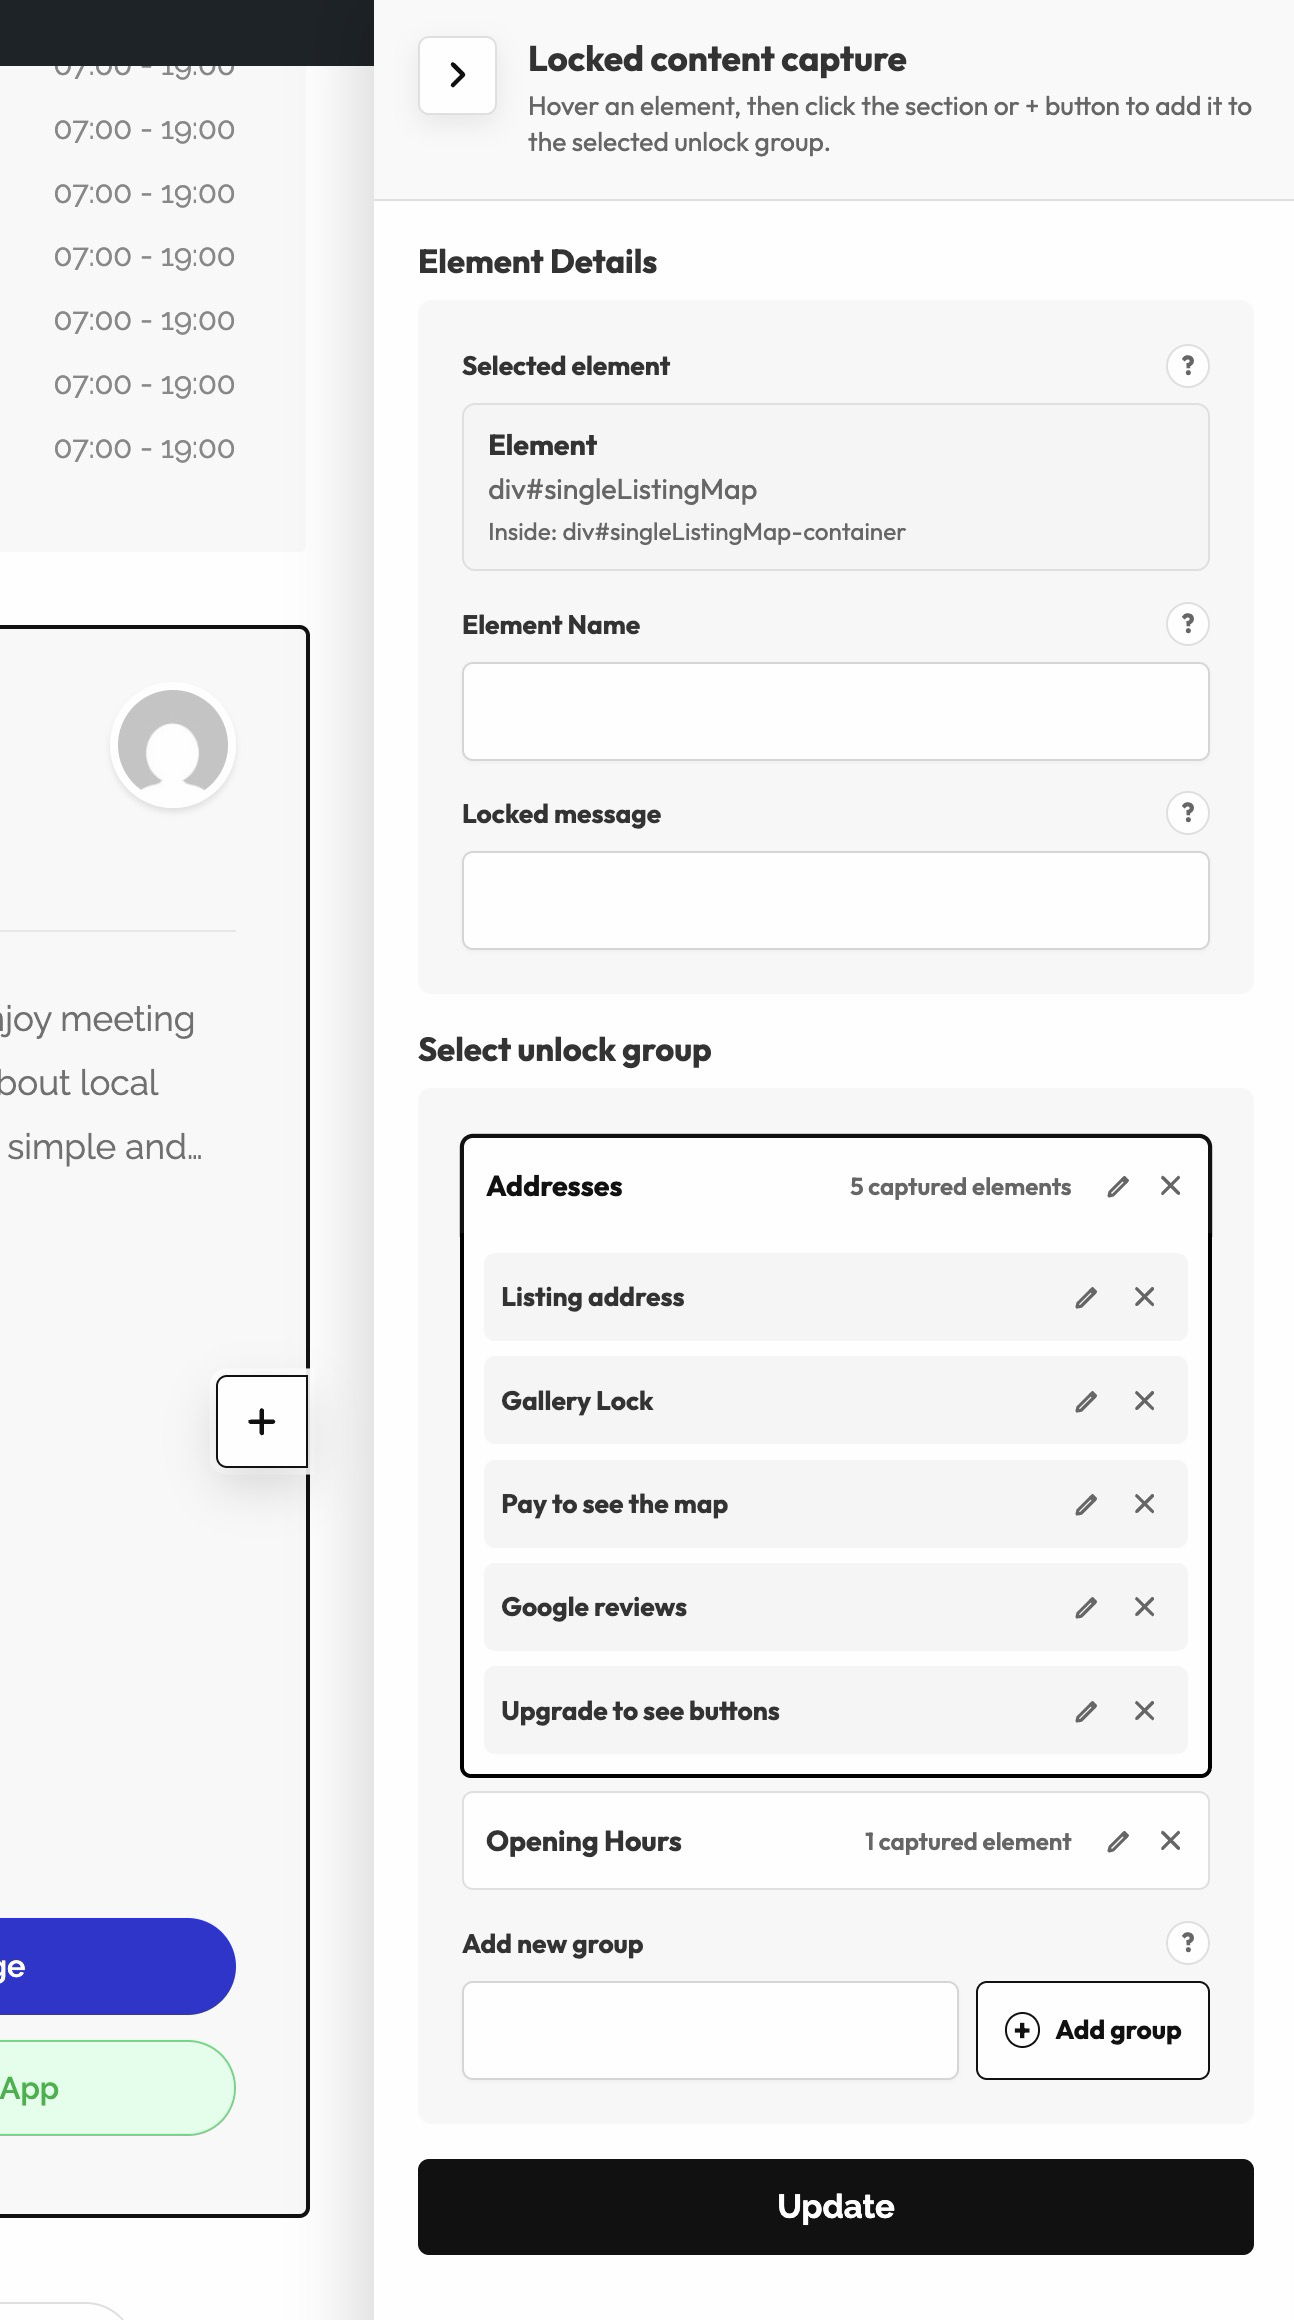
Hover over any element (a heading, image, button, or whole section) and it highlights. Click it (or its + button) to capture it. A small Element Details form opens:
- Element Title – Filled in automatically (Heading, Image, and so on). You can change it.
- Element Name – A label so you recognize it later.
- Locked message – The text on the locked card. Defaults to “This content is locked.”
- Paywall group – Which group it belongs to.
Repeat for every element you want to lock.
The memberships page
The plugin creates a Memberships page automatically where visitors can browse and buy access. It is also linked from the WorkScout dashboard.
Each membership is a card with its name, description, price, and an Unlocks: list. The button changes per visitor:
- Buy now – For visitors without the membership. Logged-out visitors log in first, then checkout.
- Manage – For current members, linking to their subscriptions.
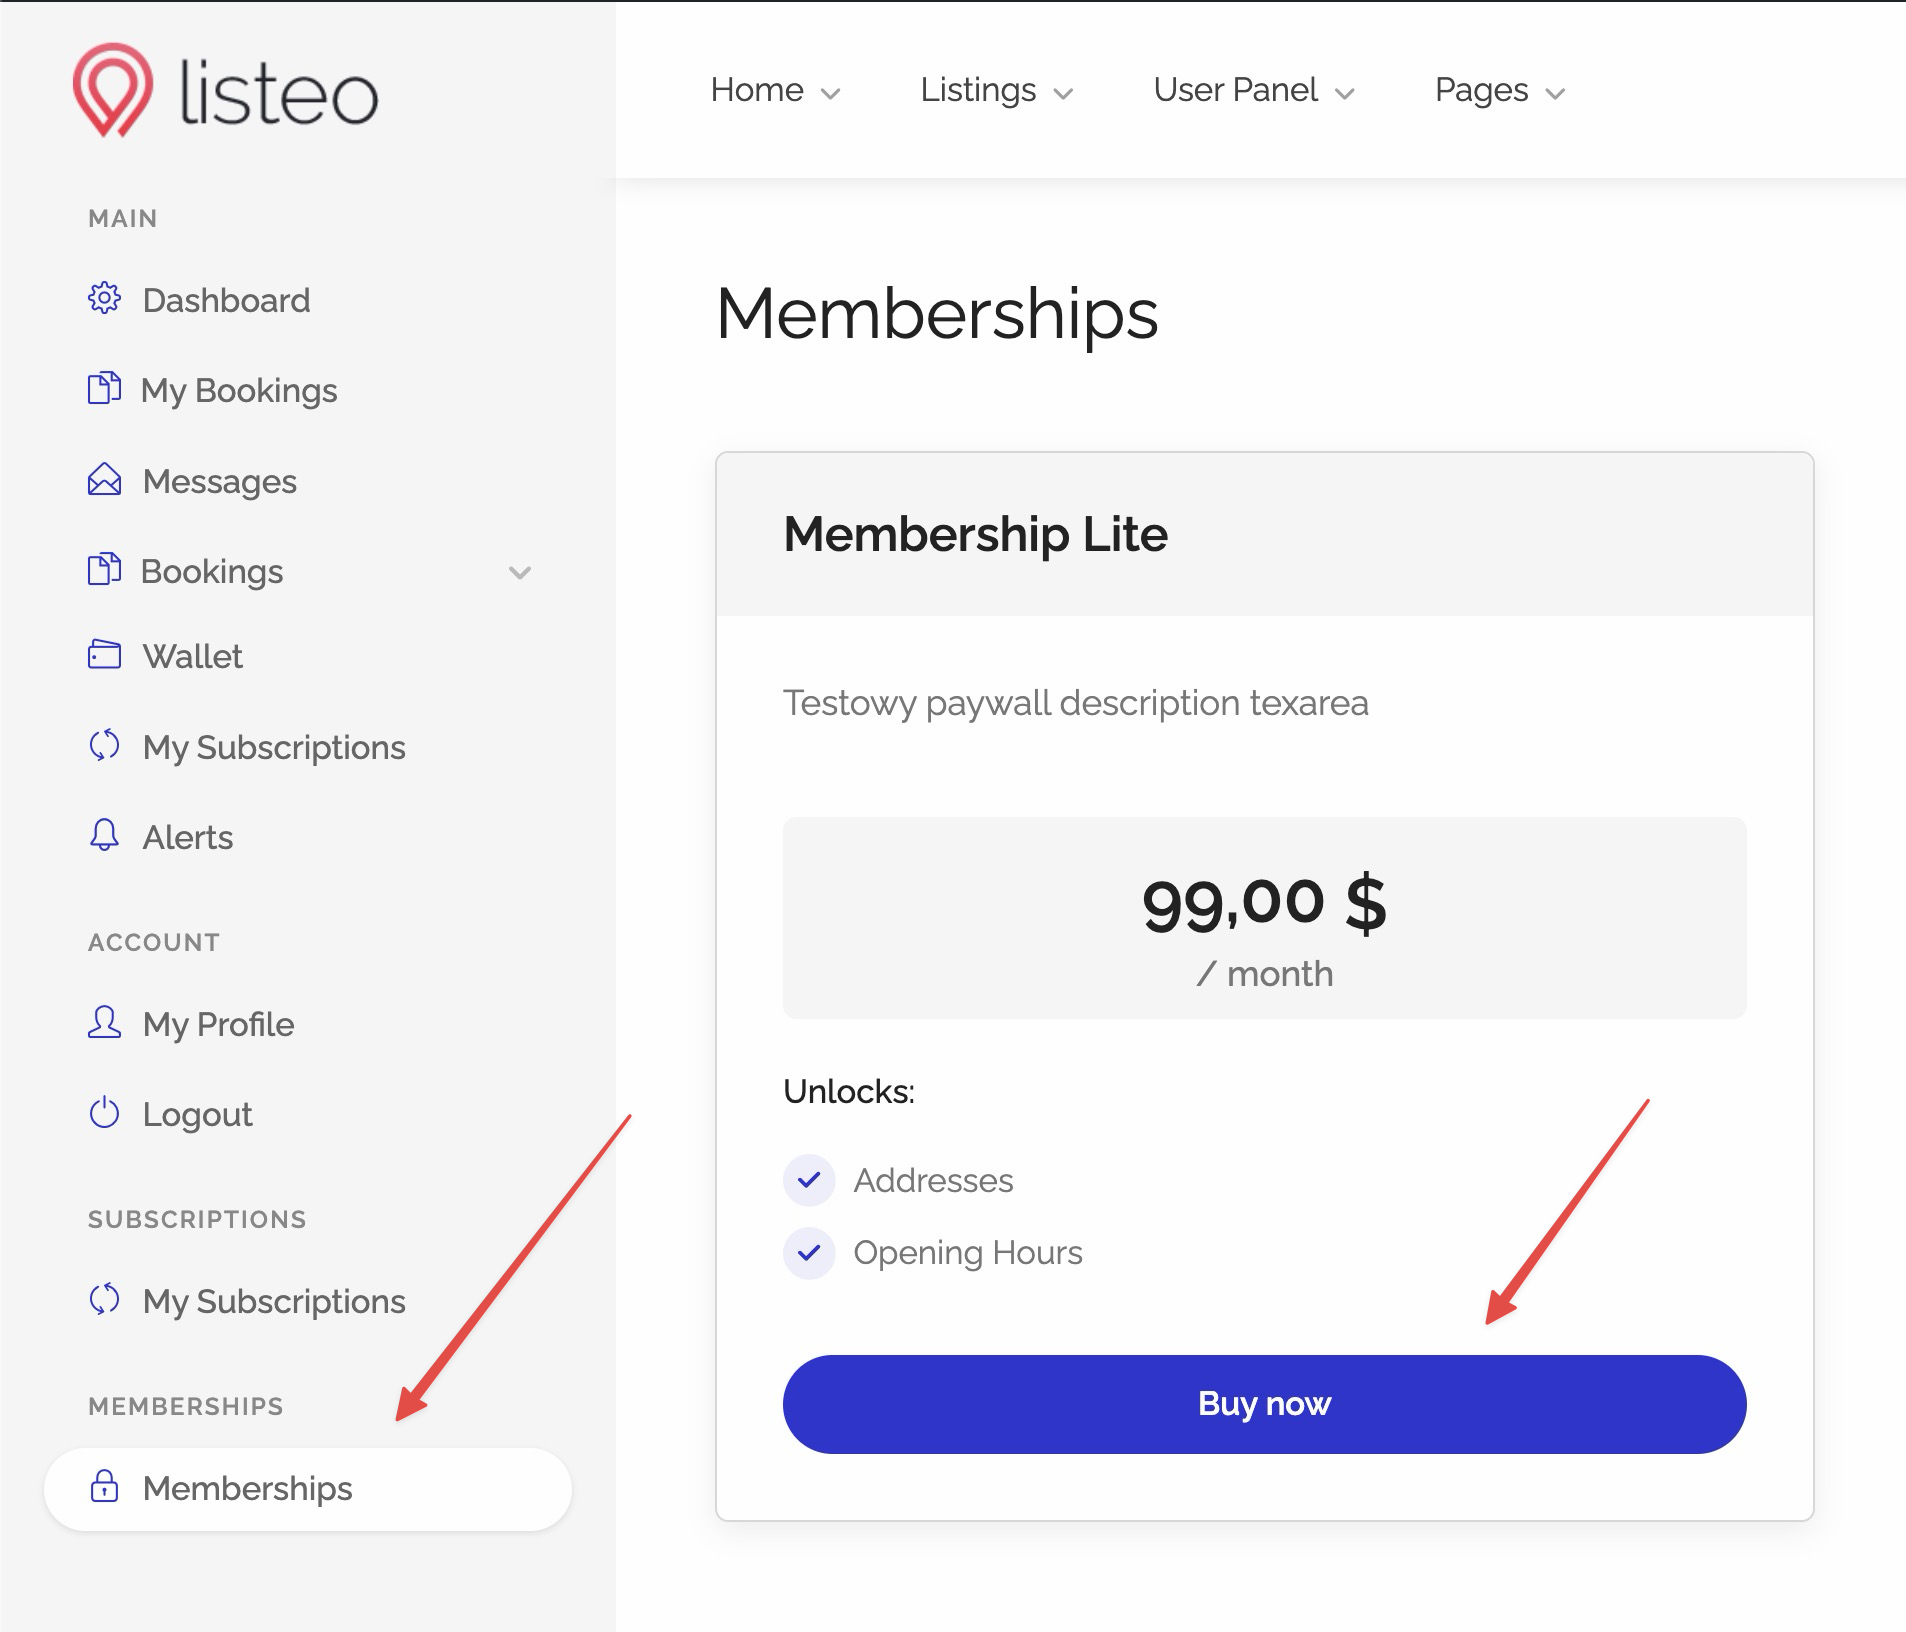
When a visitor clicks a locked card, they land here with the right membership highlighted and a prompt to choose one. After buying, they go back to the page, now unlocked.

