Listeo User Group on Facebook
The Message Vendor widget lets visitors email a listing owner from the listing page. Listeo Core includes the form and its default fields. You can use it without installing Contact Form 7.
Add the widget to the listing sidebar
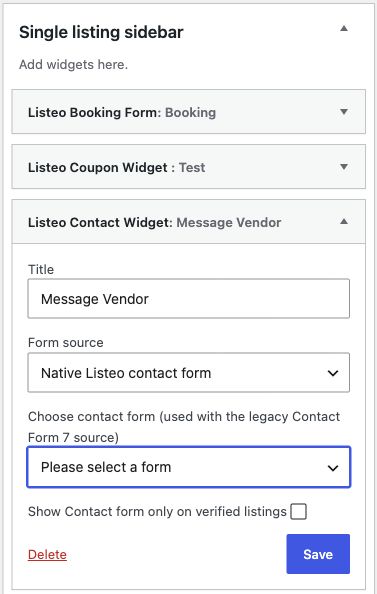
- In WordPress, open Appearance → Widgets. Add Listeo Contact Widget to Single listing sidebar. If the widget is already there, expand it.
- Under Form source, select Native Listeo contact form. You can skip the Choose contact form dropdown. New widgets use the native form by default. If you’re switching an older widget, select the native source explicitly.
- Keep Message Vendor as the title or enter your own. To limit the form to verified listings, check Show Contact form only on verified listings. Click Save.
Enable the form on a listing
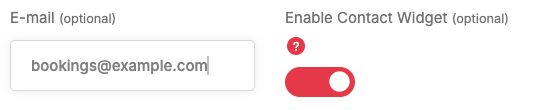
When adding or editing a listing, the owner turns on Enable Contact Widget and saves the listing. To choose where inquiries go, enter a contact address in the adjacent E-mail field. If the address is missing or invalid, Listeo sends inquiries to the listing author’s WordPress account email.
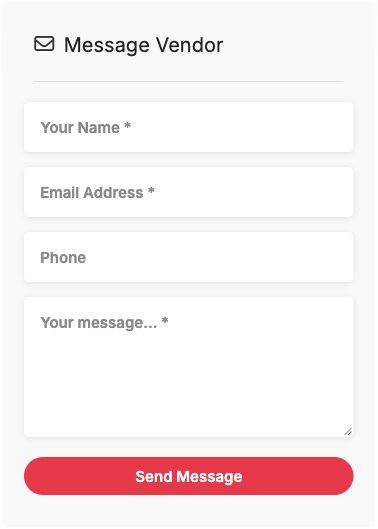
Open the published listing and look for Message Vendor in the sidebar. By default, visitors must enter a name, email address, and message. Phone is optional. The owner can reply directly to the visitor’s email.
If the form appears but email doesn’t arrive, check the recipient address, then follow the WordPress email troubleshooting guide.
Customize the fields for a listing type
To change what visitors see, open Listeo Editor → Contact Form and choose a listing type. For example, choose Rental Contact Form to change the form on rental listings.
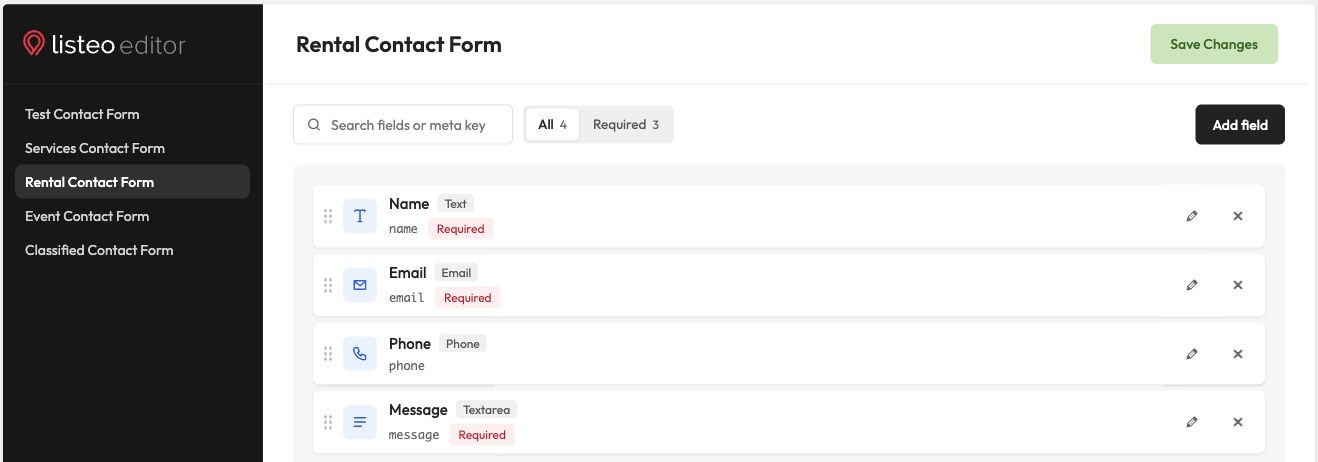
Click a field’s pencil icon to change its label, placeholder, or required status. Use Add field for another question, or drag a field by its handle to reorder it. Click Save Changes. Each listing type has its own form.
Alternative: use Contact Form 7
If you already use a Contact Form 7 vendor form, keep the plugin active. Open the same sidebar widget, set Form source to Contact Form 7 (legacy), choose your saved form under Choose contact form, and click Save. The per-listing enable switch still applies.
To recreate the legacy form, activate Contact Form 7 and the Dynamic Text Extension, which provides the dynamichidden field. Go to Contact → Add New, name the form, and enter these tags in the Form tab:
[text* your-name default:user_display_name placeholder "Your name"]
[email* your-email default:user_email placeholder "Email address"]
[tel tel-300 placeholder "Phone"]
[textarea* textarea-637 placeholder "Your message"]
<p>Preferred contact method</p>
[radio radio-950 use_label_element default:1 "Email" "Phone"]
[dynamichidden custom-post-author-email-shortcode "CUSTOM_POST_AUTHOR_EMAIL"]
[submit "Send Message"]
In the Mail tab, set To to [custom-post-author-email-shortcode]. Keep a sender address on your site’s domain in From, and enter Reply-To: [your-email] in Additional headers. Use this Message body:
Listing: [_url]
Name: [your-name]
Email: [your-email]
Phone: [tel-300]
Preferred contact method: [radio-950]

[textarea-637]
Save the form and select it in the widget. For optional reCAPTCHA v3 protection, open Contact → Integration and follow the CF7 reCAPTCHA setup guide. For other details you can include in the email, see the CF7 special mail-tags.